It’s the long Memorial Day weekend, the traditional start of summer on the water, and Pandora is still on the hard. Land locked or not, as the days tick by, plans for the summer are, sort of, coming into focus.
There’s a lot of activities in the pipeline for Pandora in the coming months beginning with my event, the Open Blue Water Boat Weekend, June 21st to 23rd in Essex.
As we have, for the past six years, my friend George and I will be hosting cruisers from all over at the Essex Yacht Club for 2+ days of events, kicking off with a rendezvous in Hamburg Cove, about a mile up the river from the club.
In past years we have done this event with the Seven Seas Cruising Association, a group that I credit with helping me and Brenda gain the experience and nerve to head out on our first long trip down the ICW and on to the Bahamas way back in 2012. Since then we have cruised further afield, to Cuba and for the last few years, the eastern Caribbean.
I mention this as it was because of the wonderful support that we received from members of SSCA that I decided to do an event with the intent of “paying it forward” to help cruisers as others have helped me and Brenda for so many years.
For this years event, George and I decided that we’d also extend an invitation to members of the Ocean Cruising Club and Salty Dawg Sailing Association. That proved to be a very good decision as the response has been just terrific and we reached capacity six weeks before the event. I have to say that we are very disappointed to be turning people away and while we decided to rent a small tent we still had to start a waiting list. One person, who missed signing up, said he’s coming anyway with the hope that there is at least one last minute no-show.
Unfortunately, to expand attendance beyond about 100, it would complicate things a lot and require renting a tent for thousands of dollars as well as getting police and fire departments involved. That would be just too much for us to handle given our “committee of two” handling all of the logistics, promotion, speakers.
So, here I am, with only a few weeks until the event begins, working hard, in between gardening, home projects etc, to get Pandora ready to go in the water.
Now that I was finally able to get the mast step out of the boat, I am now in a good position to put it back with new bolts. After so many hours of grinding it doesn’t look like much, just a bare area of fiberglass.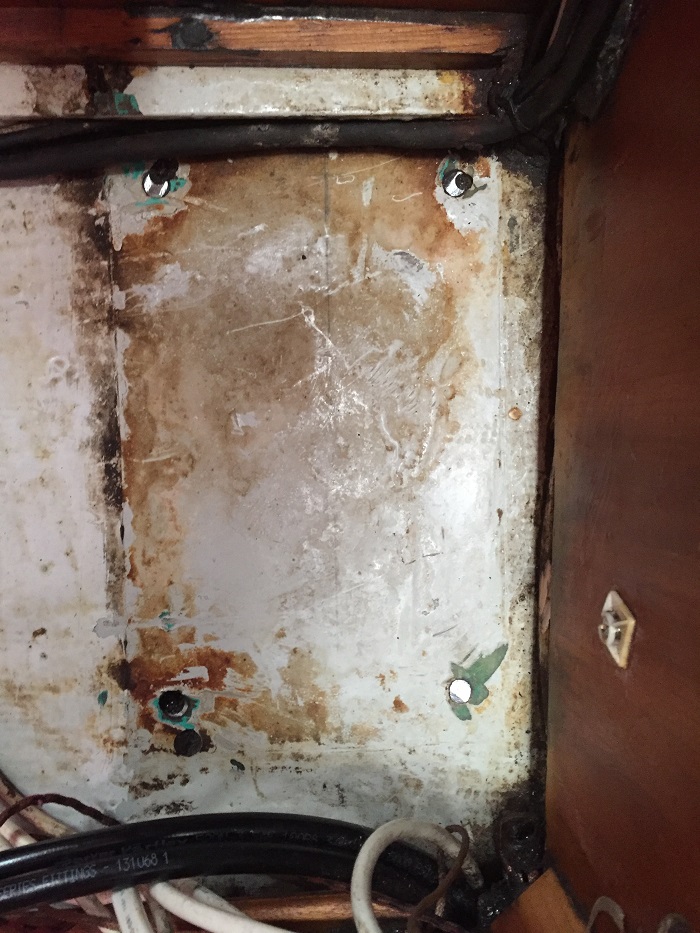 On Wednesday I will take the step to to a welder to have the old holes filled.
 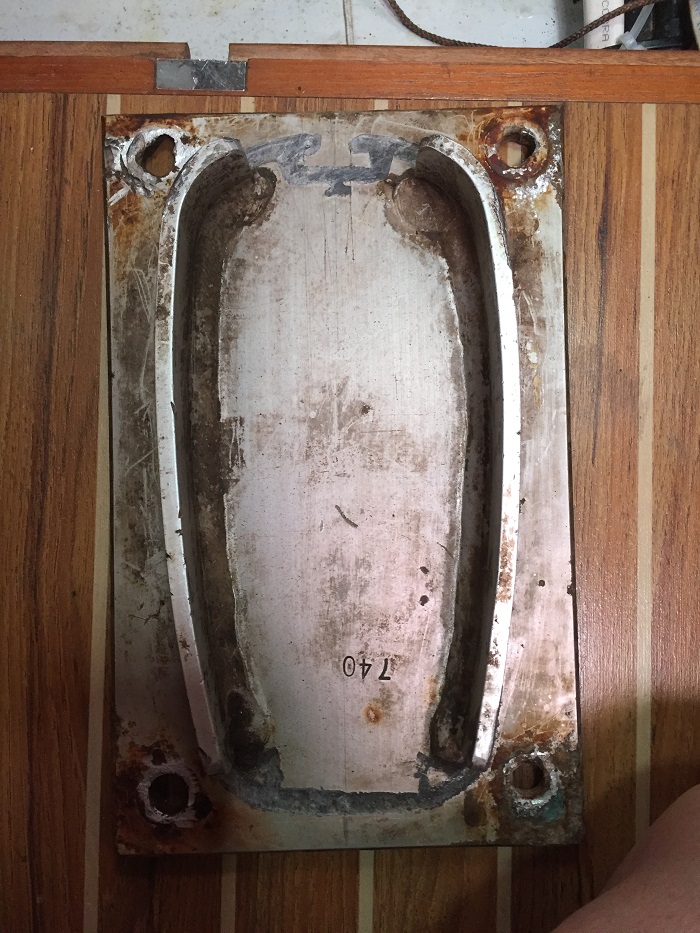 After that, I’ll drill new holes adjacent to the old bolts that have been cut flush with the step. Even though the remains of the old bolts are still in place, the rigger says that this is a perfectly fine approach as the bulk of the pressure is downward and only a small amount of shear force. I’ll be sure to install the new bolts with some sort of release agent or caulking like Life Seal, which is what the rigger recommends if I want the step to be removable in the future. Additionally, I’ll spray a thick lubricant/sealer like Microlube on the heads to keep them from becoming corroded. Frankly, I doubt that I will own Pandora when it’s time to deal with corroded bolts again.
There’s one thing for sure, I don’t want to ever have to tackle this project again. You wouldn’t think that something so simple could take so long. I’ll post photos of the step installation as I put it in, probably in my next post.
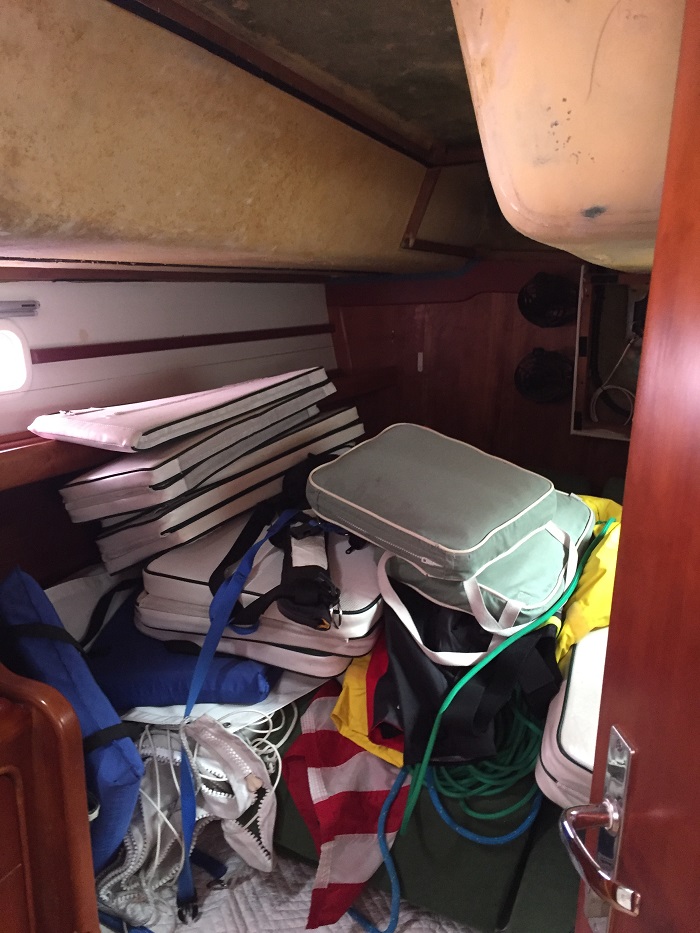
The big project that continues to hold things up is the installation of the new head liner, and I have been having trouble getting the canvas guy to commit to a date to take care of it. It looks terrible, like some sort of derelict boat. 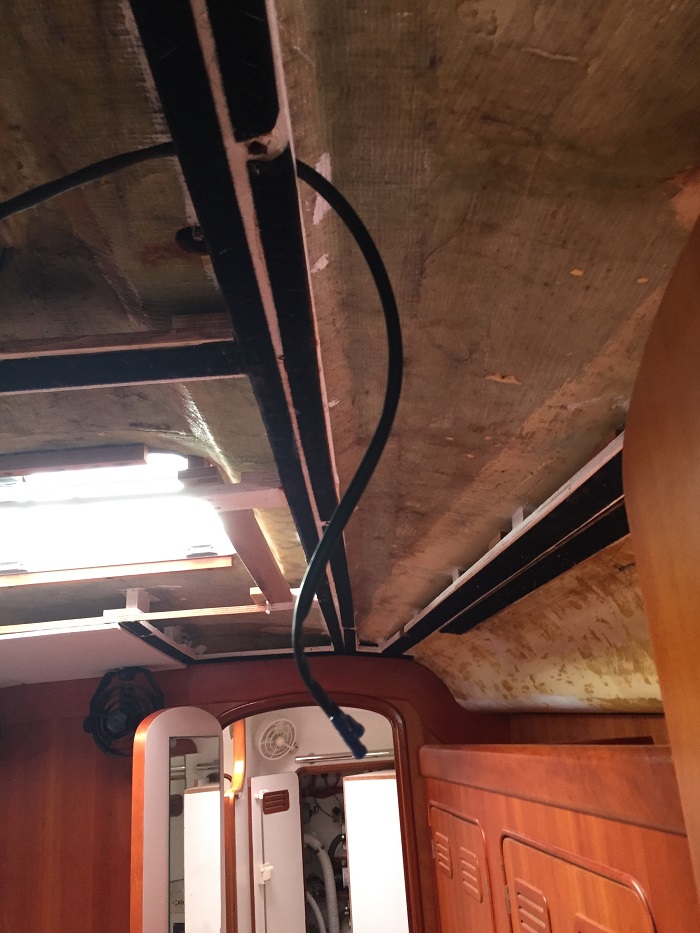 I am optimistic that he will be able to do it this coming week when the all important Memorial Day Weekend will be history. For now, Pandora’s salon looks like a construction zone.
 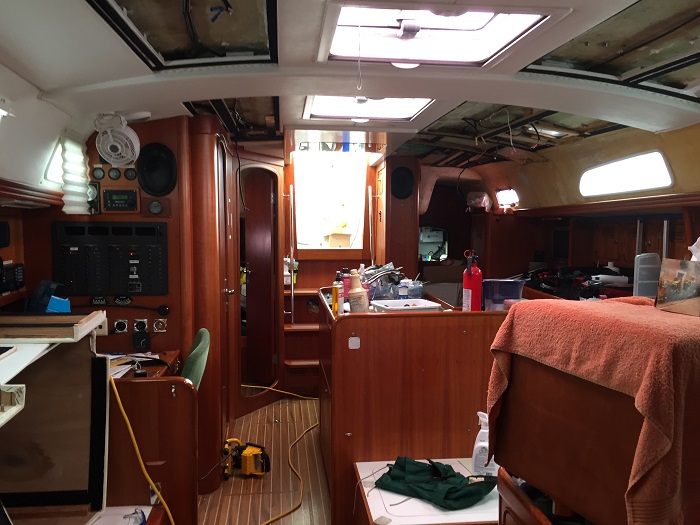 Or should I say storage container?
  I am also renewing the caulk around the large tempered glass windows in the dodger. I was able to dig the old caulk out with a tool that I made from an old metal file. I heated up the narrow end with a torch, bent it 90 degrees and ground it to a sharp edge.
 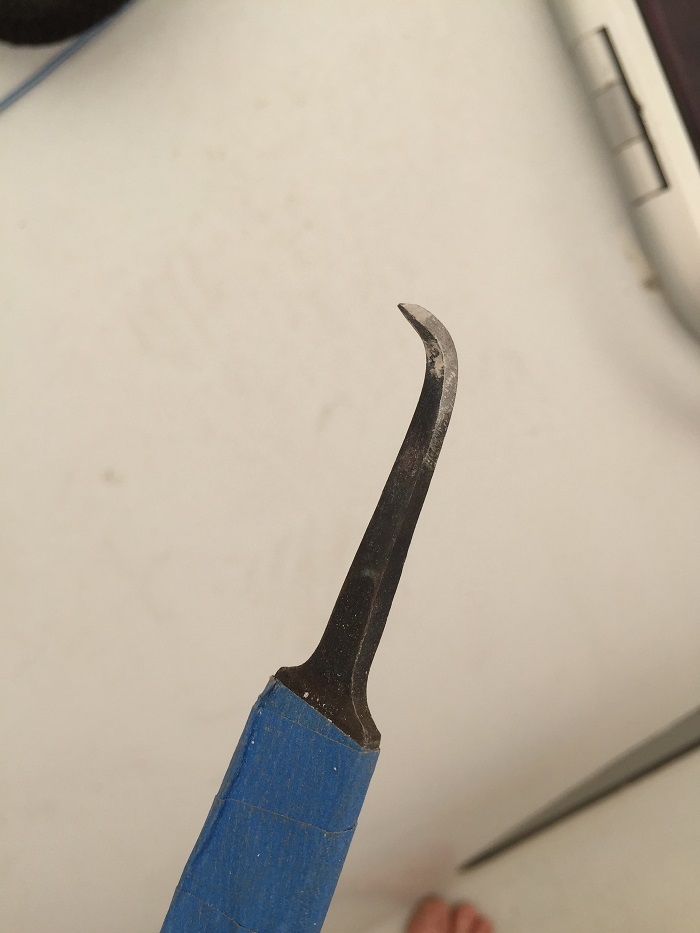 It worked well to remove the old caulking but it still looks messy.
 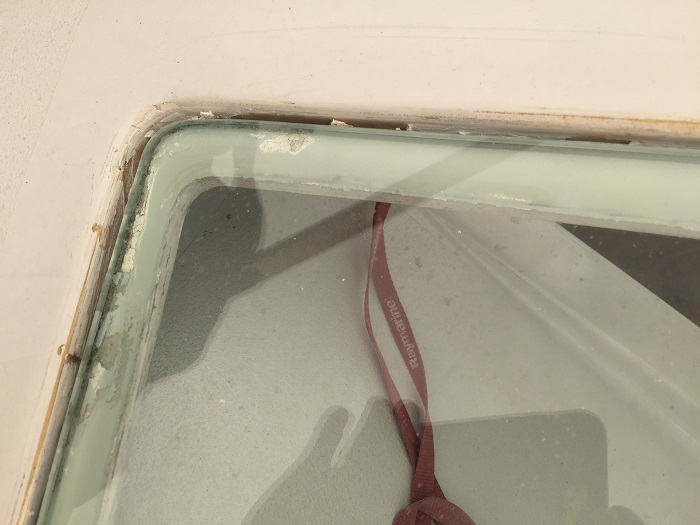 And, with something like 30′ of caulk to renew, it’s a big project. It took hours for me to clean out all the old caulk. I should have actually taken the windows out completely but I didn’t have the nerve so I’ll just renew the exposed caulk for now and try something more severe when things decay further, down the road.
  As far as what to use to replace the caulk, I spoke to someone who specializes in renewing hatches on boats and he recommended Sika 295 caulking along with a special primer and a cleaner to prepare the surface. The primer was nearly $100 for a one pint can. I hope it works. The caulk is made for industrial use, specifically for glazing and sticks much better when it is put on a surface that is well prepared. Or, so I am told…
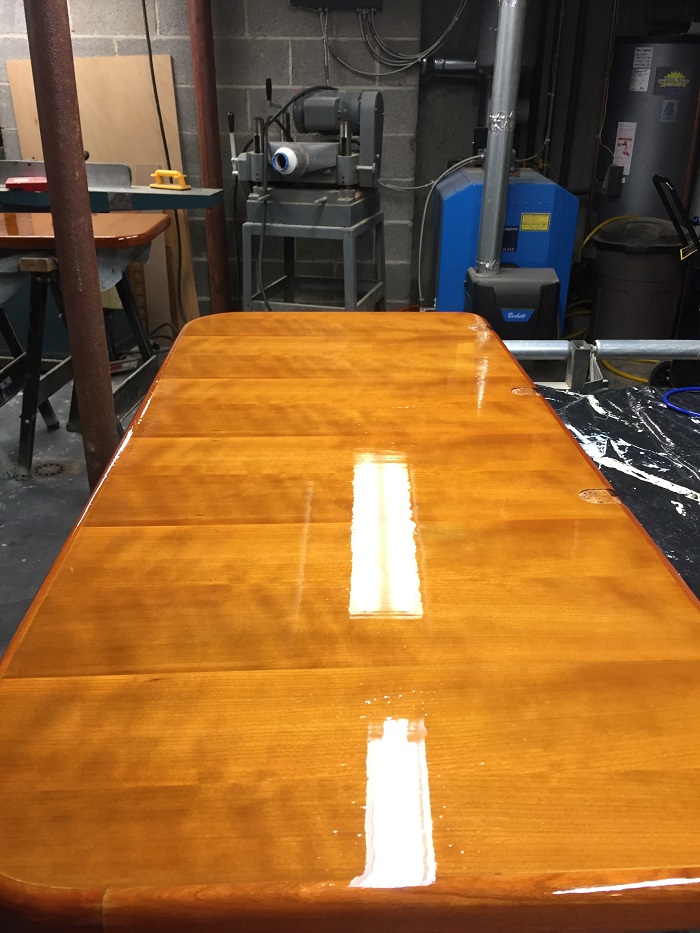
I also decided that “while I’m at it” I’d do some varnishing and removed the salon dining table, which I got from a furniture store like Home Accents II furniture. It was done in a matte finish and I thought it would look better with a high gloss. It’s been tough to get a good finish as it had been sprayed with furniture polish so many times over the years that the varnish kept flattening out and developing “fish eyes” in the finish. I would lay on a perfect coat of varnish and then some spots would would develop and look terrible. I sanded the entire top again and again, three times, before I got it right. This photo doesn’t show the problem all that well but the white smudge to the left of the long white reflection is one of the flat spots. The long white streak is a reflection. 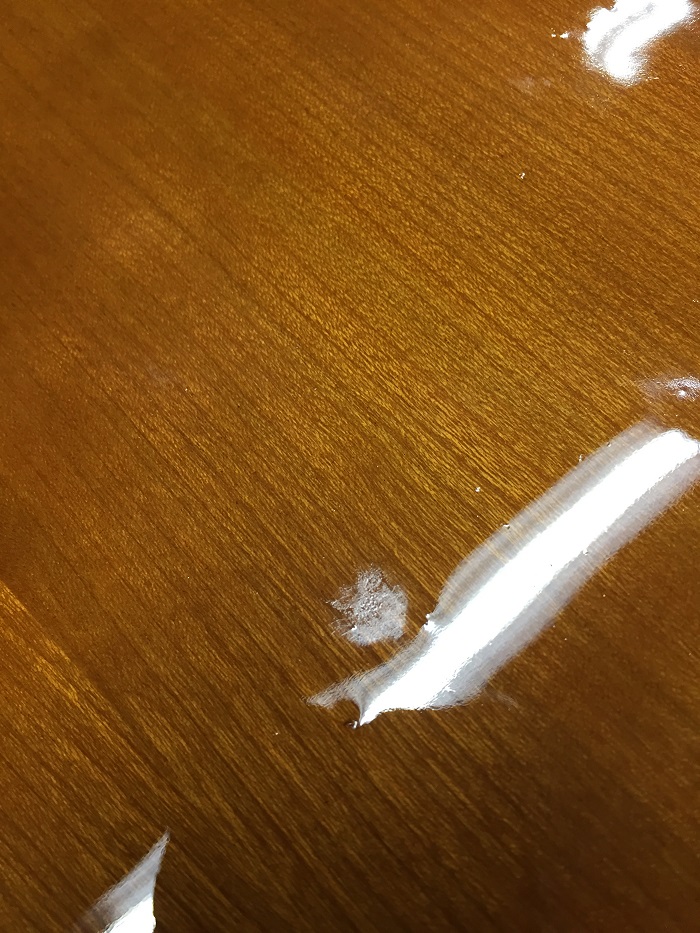 However, it looks pretty good now and I am going to call it done, even though there are a few dust specs here and there. I used gloss Epifanes, varnish, the best you can buy. Great stuff and quite a shine, if you ask me.
  So, there’s a lot left to do but I am making progress, slowly but surely and am finally feeling like I can make it toward launching on a timeline assuming that the canvas guy finishes the headliner.
Speaking of timelines, I hope to launch on or about June 14th and then spend a week getting her ready and the mast back in and stepped. Remember that I had new standing rigging put on her last fall.
Following the launch, I’ll take her to the Essex Yacht Club and our event where she will be on display as one of the “blue water equipped boats” for the event attendees to tour.
Then, off to Bridgeport to have her waterline “adjusted” to better reflect the actual trim of Pandora fully loaded with the dink in the davits. I am told that it will take a week for the paint work and then back to Essex for a few days of provisioning and on to Maine for much of the summer. I also will be giving a talk at the Camden Yacht Club as part of their summer speakers series, on July 23rd.
After spending some time in Maine, I’ll either take Pandora to Annapolis for the fall boat show, where I am also giving a talk as part of Cruiser’s University, or directly to Hampton VA where Pandora will stay until I head to Antigua in November.
Other than that, not much going on, just sitting around eating bon bons.
All of this has to be done according to a strict timetable as we have the first birthday for our twin grandchildren in July. Off to MD for a party. That will be fun. Aren’t they cute? Well, there’s lots to do and that doesn’t even get me to the point of preparing for the run to Antigua in November.
Oh yeah, one more thing. Remember the work I was having done on my little red car with the cracked head and rebuilt transmission? Well, it’s all done and she runs much better with her rebuilt transmission, fixed head, valve job, rebuilt radiator, distributor and the list goes on and on. I’m happy to have the car back and she cost, well let’s say it was more than I had expected. Isn’t that always the way it? Doesn’t she look great up against Pandora in spite of still having her winter cover? Big boat, little car. 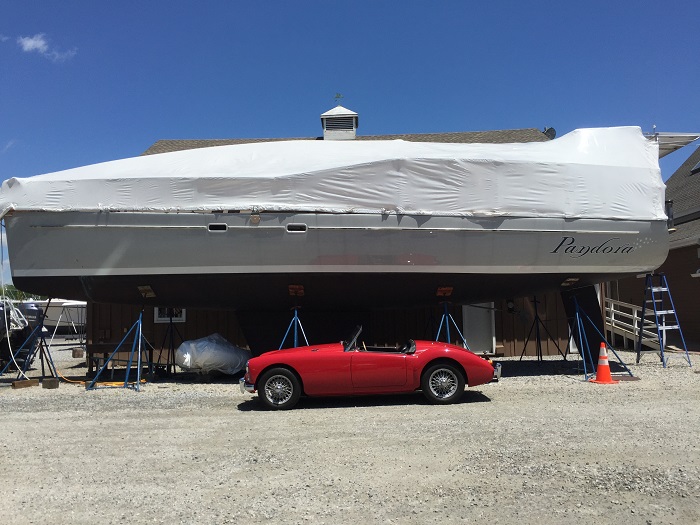 I am not sure if everything is clear but at least things are beginning to come into focus. Let’s hope that the canvas guy can fit me in or all this will seem more like wishful thinking than a plan.

 Not too long ago, it looked like this and I felt like there was no need to rush.
 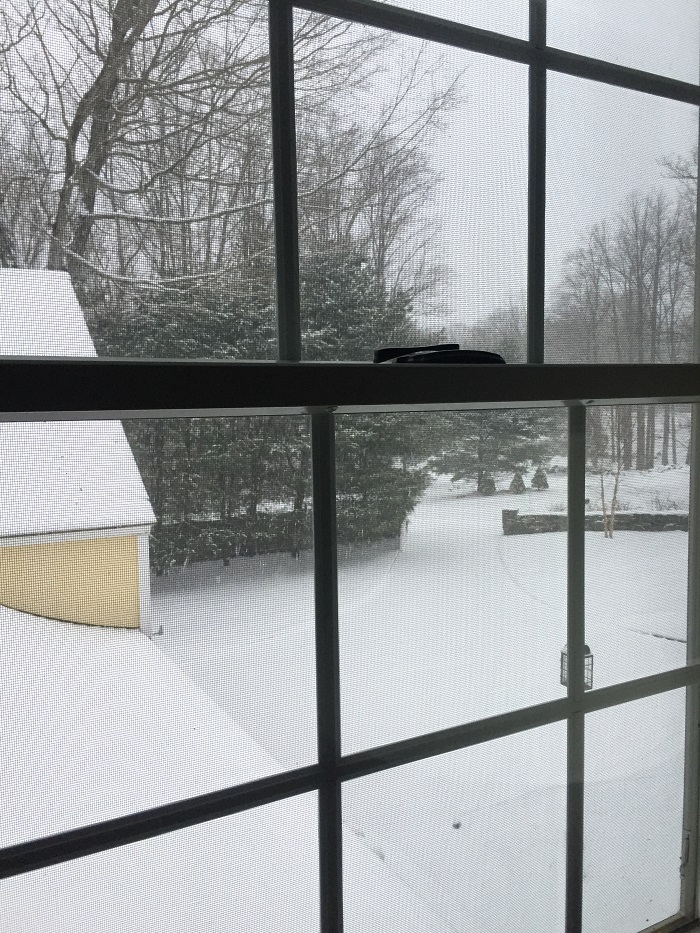 And, speaking of spring, I participated in another tradition at the Essex Yacht Club a few weeks ago, the burning of the socks. The idea is to get rid of those old socks, the ones you won’t need when it’s warm outside.
 So, here I am, nearly in the second half of May and there’s plenty still to do to get Pandora ready.
 That didn’t seem to be a terribly daunting project except that the entire engine needed to be removed to get at the gear box. It’s all rebuilt now and looks as good as new.
 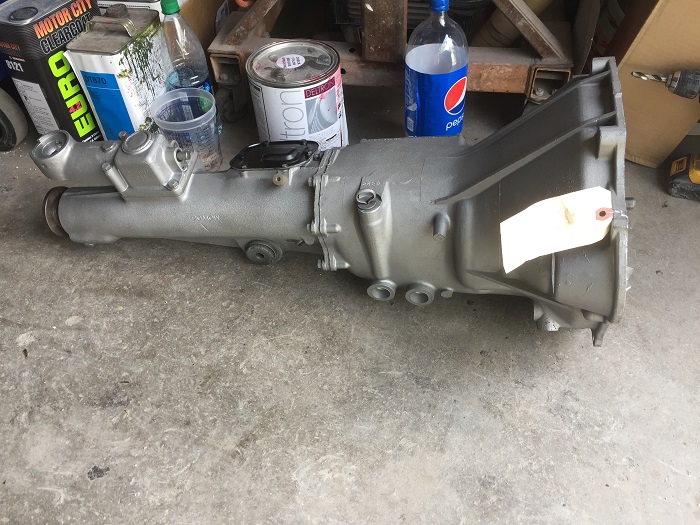 That circa 1962 engine, well it didn’t turn out to be very happy and that it’s issues went way beyond the gear problem. Indeed, it gets worse. “While we’re at it and the engine is out of the car, let’s check everything and see what else needs attention”, says the mechanic. And, he did and found that the cam shaft was worn and it also needed a valve job. Ugg…
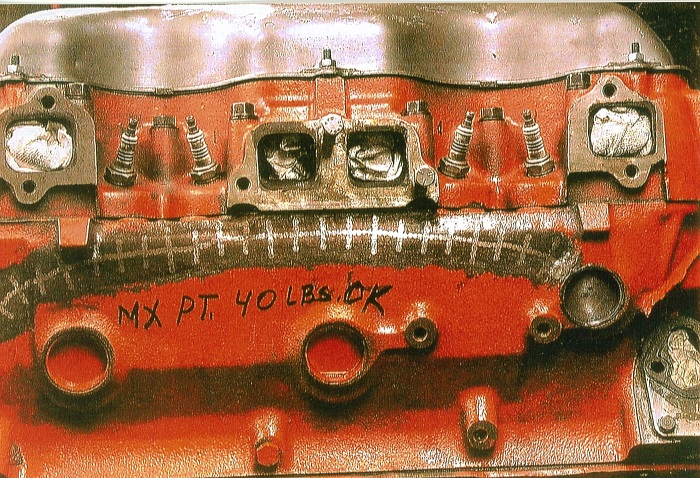
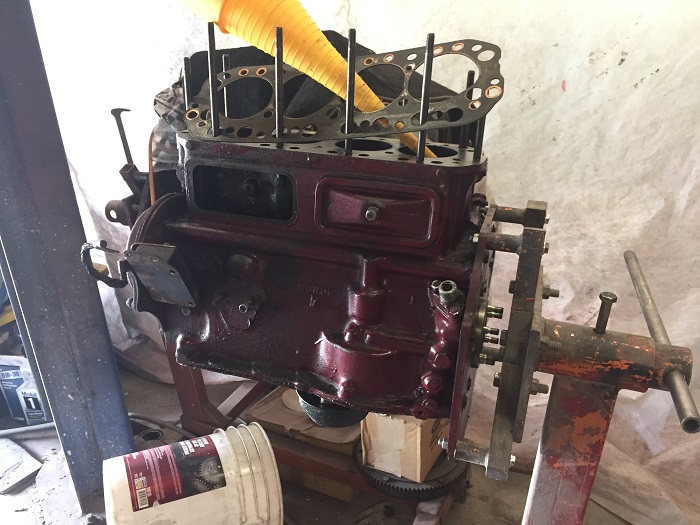 The head, now removed as you can see from the photo above, turned out to need love so off to a machine shop it went for a valve job. As luck would have it, they discovered that the head had a number of cracks. Not good, I thought, wondering how many “boat dollars” would be siphoned off to the MG.
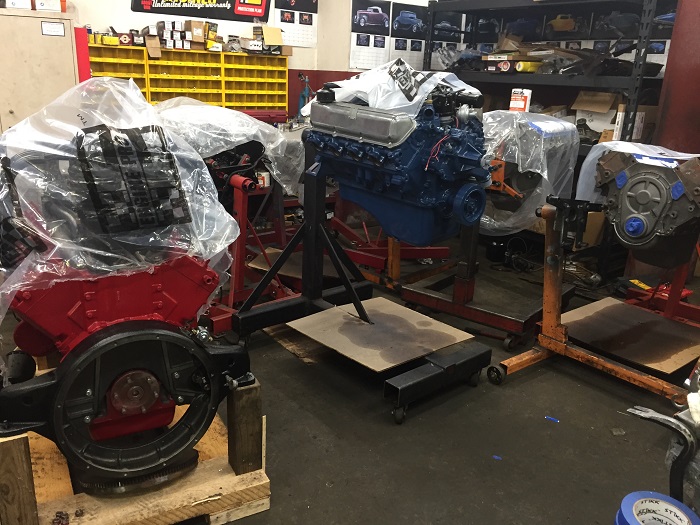
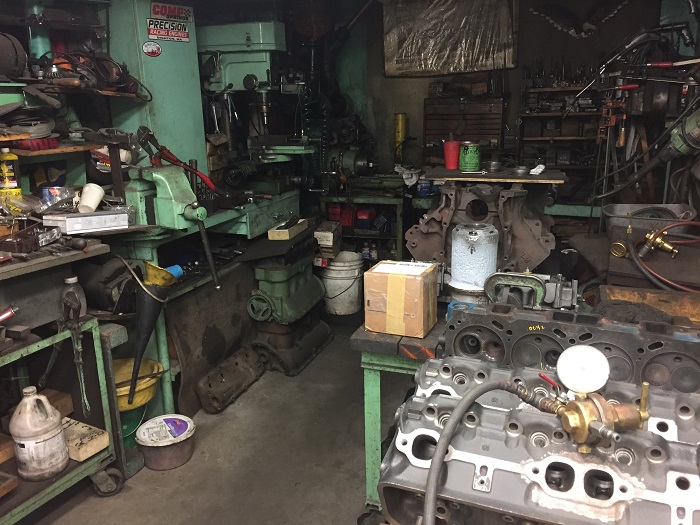
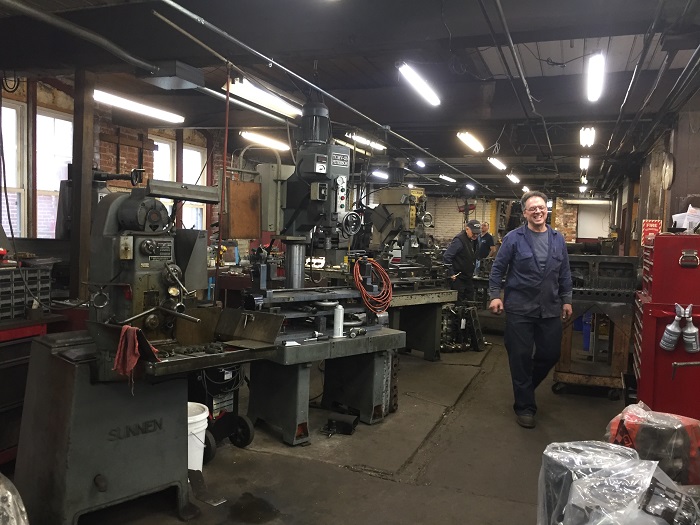 There were engines everywhere I looked, in various states of disassembly along with some really shiny newly rebuilt engines. Perhaps my favorite, all ready for the owner to pick it up, was a beautiful 12 cylinder red monster, on the right, from an antique fire engine. Awesome!
  So, I loaded my sad little cracked MG engine head into the car and off I went to that special place that heals sick engine heads in MA.
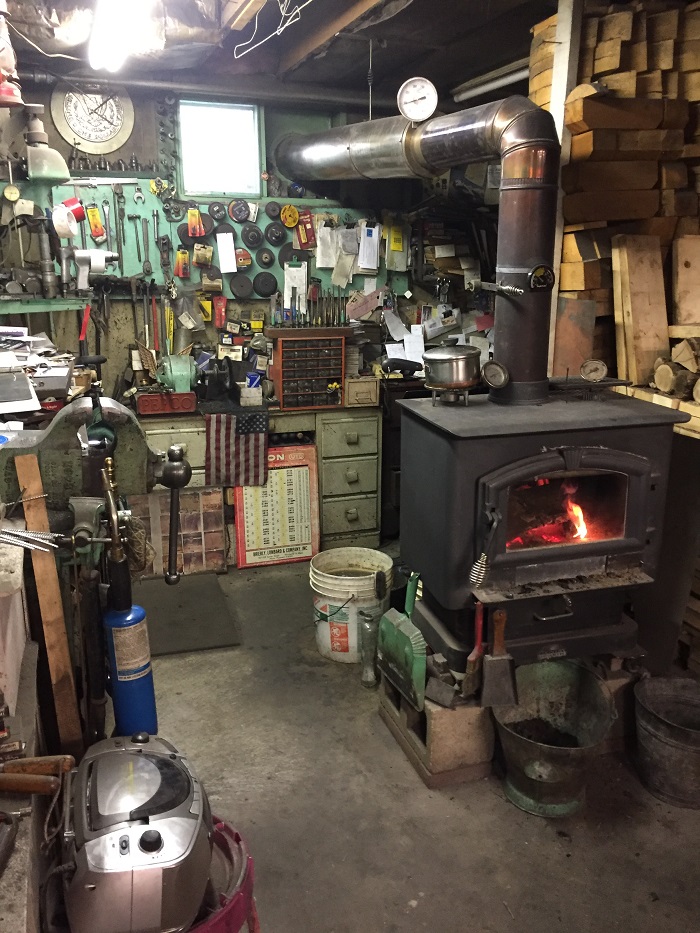 Amazingly, he agreed to fix the head in a few hours and instructed me to head to a local mall for lunch and to return at 12:30. I did and returned just in time to watch him finish up the repair.
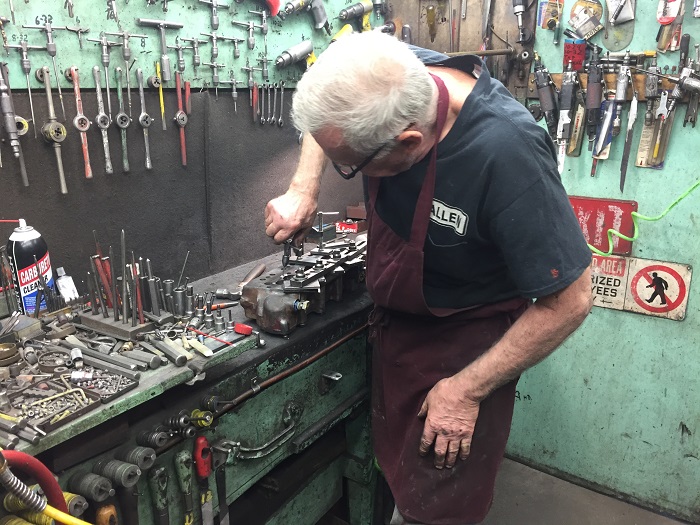 After filing the inserts flush, he used a pneumatic “tapper” to peen the metal in even more securely. I was exacting work.
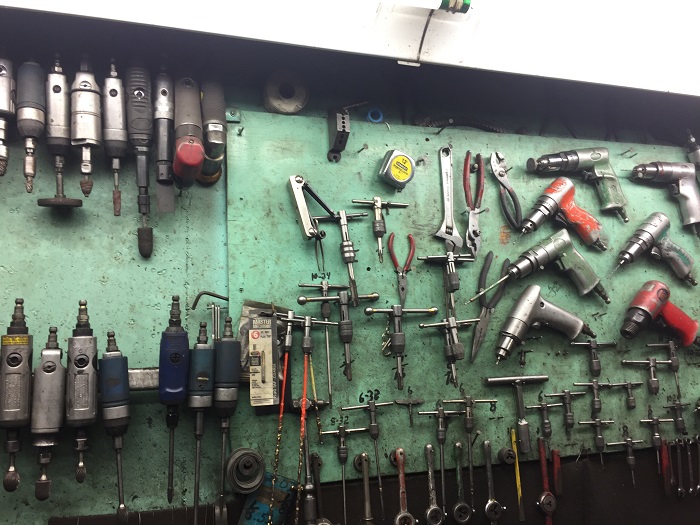
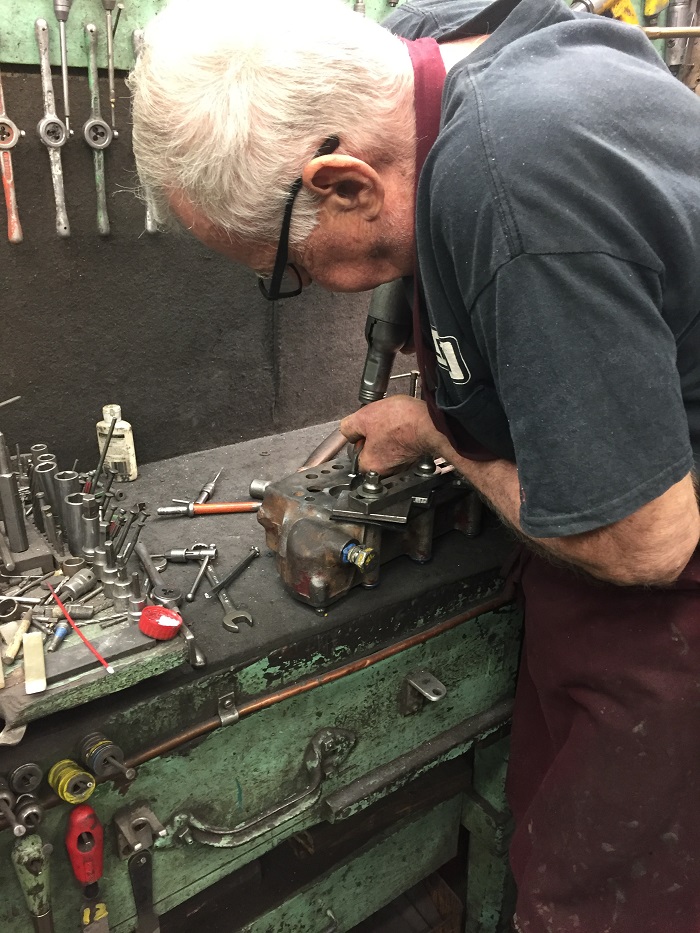 And, all of this very precise work was in great contrast to a chaotic riot of stuff everywhere I looked.
 When he was confident that the cracks were filled and secure, he took multiple clamps, metal wedges and temporary gaskets to cover each of the cooling chamber openings in the head so that he could pressure test the casting and be absolutely certain that his repairs were perfect. It was hard to follow with his quick movements but it was clear that he knew exactly what he was doing.
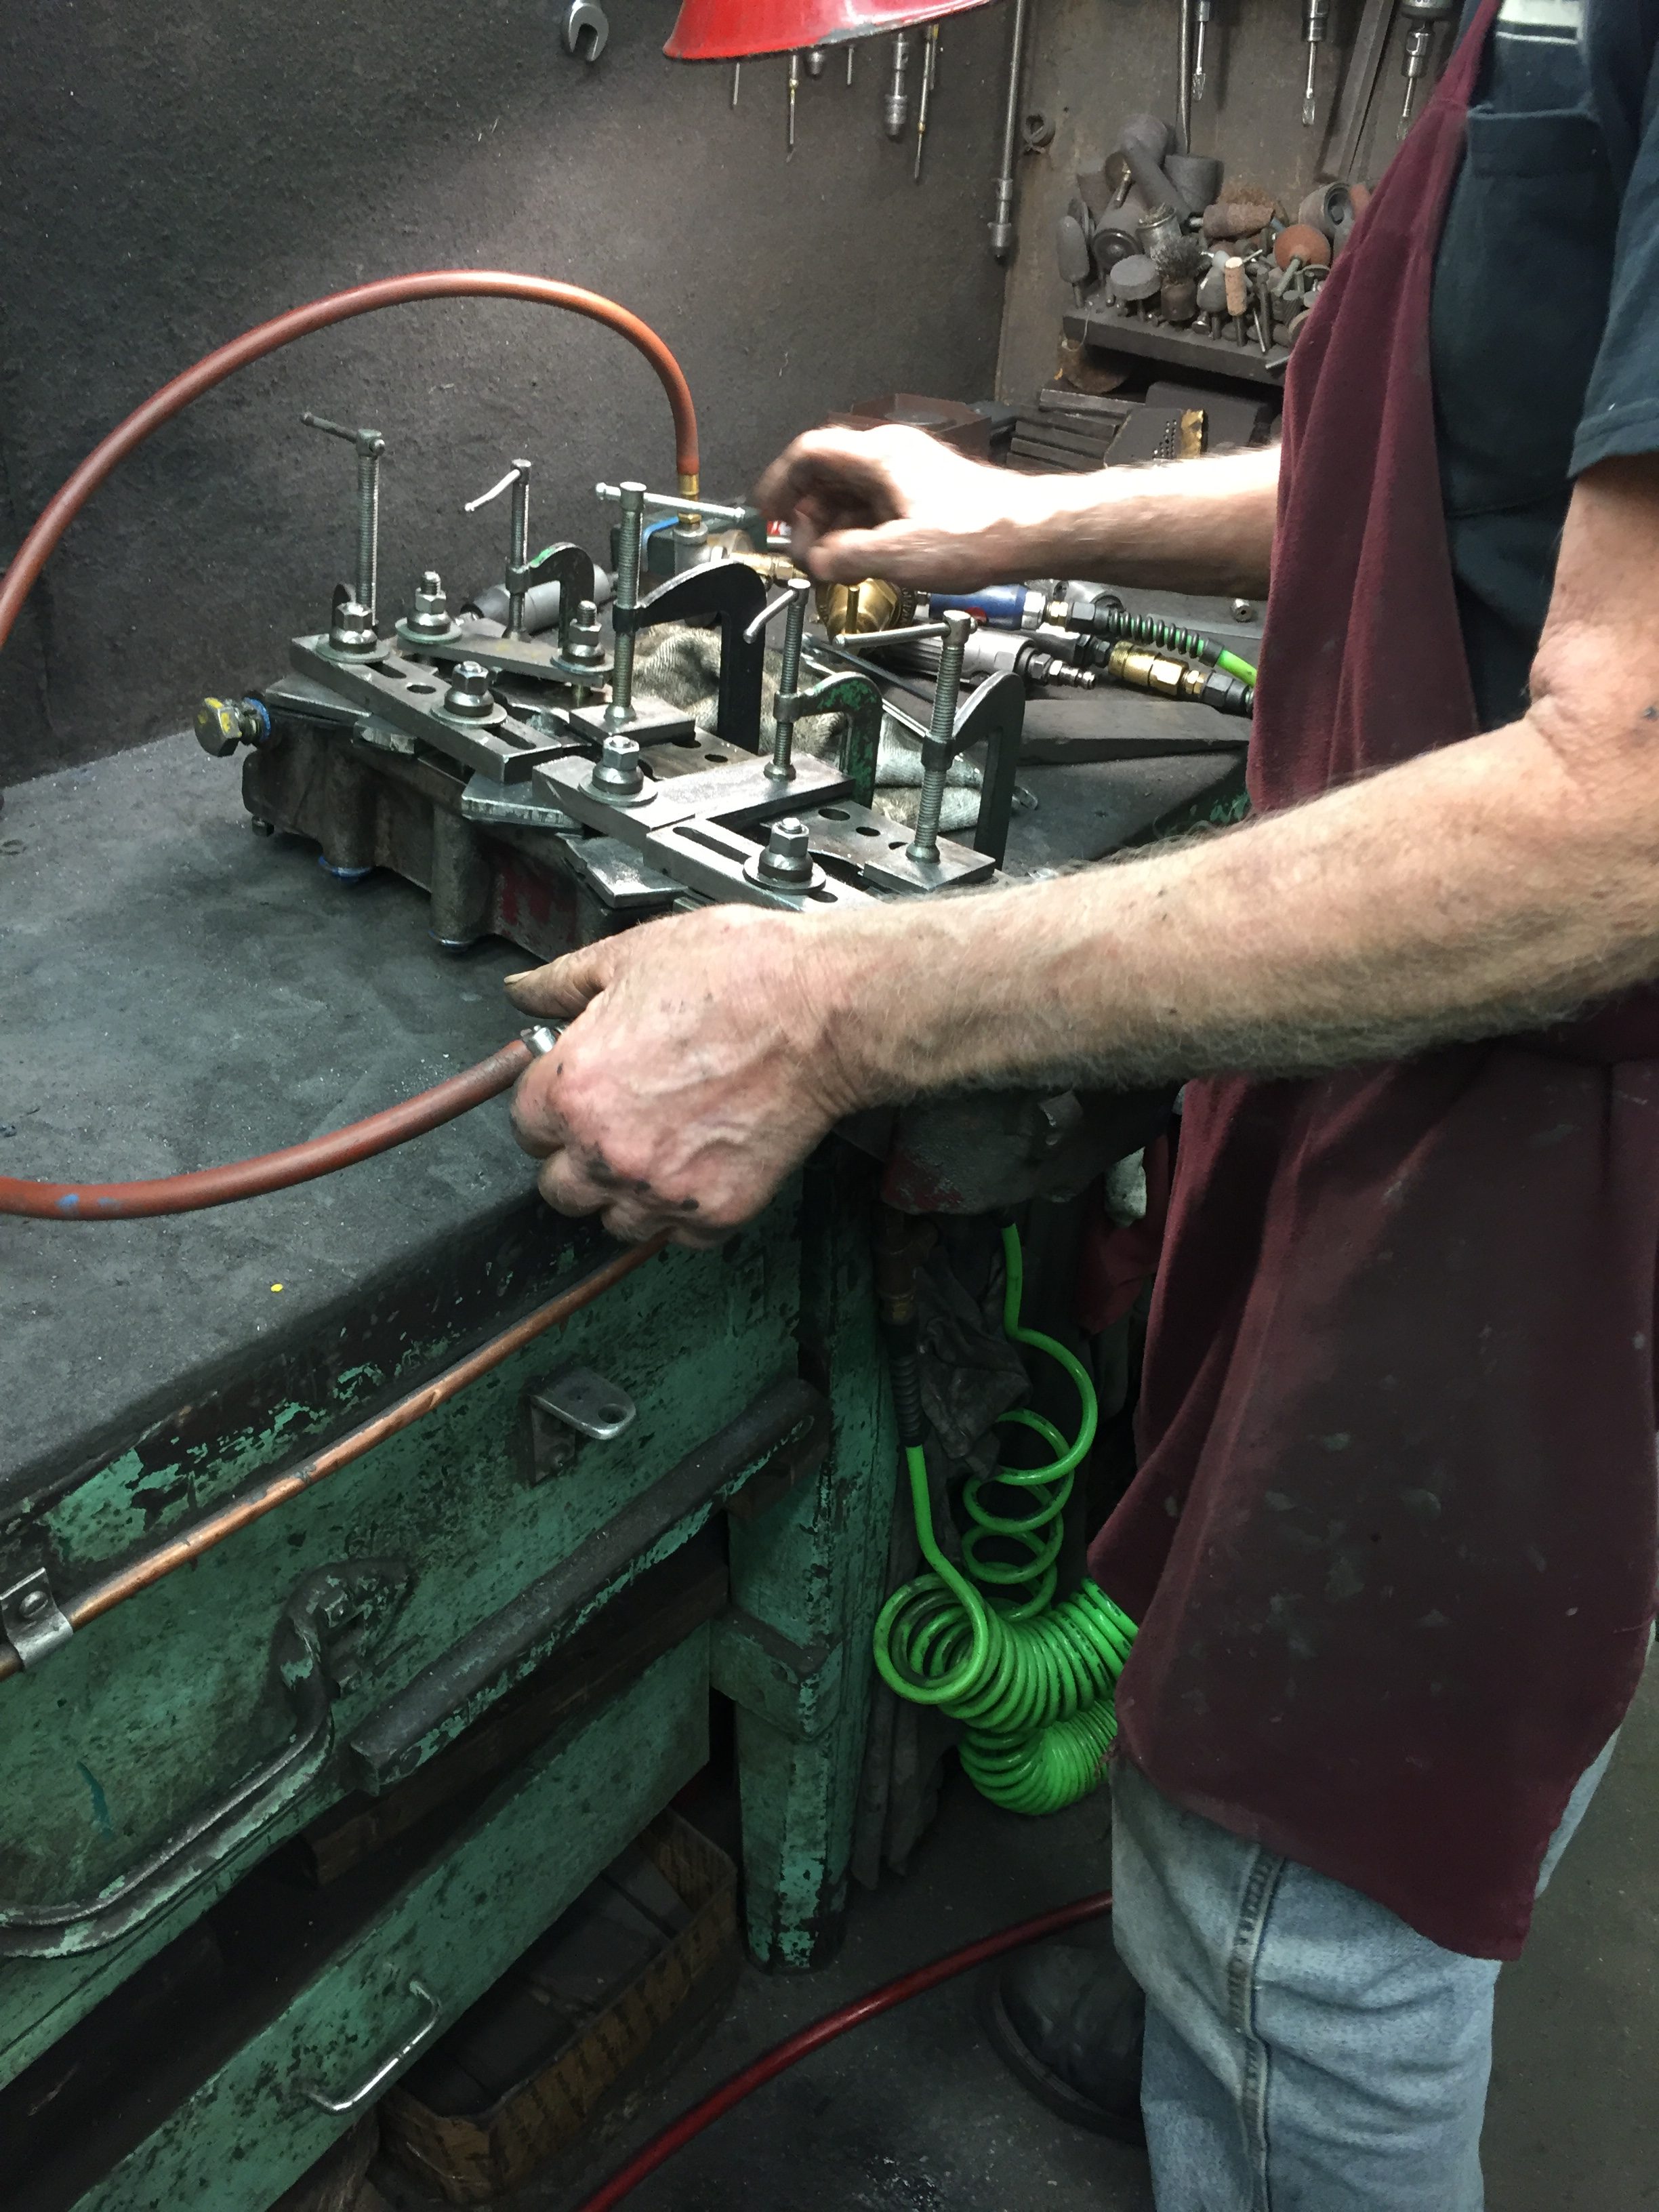 He turned up the pressure to see if it held.
  While the head was pressurized, he applied a liberal coating of WD40 to check for bubbles of escaping air from problems in the head casting. There were none. As expected…
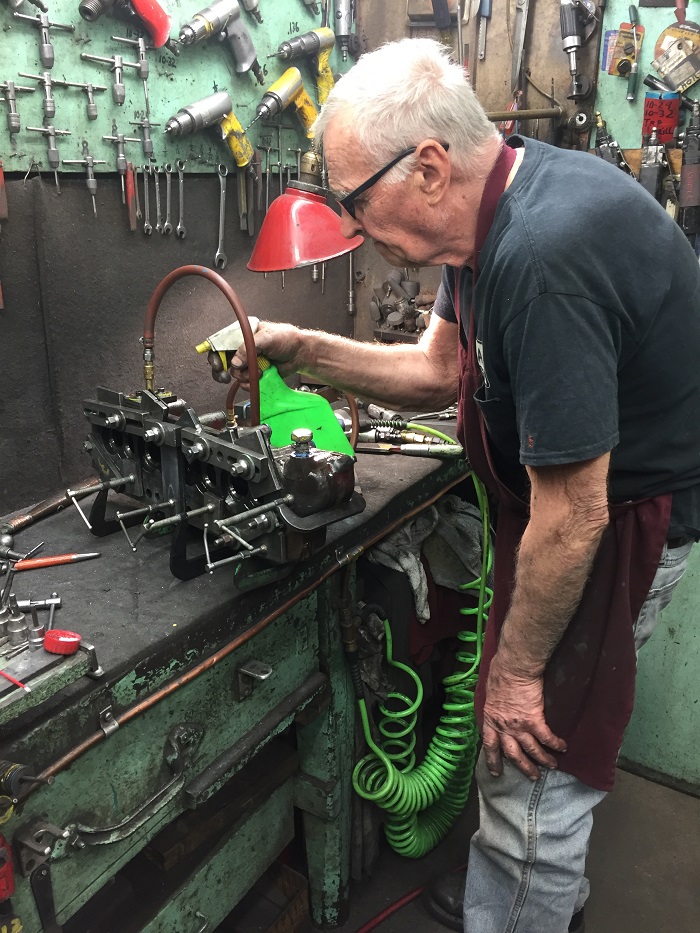 The whole process took about an hour and was fascinating. It surely demonstrated that it pays to have work done by someone that does this sort of thing every day and in Frank’s case, all day, every day.
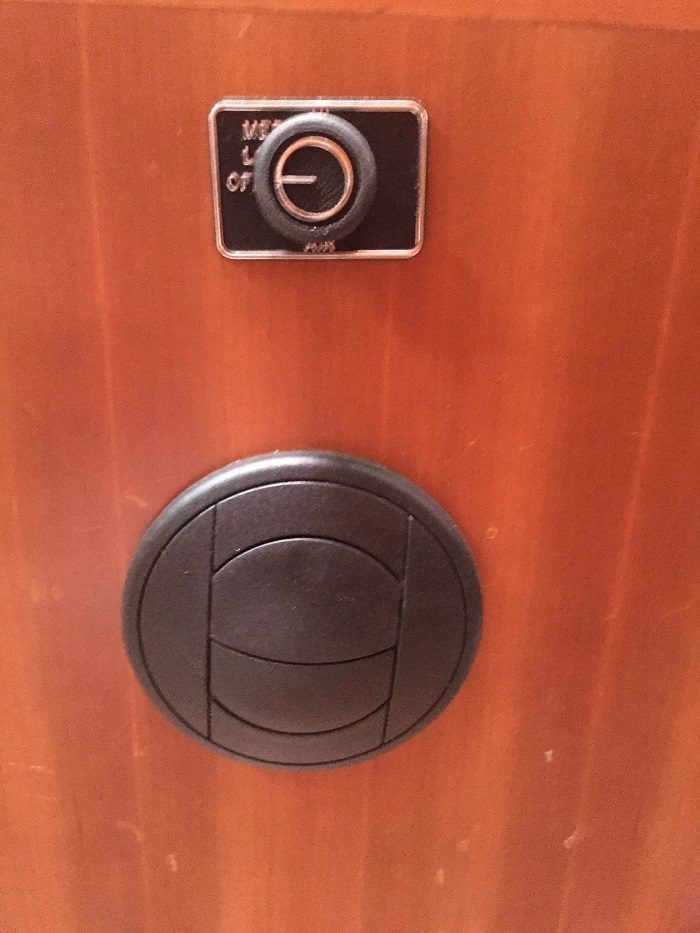
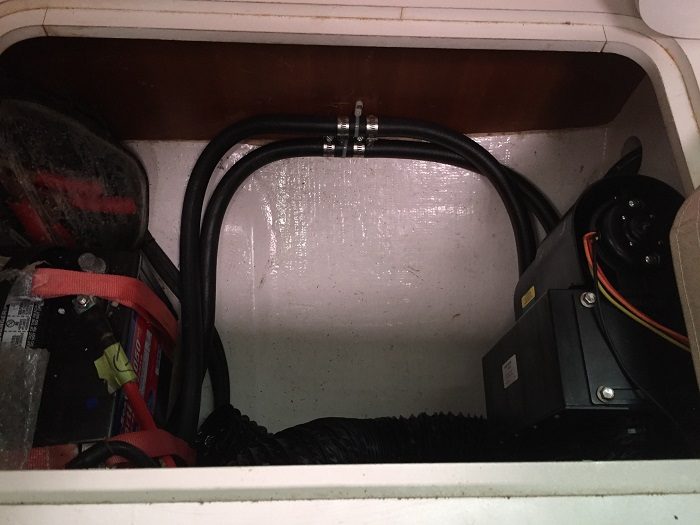 This is the switch to control the heater fan. There are three fan speeds and two vents. It’s located on the front of the settee in the main salon so it will offer easy access. I hope that it won’t be “easy breaking” as well. I am hopeful that the cushion, right above it, will keep it out of harm’s way. That’s also the vent, right below it. It can be opened and rotated to direct the, hopefully, hot air.
  As I have mentioned in prior posts, a lot of the overhead panels were badly damaged from dripping water coming from badly bedded fittings on deck. The granny bars, near the mast were particularly bad offenders. Here’s quite a stack of panels that needed recovering, about a dozen.
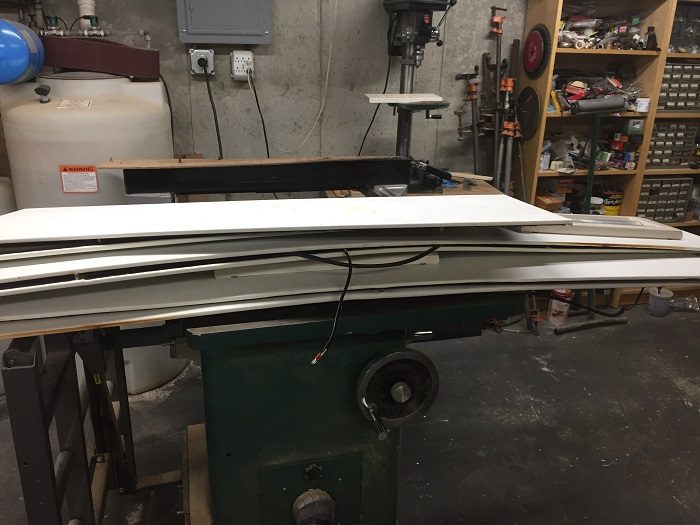 The vinyl on each panel was held in place by hundreds of staples, something like 500 per panel, many rusted beyond hope. I had to pry each one loose with a screwdriver and then pull it out with a pair of pliers. Talk about repetitive motion injury.
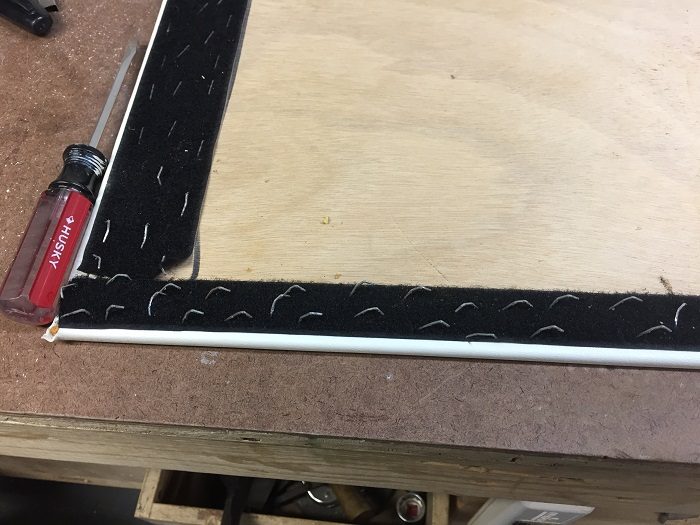 Others were so badly rusted that the velcro just pulled off. Of course, that left a mess of bent rusted staples behind. Many of the panels are scored to allow them to bend to follow the curves of the ceiling. In many cases, they were cracked so I had to reinforce them with even more staples, stainless steel now.
 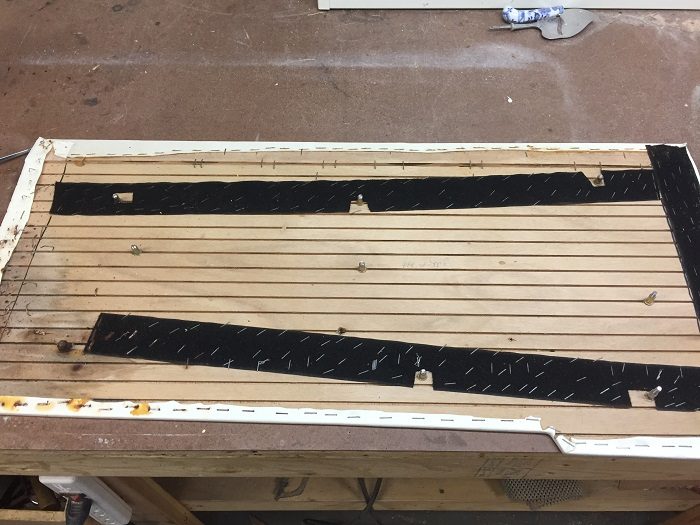 All of the panels are cleaned up now and out for recovering. I was going to recover them myself at the canvas shop but Chad decided that he didn’t have room for me to spread out and is going to handle this himself. Oh boy, this process is going to get even more expensive. Let’s hope he can finish them fast, really fast.
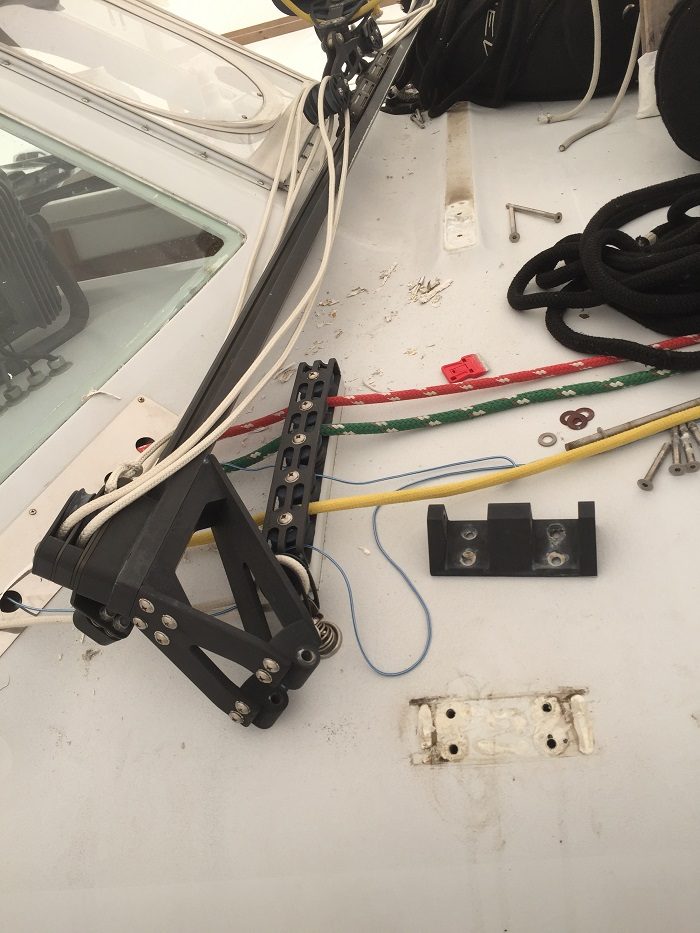 I was also surprised with how little bedding compound there was under each fitting. Also, the traveler is held on by a dozen fastenings. That nasty leak over the galley should be gone, for now anyway.
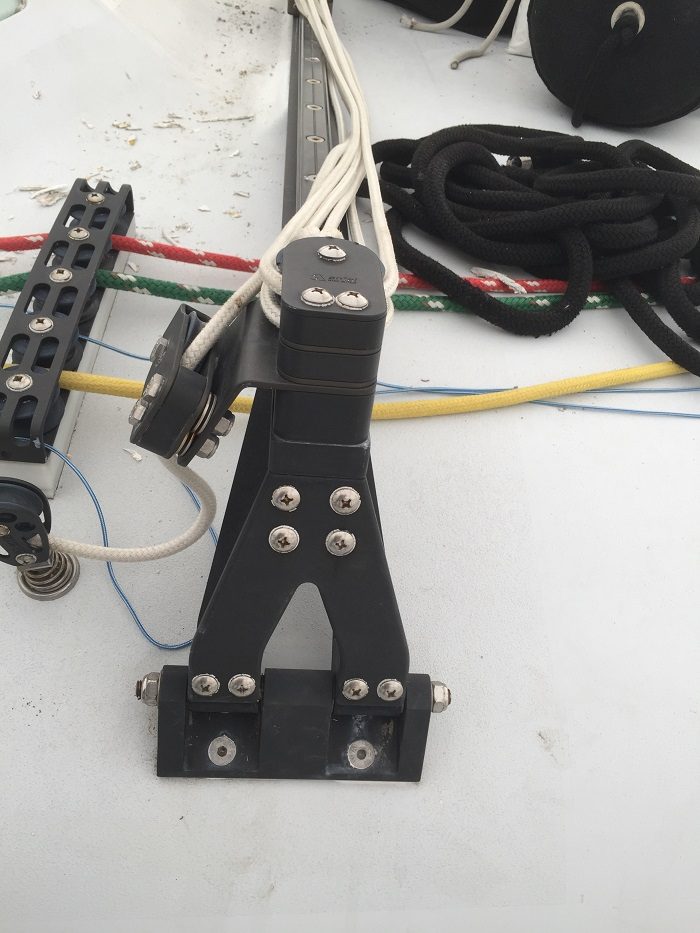 The list is still long and winding but at least I am moving forward instead of two steps back.
 And it even came with some nifty attachments, including one that looks around corners. Wouldn’t it be fun to drill into an adjacent hotel room wall with this?
 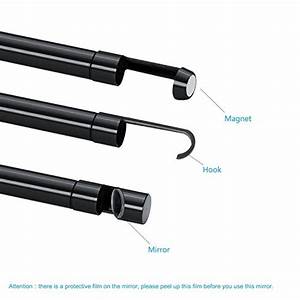 So, this afternoon I will “scope” out the mast step situation and see what I have to do to get those bolts out. Wish me luck.