It seems that one of the first things that most “non-boaters” ask about Pandora is “how many does she sleep?”, a question that was always an odd one to me and yet a question that only seems to apply to boats.
To that point, when someone asks about our home, they never ask “how many sleep in your house?”. Why is that?
I guess that the same sort of question applies to size as inevitably, the next question is “how big is your boat?”. My answer is always “well, that depends how far from the dock we are. When we are close, she seems huge. Far out to sea when it’s rough, very tiny indeed.” Funny as nobody ever says, “how big is your house?”
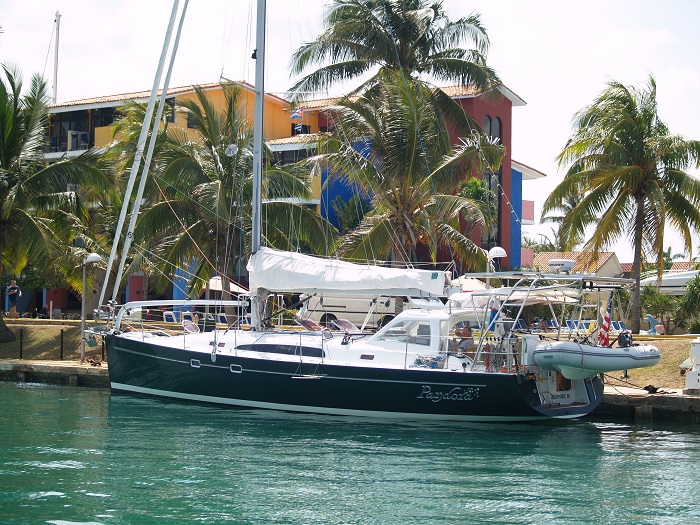
Anyway, the point of the title of this post is, sort of, related to how many Pandora sleeps. Brenda’s answer is always the same when that question comes up. “six for cocktails, four for dinner and two sleep on board.” That works well for us as most of our cruising friends have their own boats and even at 47′, Pandora’s not much larger than a normal sized bathroom in a house.
Related to the sleeping question is how many eat on board and while we have a generous dining table down below,we usually prefer to eat out in the cockpit. However, unlike “old” Pandora where we had a good size dining table in the cockpit, “new” Pandora, not so much. Her table is fine for two but if we are going to live up to Brenda’s saying, we’d have to use salad plates and sit WAY TO CLOSE TO OUR GUESTS as the table is just too small. It looks lovely all set for dinner but, alas, only for two. Yes, I realize that this isn’t dinner but you get the idea.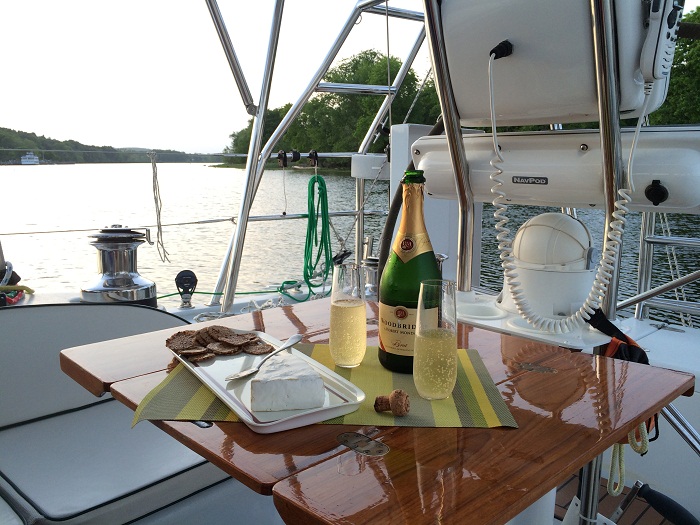 So the question was how to enlarge the table and yet have it still fold down like the one that came with the boat? My solution was to put on some sort of extension, a sort of “leaf” like a “land-home” table might have. The question was how to do it.
I decided to increase the length of the table by 18″ for a total length of 3 1/2′ and design it in a way that could be slid on and removed easily. I am using teak to match the “already aboard Pandora” table. The wood alone, while only a single board, set me back $150 (that’s .15 of a boat dollar). No room for mistakes. 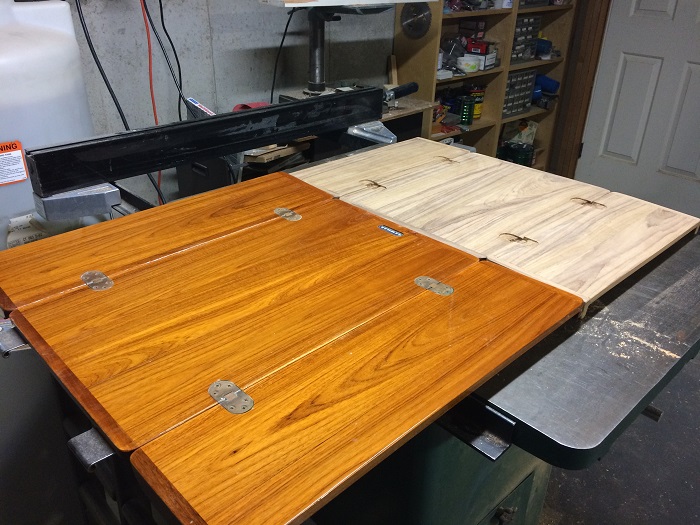 Next I had to include fiddles, like the “old” table, to keep things from sliding around when the table is in the closed position, say for cocktails when we have the “six for cocktails” thing going on. This is what it will look like, sort of, in a deployed but “closed” cocktail position. There will be a slide bracket on the back to keep the two sections aligned and secured to each other.
 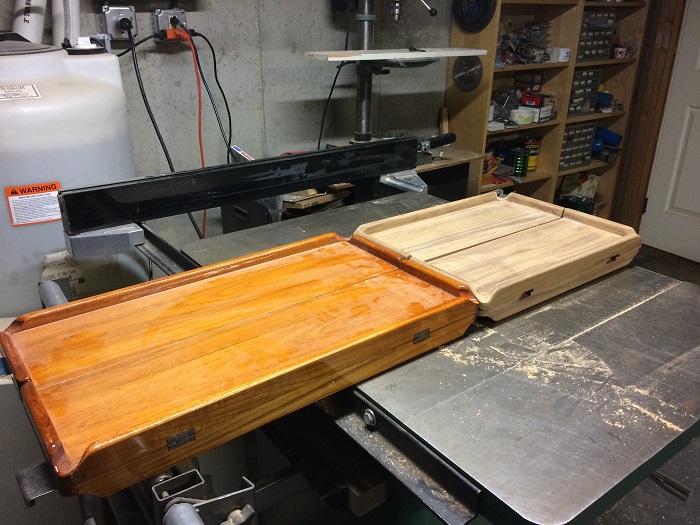 There will be two tapered legs to support what will be a long table. We don’t want a guest to lean on the suspended end after “one too many” and bring the whole thing crashing to the deck. Making the tapered legs was a bit challenging using a shop-built jig. This is a shot of the jig and “blank” of the soon to be tapered leg.
 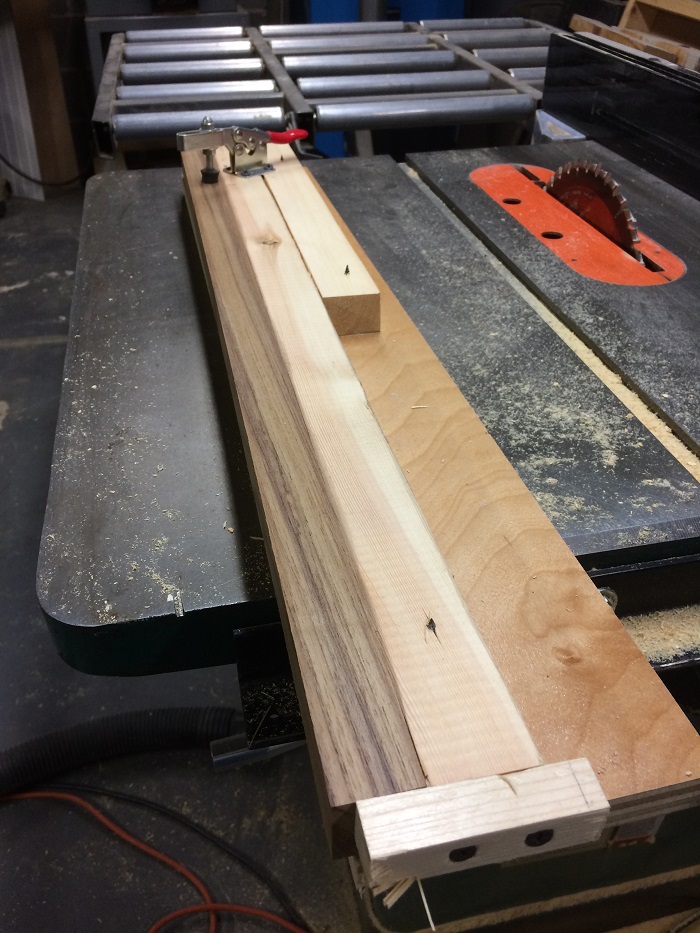 Here’s one of the two roughed out legs. They taper from about 1 1/4″ at the top to a bit over 1/2″ at the bottom. Magic, a tapered leg! A fitting will go in the top of the leg that will allow me to screw it into the bottom of the table to support the extra length.
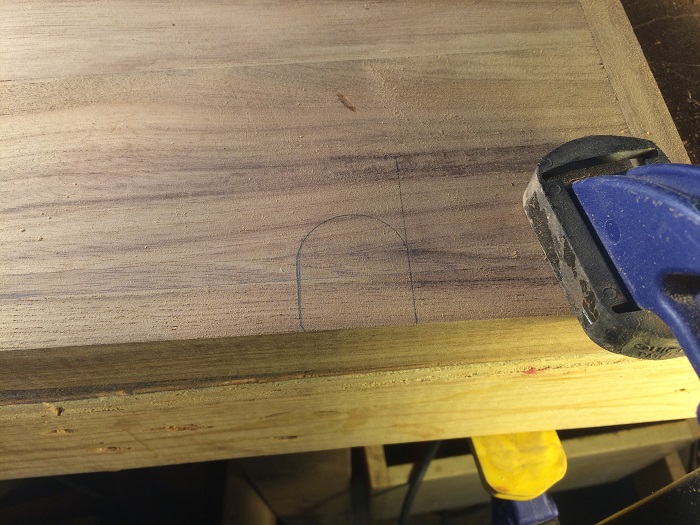
 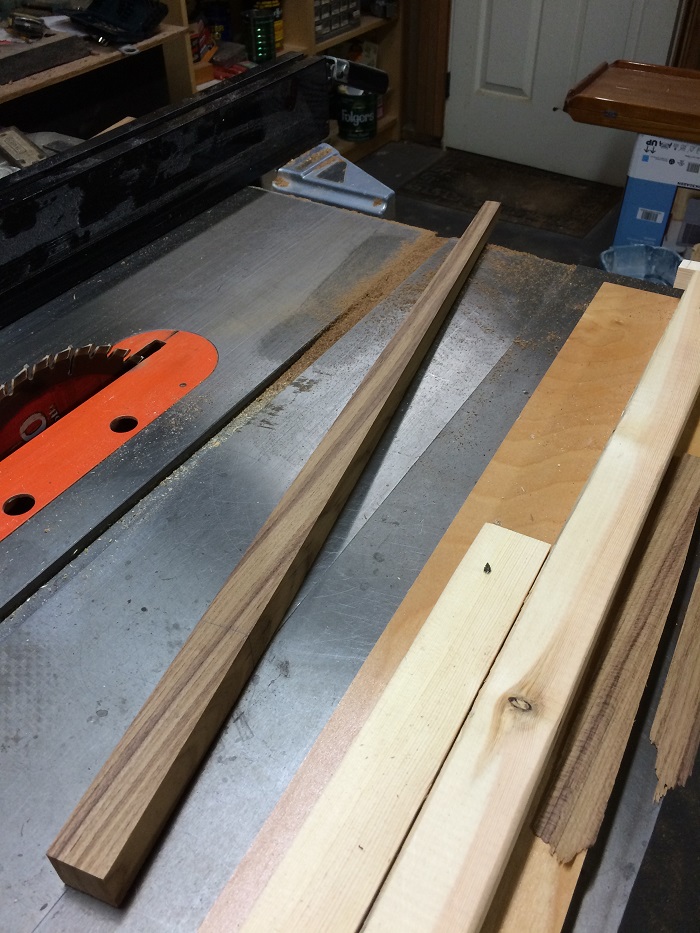 Curious about how to make such a jig or how to use it? This four minute video shows how to make a jig and after that, if you just have to know how to actually use the jig, a second short video will come up. I also had to cut in for each of the 4 new hinges so the table will fold into the “cocktail” form. First I drew them on the wood.
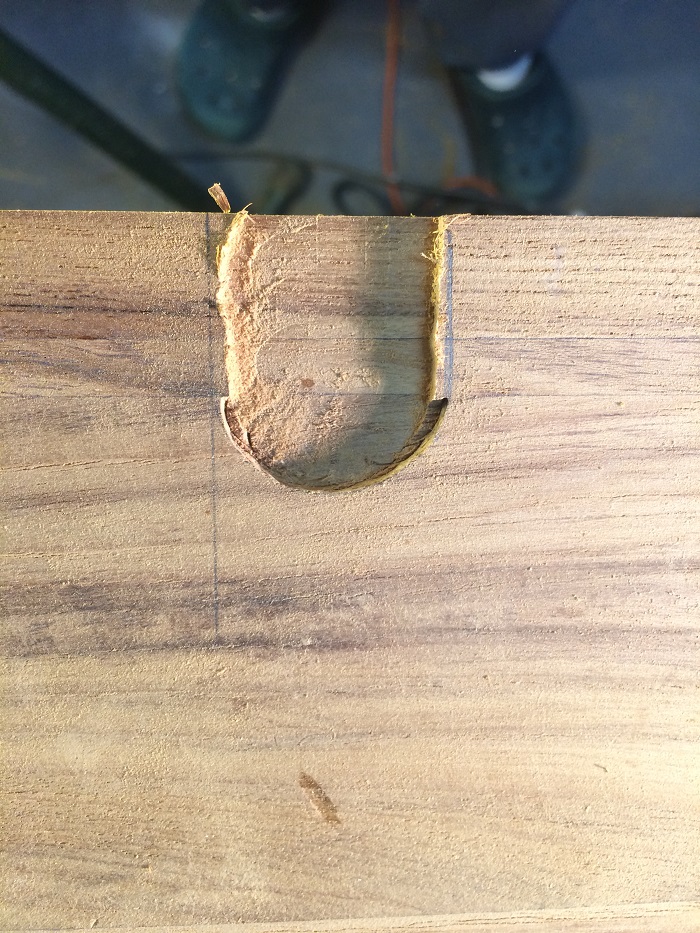
  Then I roughed them out with an electric router. I think it took me a week or two just to get up the nerve to use the router “free-hand” and I had to get them exactly right eight times as that’s how many hinge ends I had to get “perfect”. You can do a world of hurt to a project such a tool. They can be hard to control and there is no way to repair a mistake. However, it worked out. Here’s what they looked like when “rough” after the router.
  Then I “cleaned up” each hinge mortise with a small chisel.
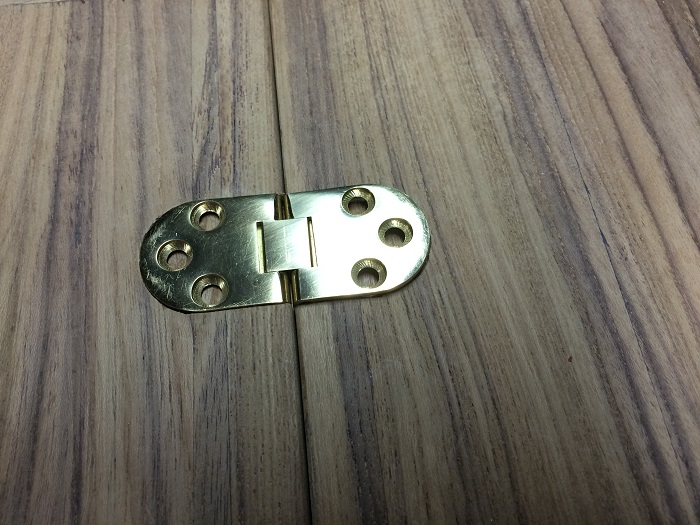
 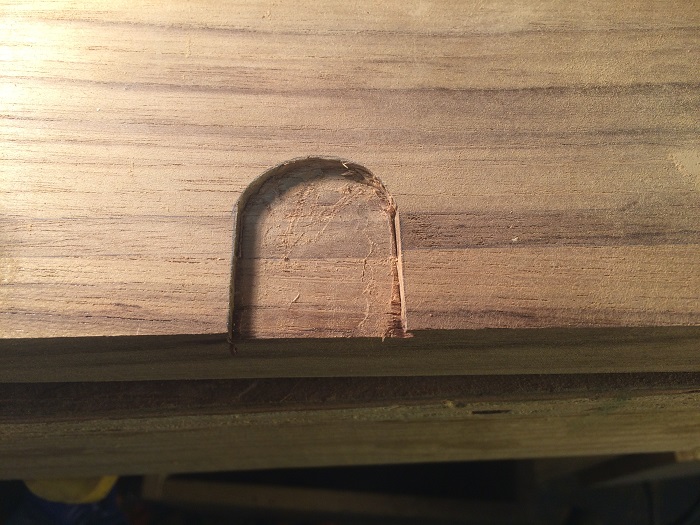 The net step was to mortise out more wood for the thicker parts of the hinge. I took out some wood, tried to fit the hinge and repeated the process time and time again until each hinge end fit “just right”.
 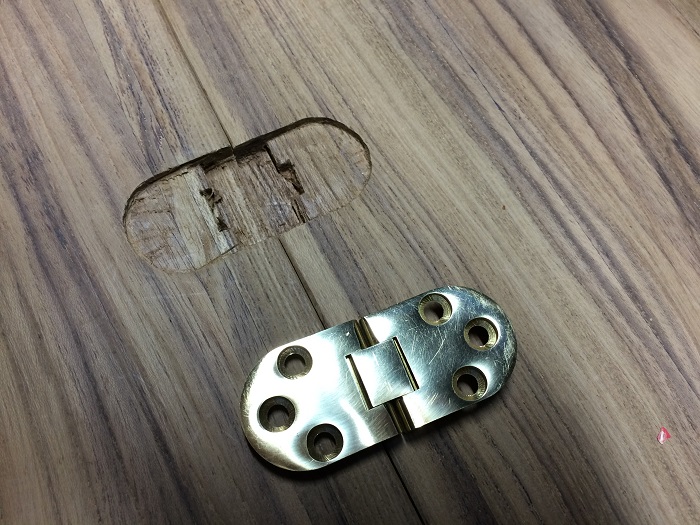 And eventually they all did.
  I also had to duplicate the details on the original table such as the routed down areas of the corners.
 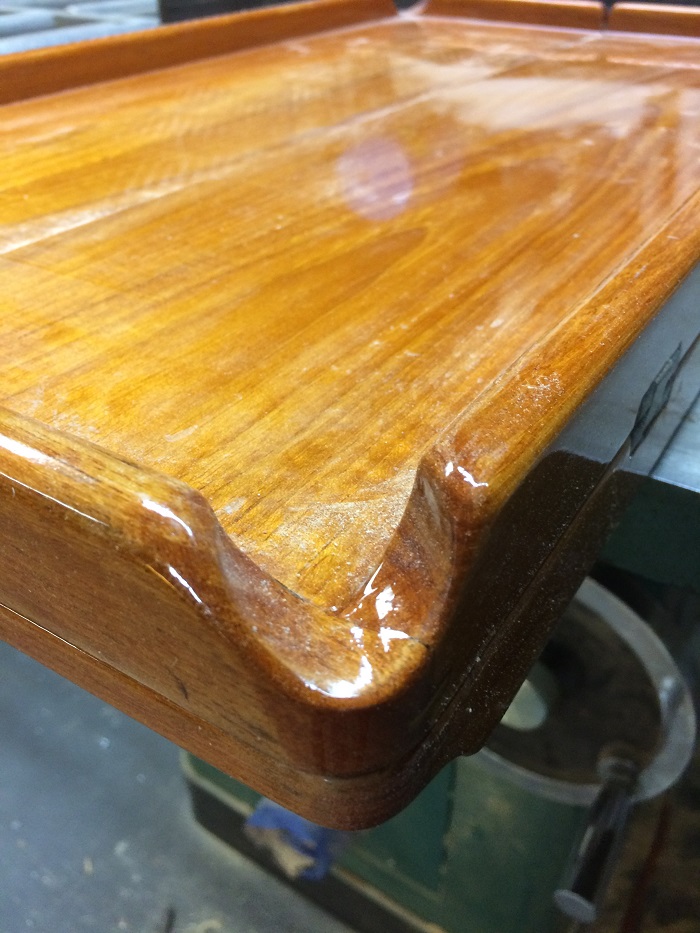 That proved to be fairly time consuming. I did it with a 1″ sanding drum on a drill. Lots of sandpaper used up on that step but it worked.
Today, if I ever finish this post, I’ll do the final fitting on the hinges and then work out a design for the “tab” on the bottom of the table that will marry the two table sections together securely. After that, I’ll finish the sanding and then begin applying the many coats of varnish so the new table will look like the one that came with the boat.
I’ll include photos of the finished table after it’s all completed. While it’s a fairly simple project, getting the details on the new “leaf” hasn’t been easy as I had to reverse engineer the “how did they do that” for much of the details.
Everyone complains about how much thing cost for boats but it’s the “custom” nature of everything that makes them so costly. It’s a good thing that I mostly have the ability make this stuff as I could never justify the cost of hiring someone else to do it.
So, how many does Pandora sleep? Now you know and soon Pandora will be able to be true to Brenda’s word “four for dinner” on our shiny new cockpit table.

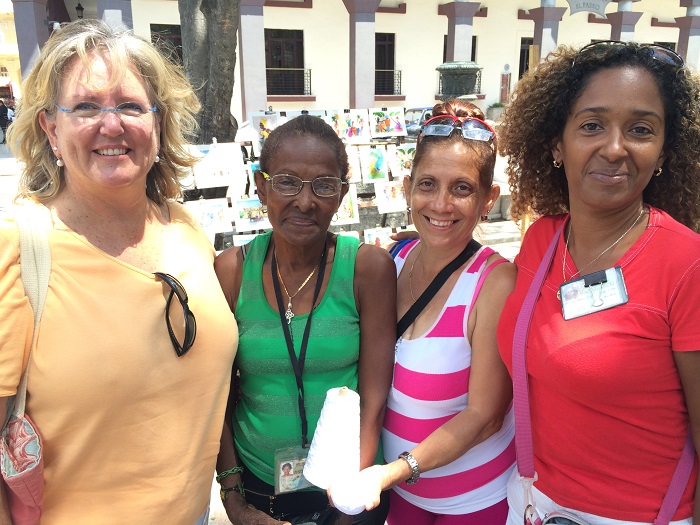 It seems that the “language of fiber” was all that they needed and a little interpreter help from Dazmira (the one on the right in red) who speaks some English. So here we are, nearly a year later, and Brenda has been accumulating a mountain (well perhaps a hill, or modest mound) of donated lace materials from members of her guilds, here in CT, to take to Adriana this spring.
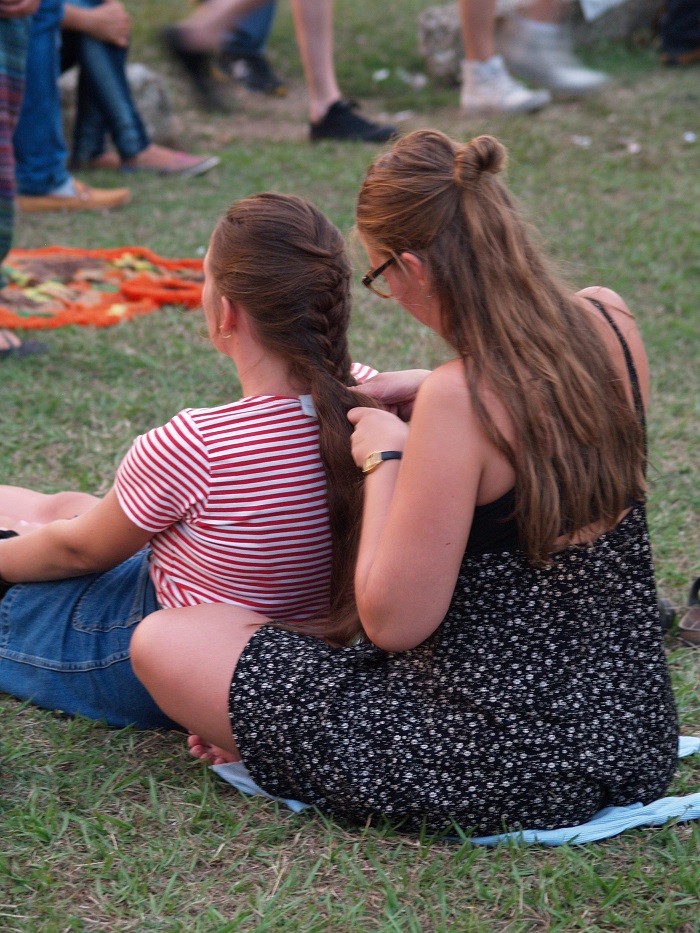
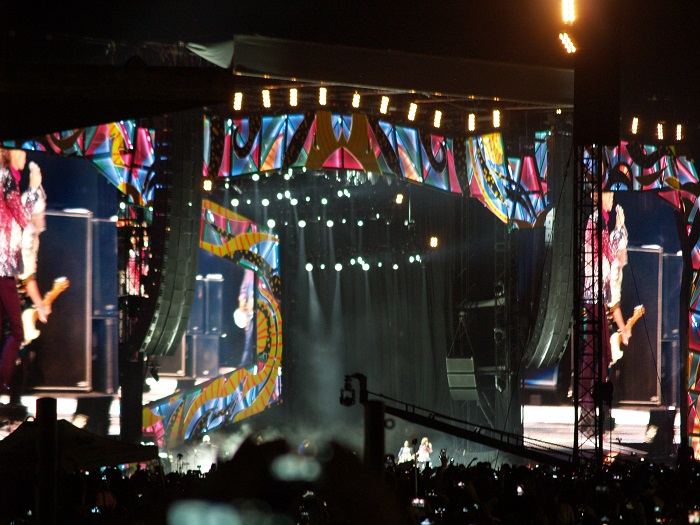
 Some old enough to have grown up listening to the band and some well, not so familiar with the phenomenon that the Stones have been for nearly 50 years. A mother and daughter (I’m going with that) enjoying the evening. Waiting for the concert to begin.
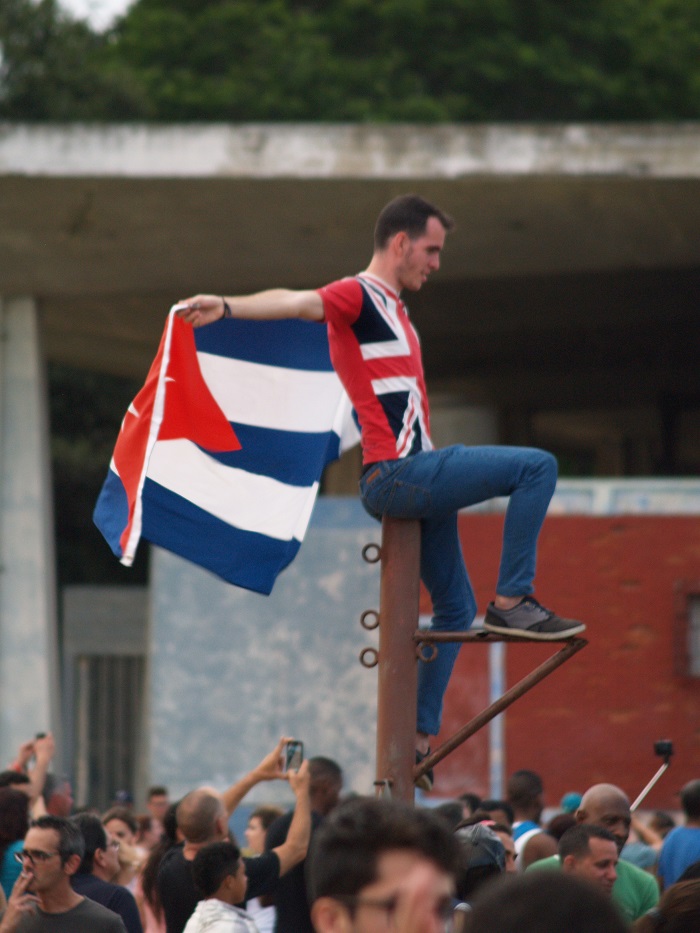
  It was big news and likely the only drug free concert in the history of Stones concerts. Yes, the Cuban government is very tough on drugs. This CBS news segment gives a good feel for the excitement we heard again and again from Cubans about change that is coming to Cuba. Change for the good…they hope. The Stones have put out a feature length movie of the concert. No surprise on that score. This trailer gives a pretty good feel for what it was like to be there. A sea of humanity and we were there, if only two specks in that sea of humanity. Ok, Ok, one full length music video. We were close enough to see but not so close to feel like we were going to be crushed. It was a remarkable experience. Yes, an amazing story and one that gets even more amazing with each telling.As they say, “you had to be there” and we were.
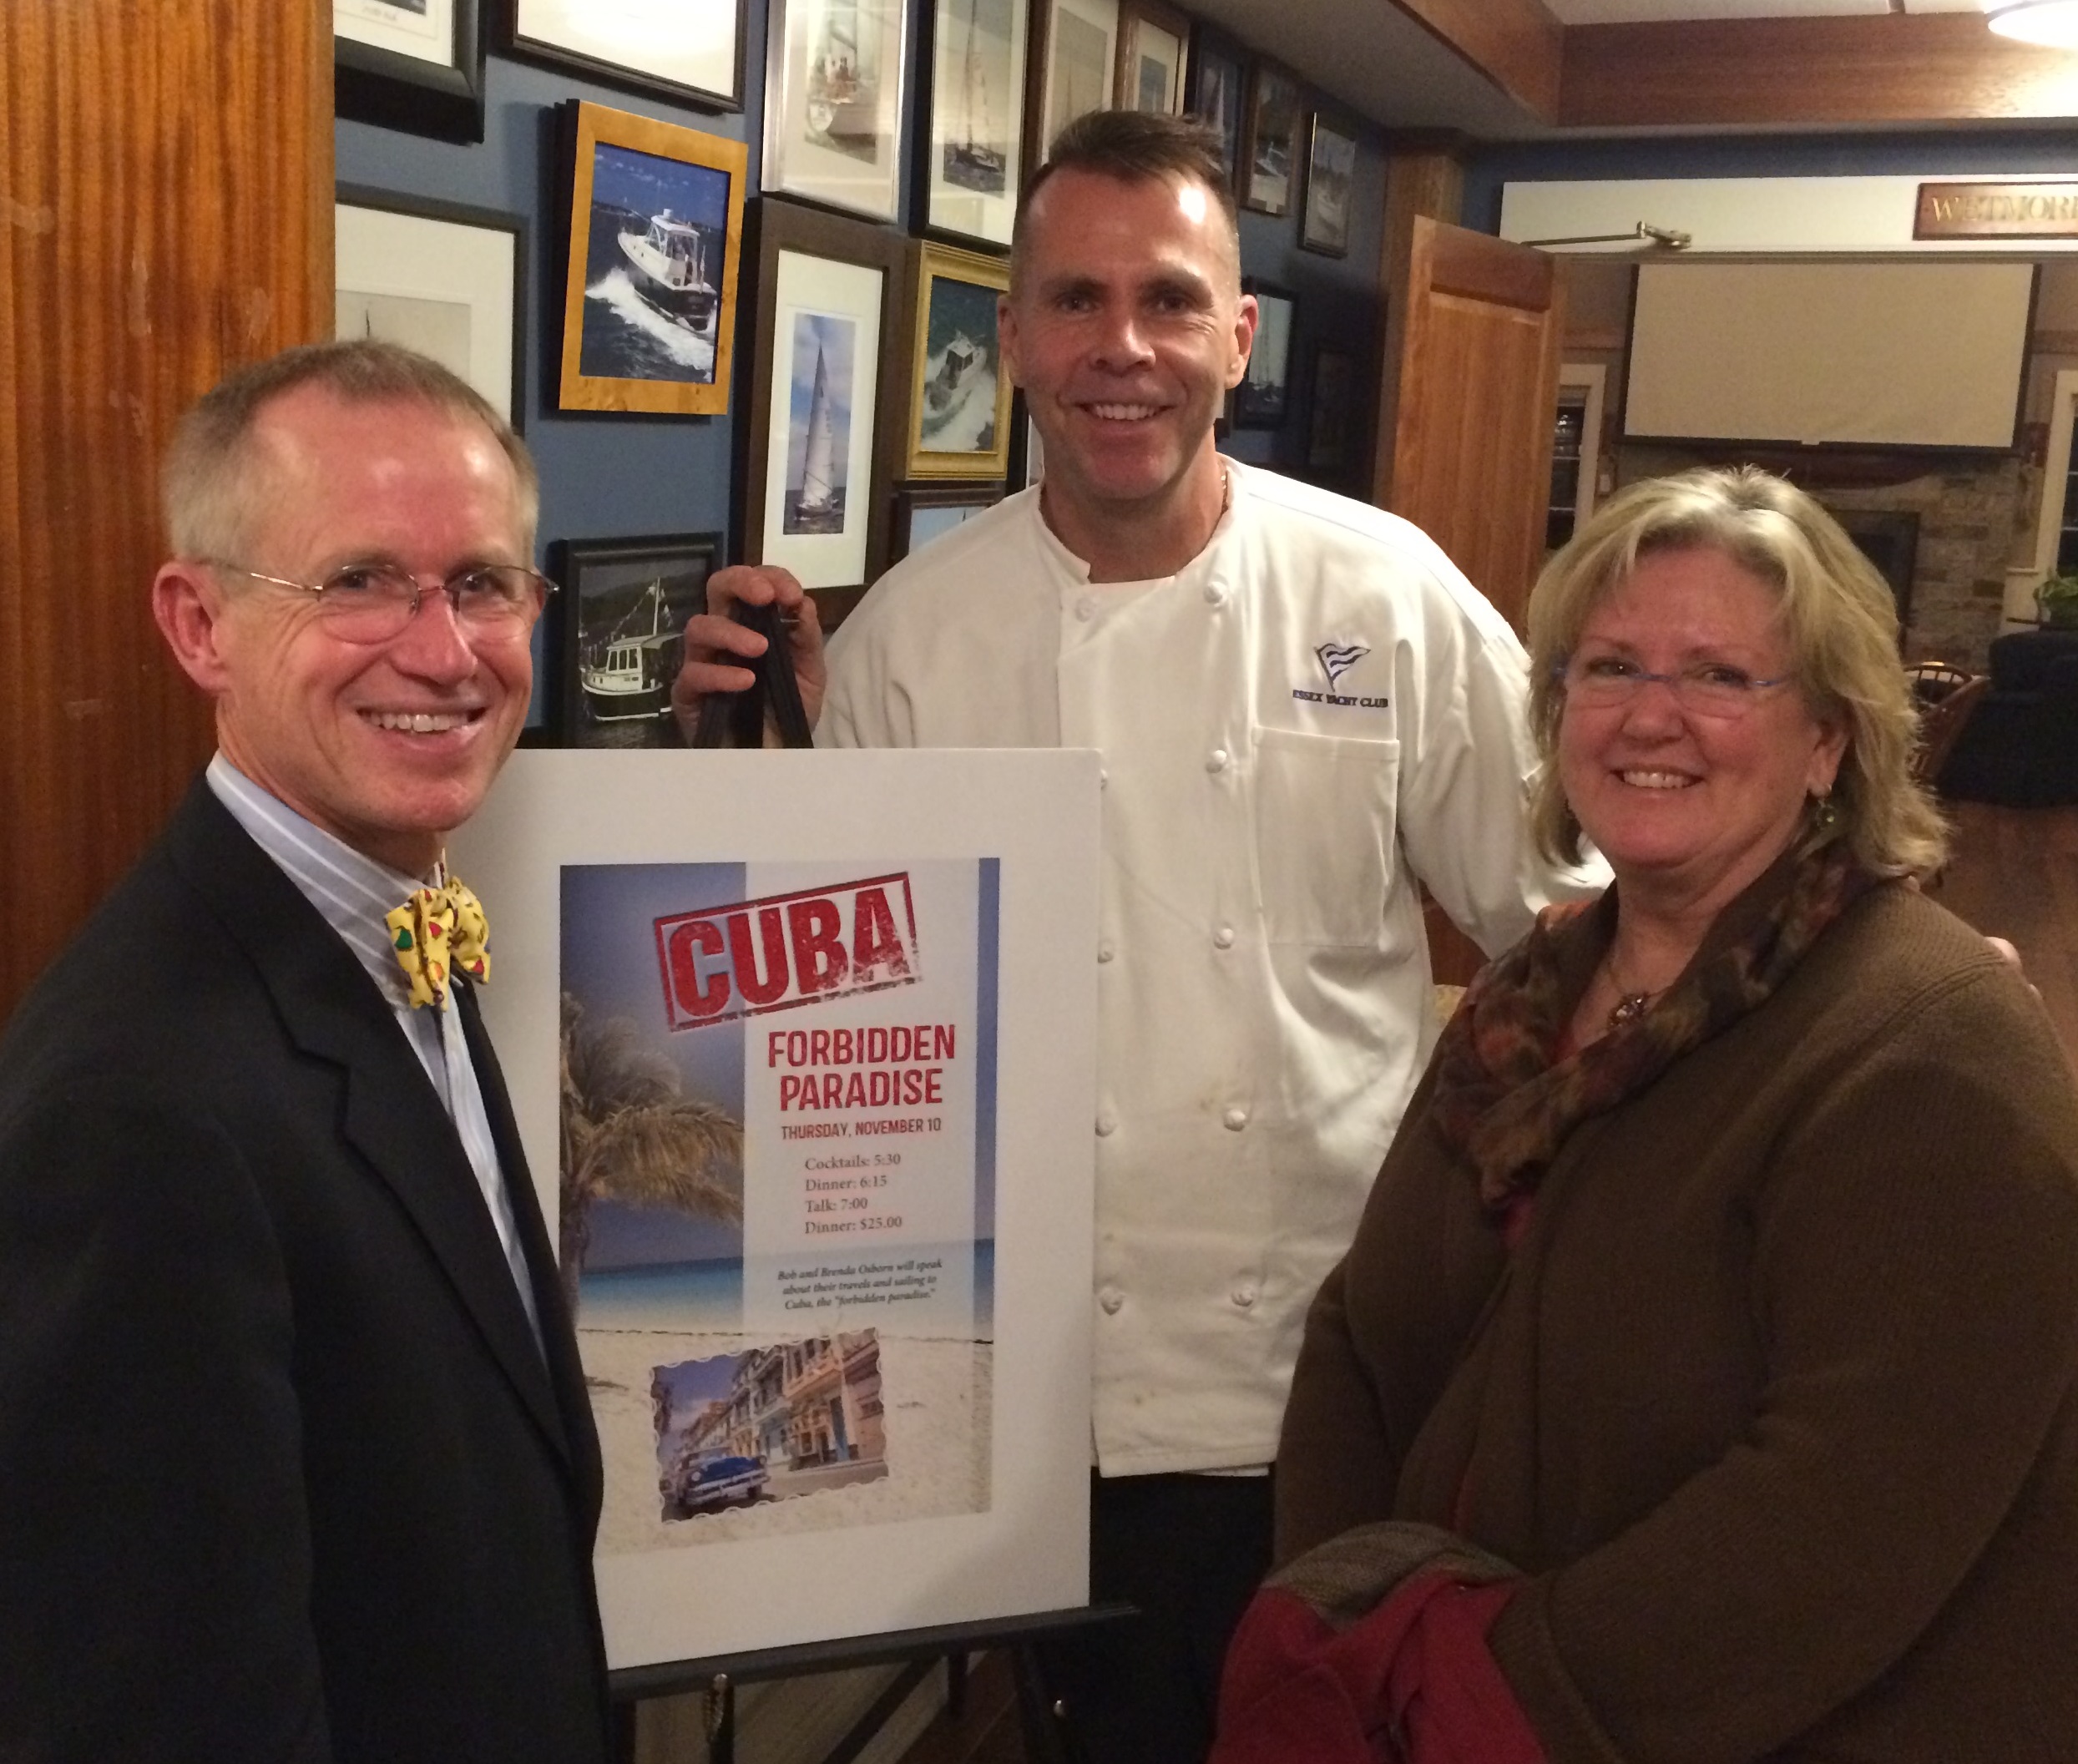 For me, the only thing better than speaking to a group about our voyages, is speaking to a group that I know personally.
 And, nothing gets a rise from the audience like this photo of me holding lobsters that we purchased from Cuban fisherman. Brenda and I “ate” this particular memory at home just the other night as we had a freezer full of lobster tails aboard Pandora when we returned home from Cuba. “You…Keep your eyes on the crustaceans!”
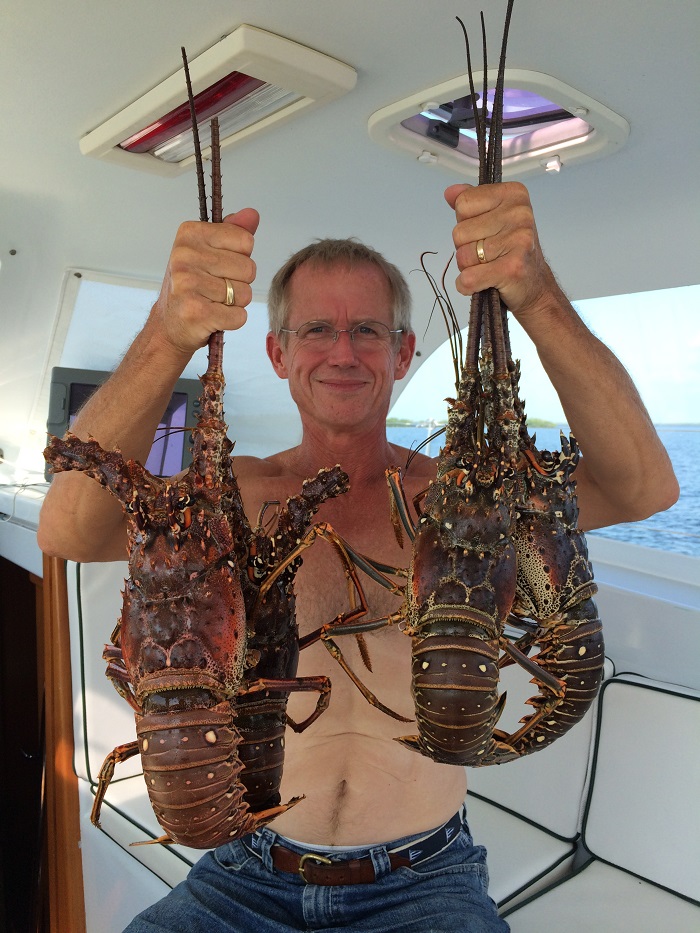 Anyway, it seems that everyone tends to tell stories of the worst conditions and how they “almost….”. Brenda likes to forget those moments and prefers to focus on “being anchored” as the memories that suit her best. Lobster is good too.
 All and all, visiting Cuba was a really wonderful trip with only a few tears along the way. And, speaking of “tears”, we encountered more than a few no-se-ums one evening, not the happiest memory of Cuba but
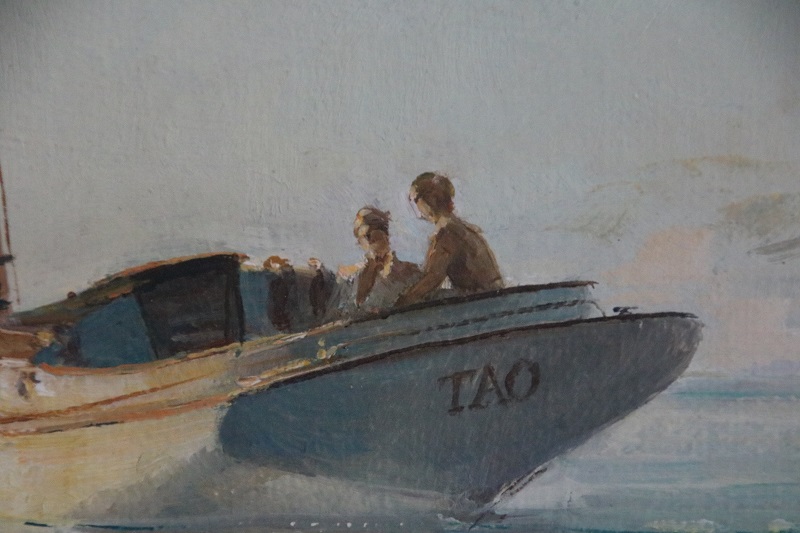
 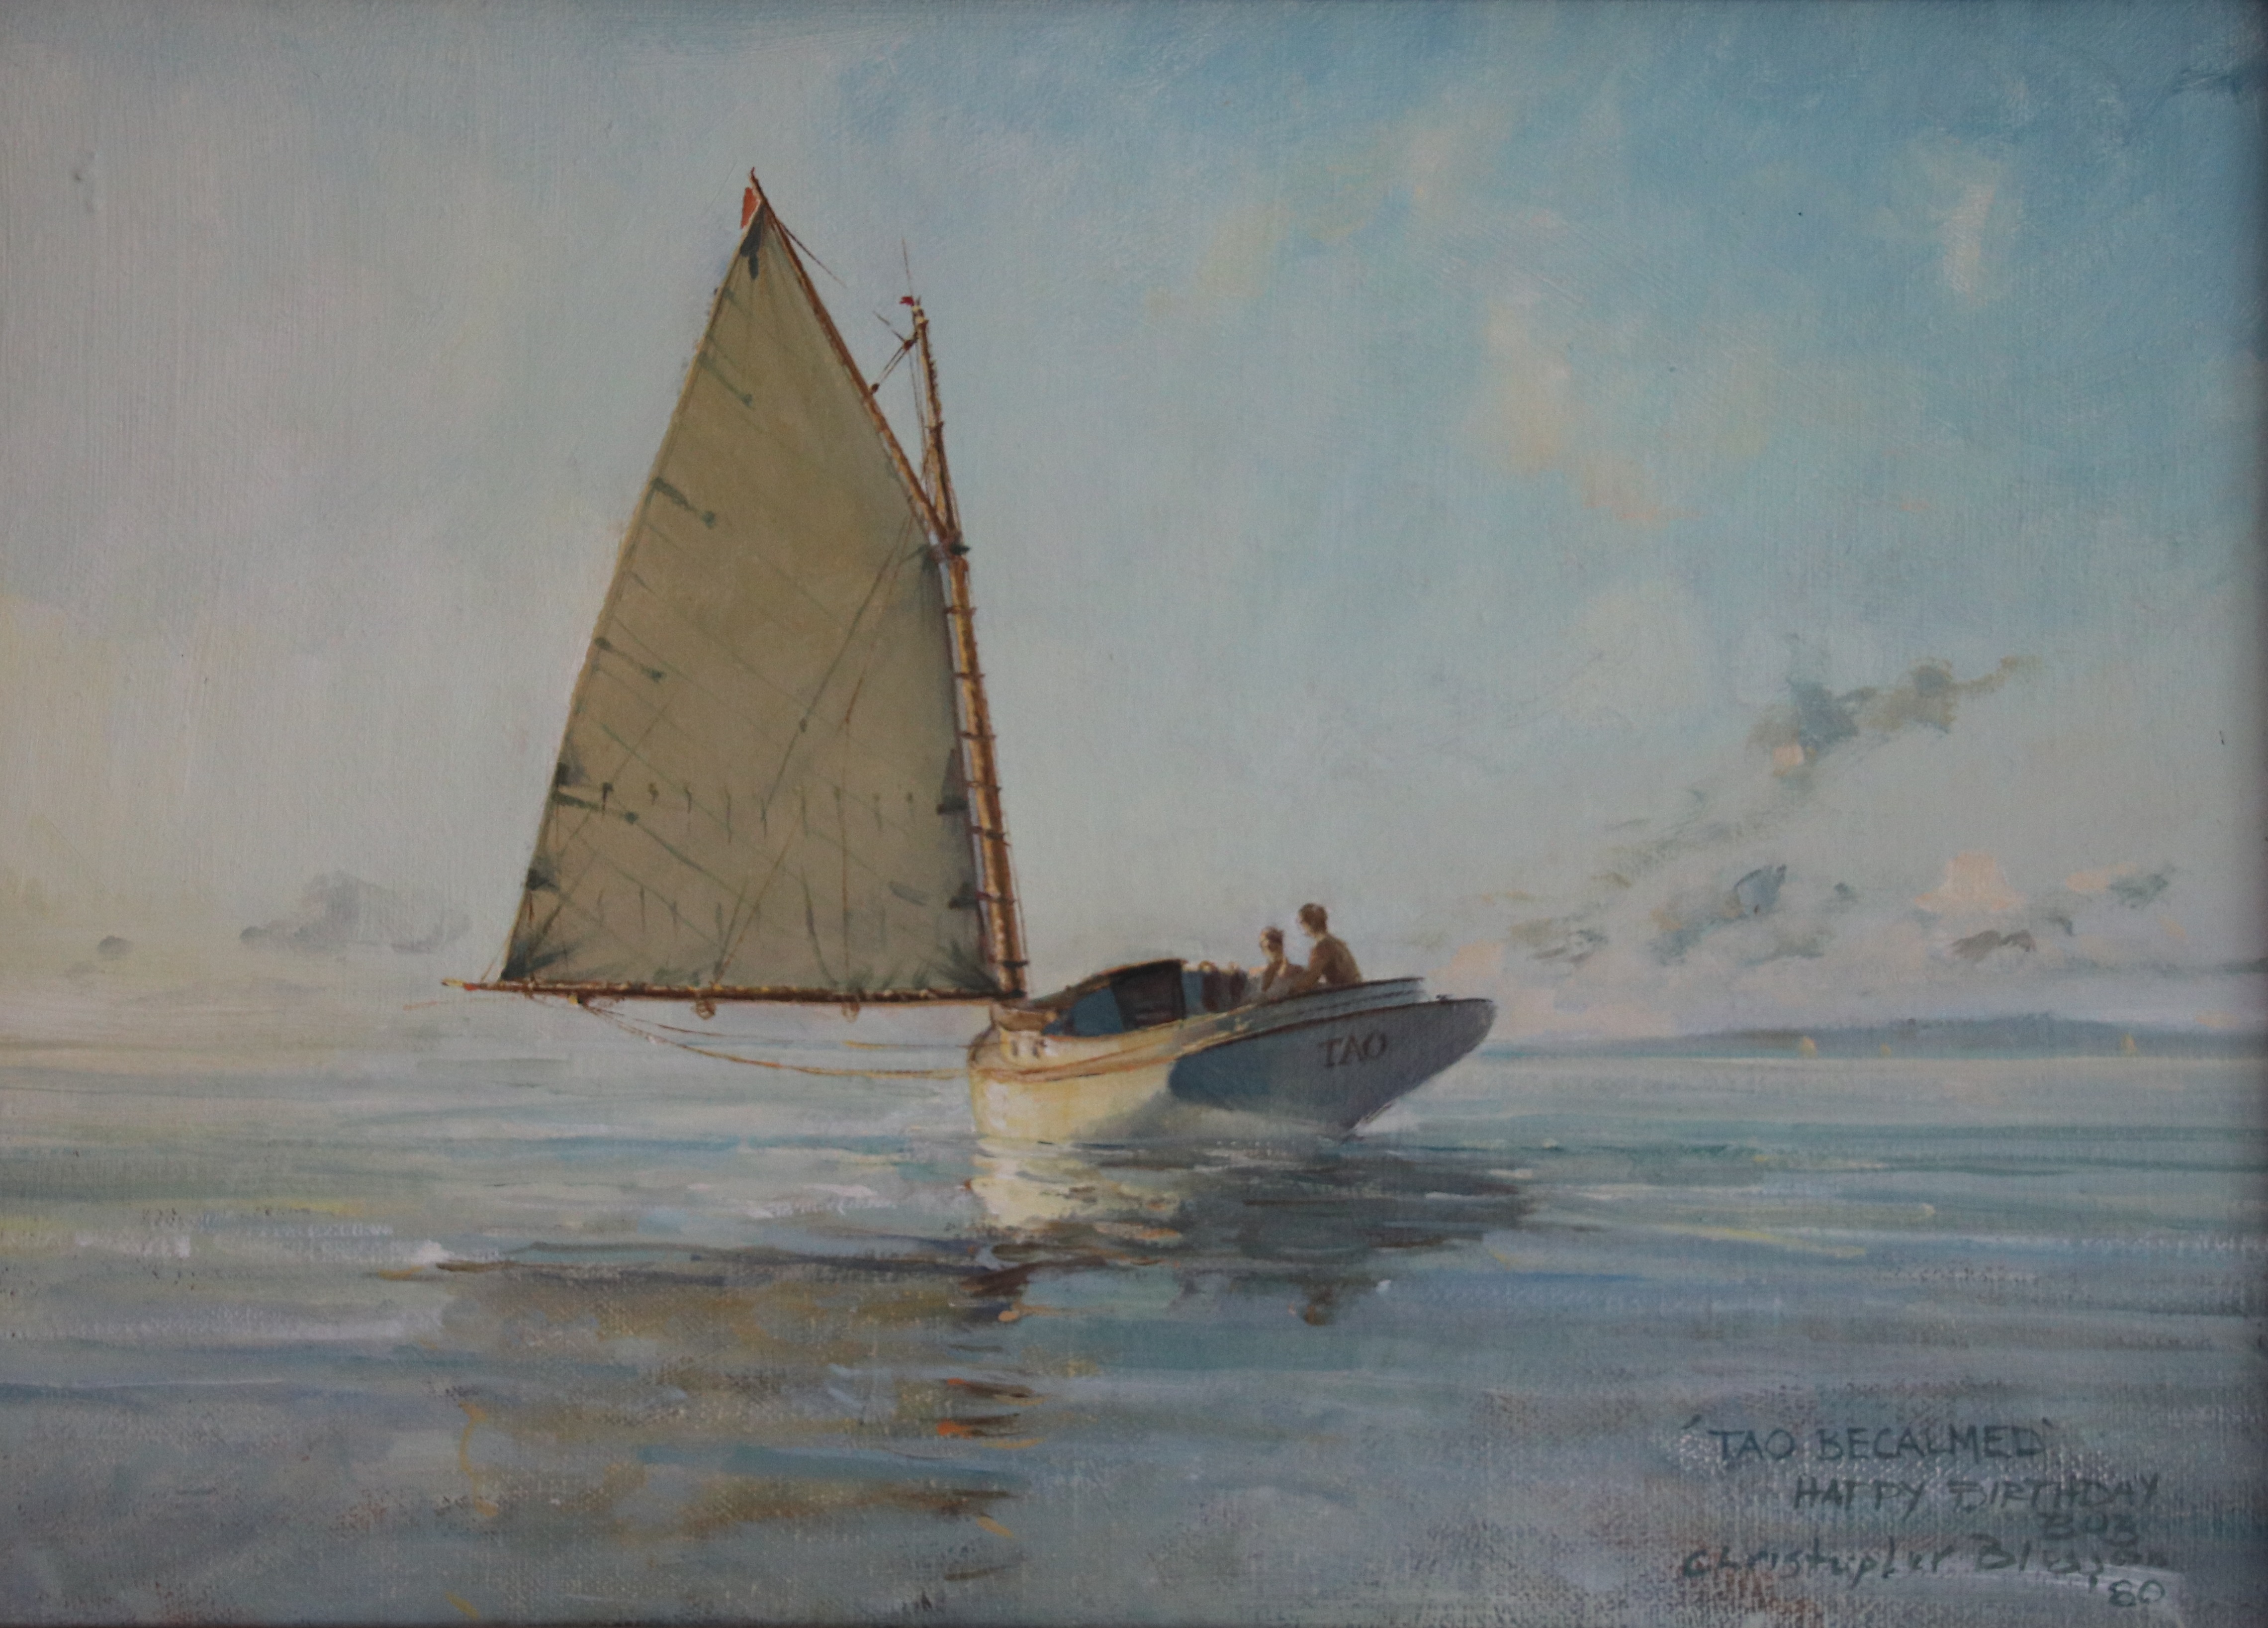 Don’t we look like we are having a nice time? Brenda thought it was ALMOST like being anchored. How about a little closer view? It’s such a terrific treasure to us, both memory and picture. And, it looks just like us. Well, to me and Brenda it does.
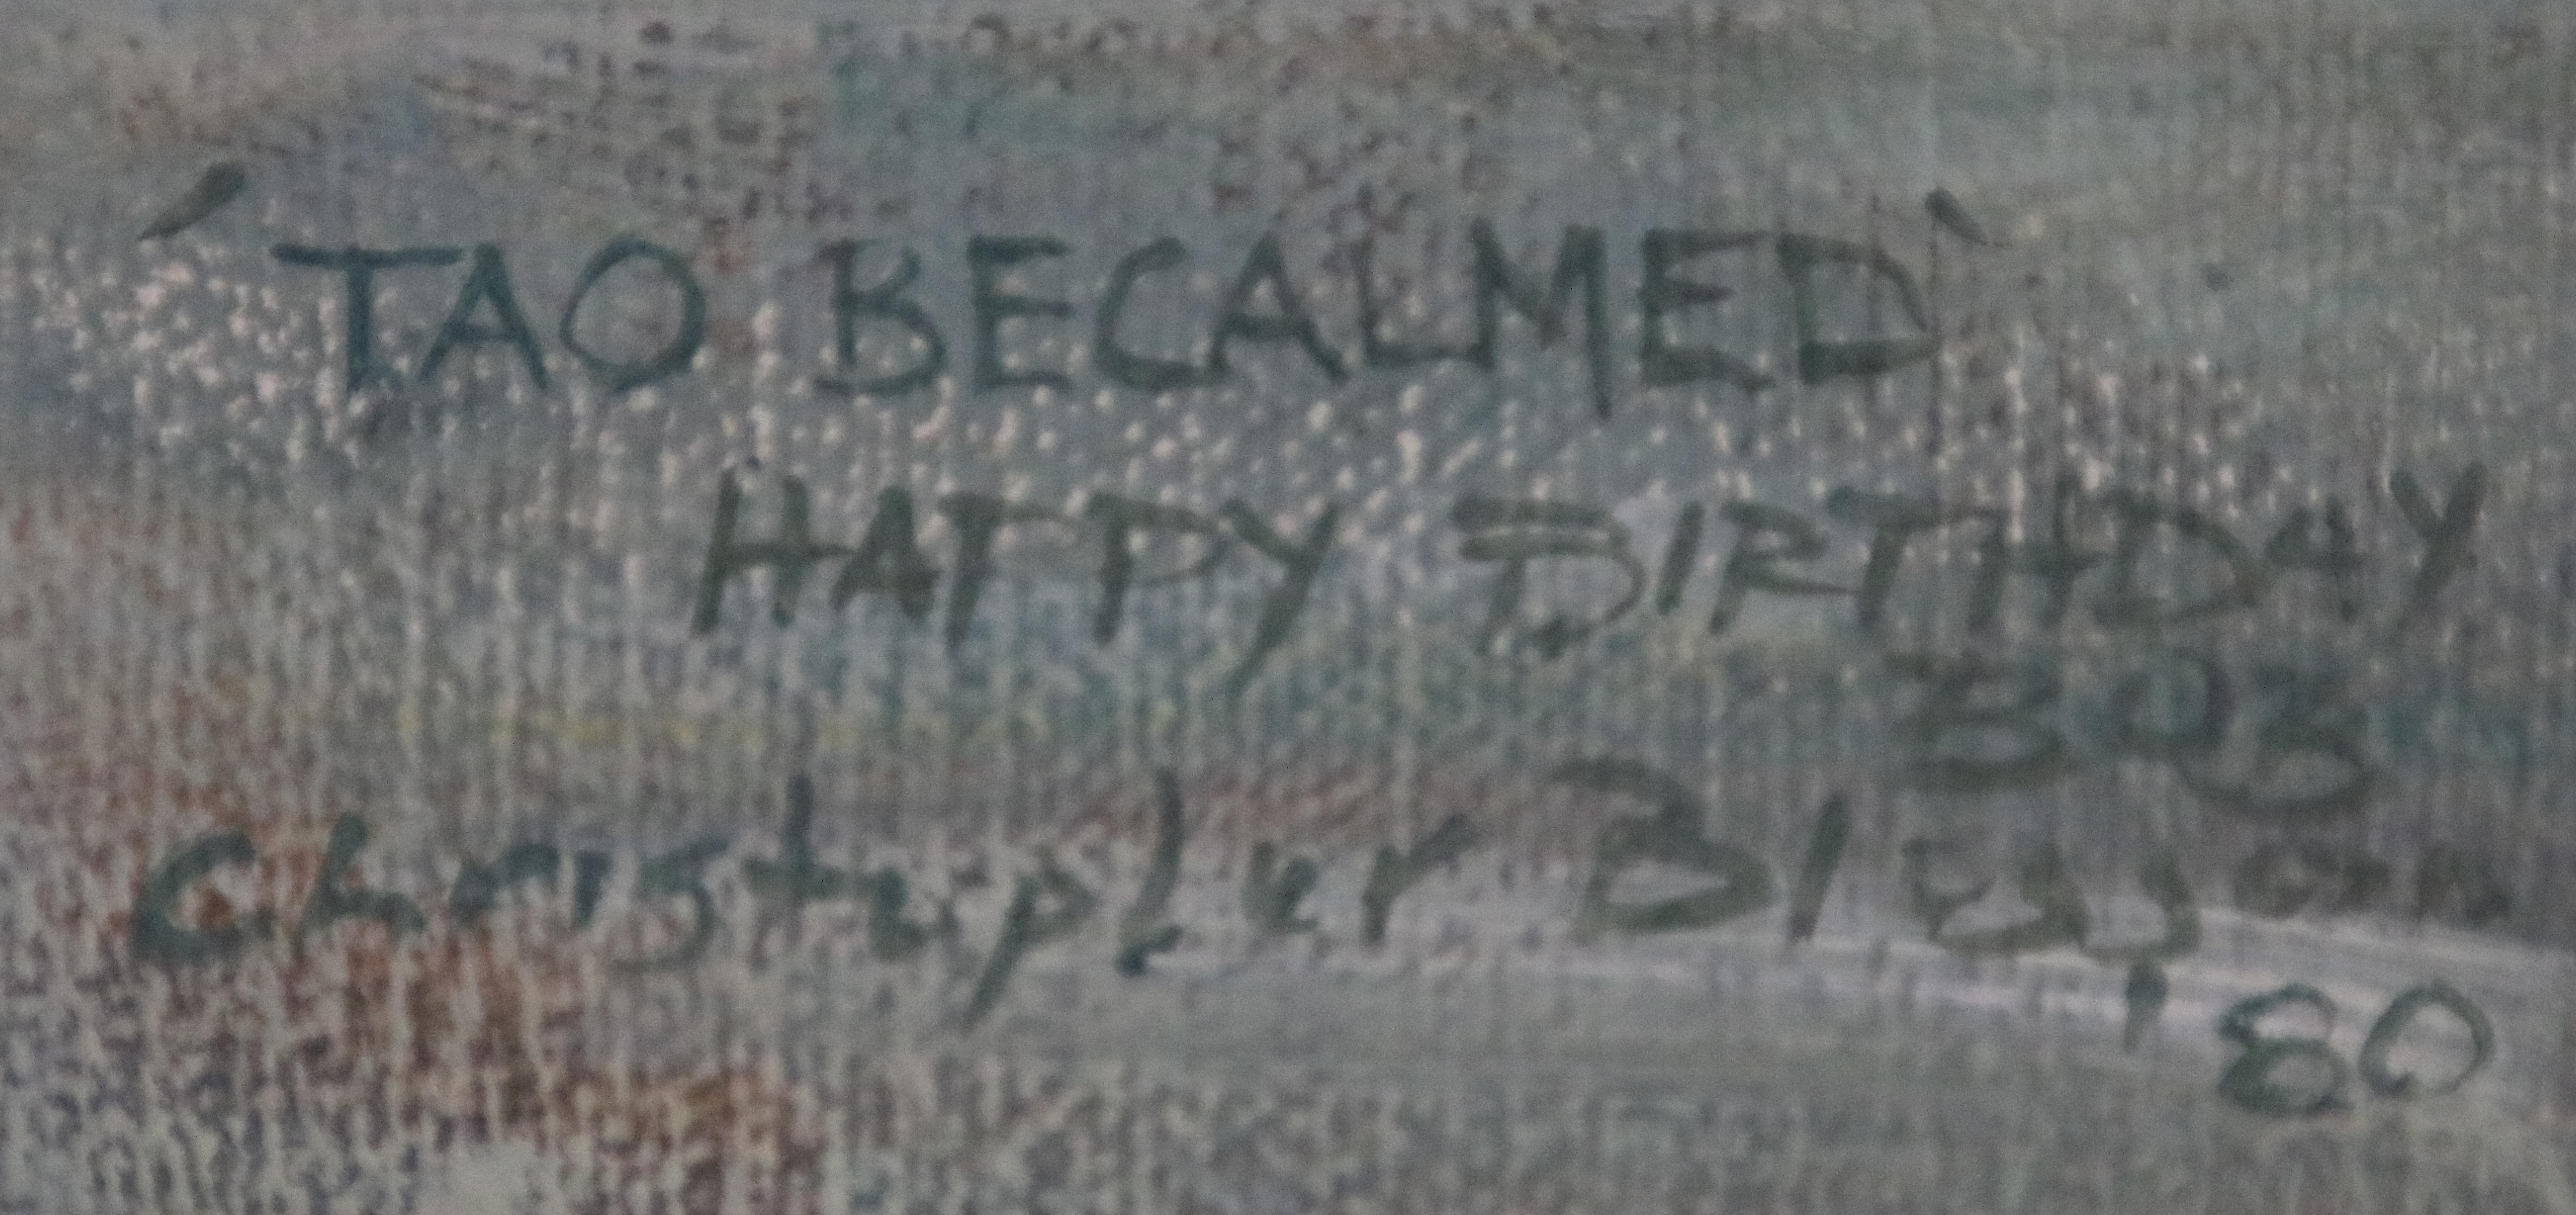
 And, if you think I am making the “birther” thing up, there’s proof in the lower right hand corner. “Happy Birthday Bob” Chris was in his early 20s when he painted this 36 years ago. Another lifetime.
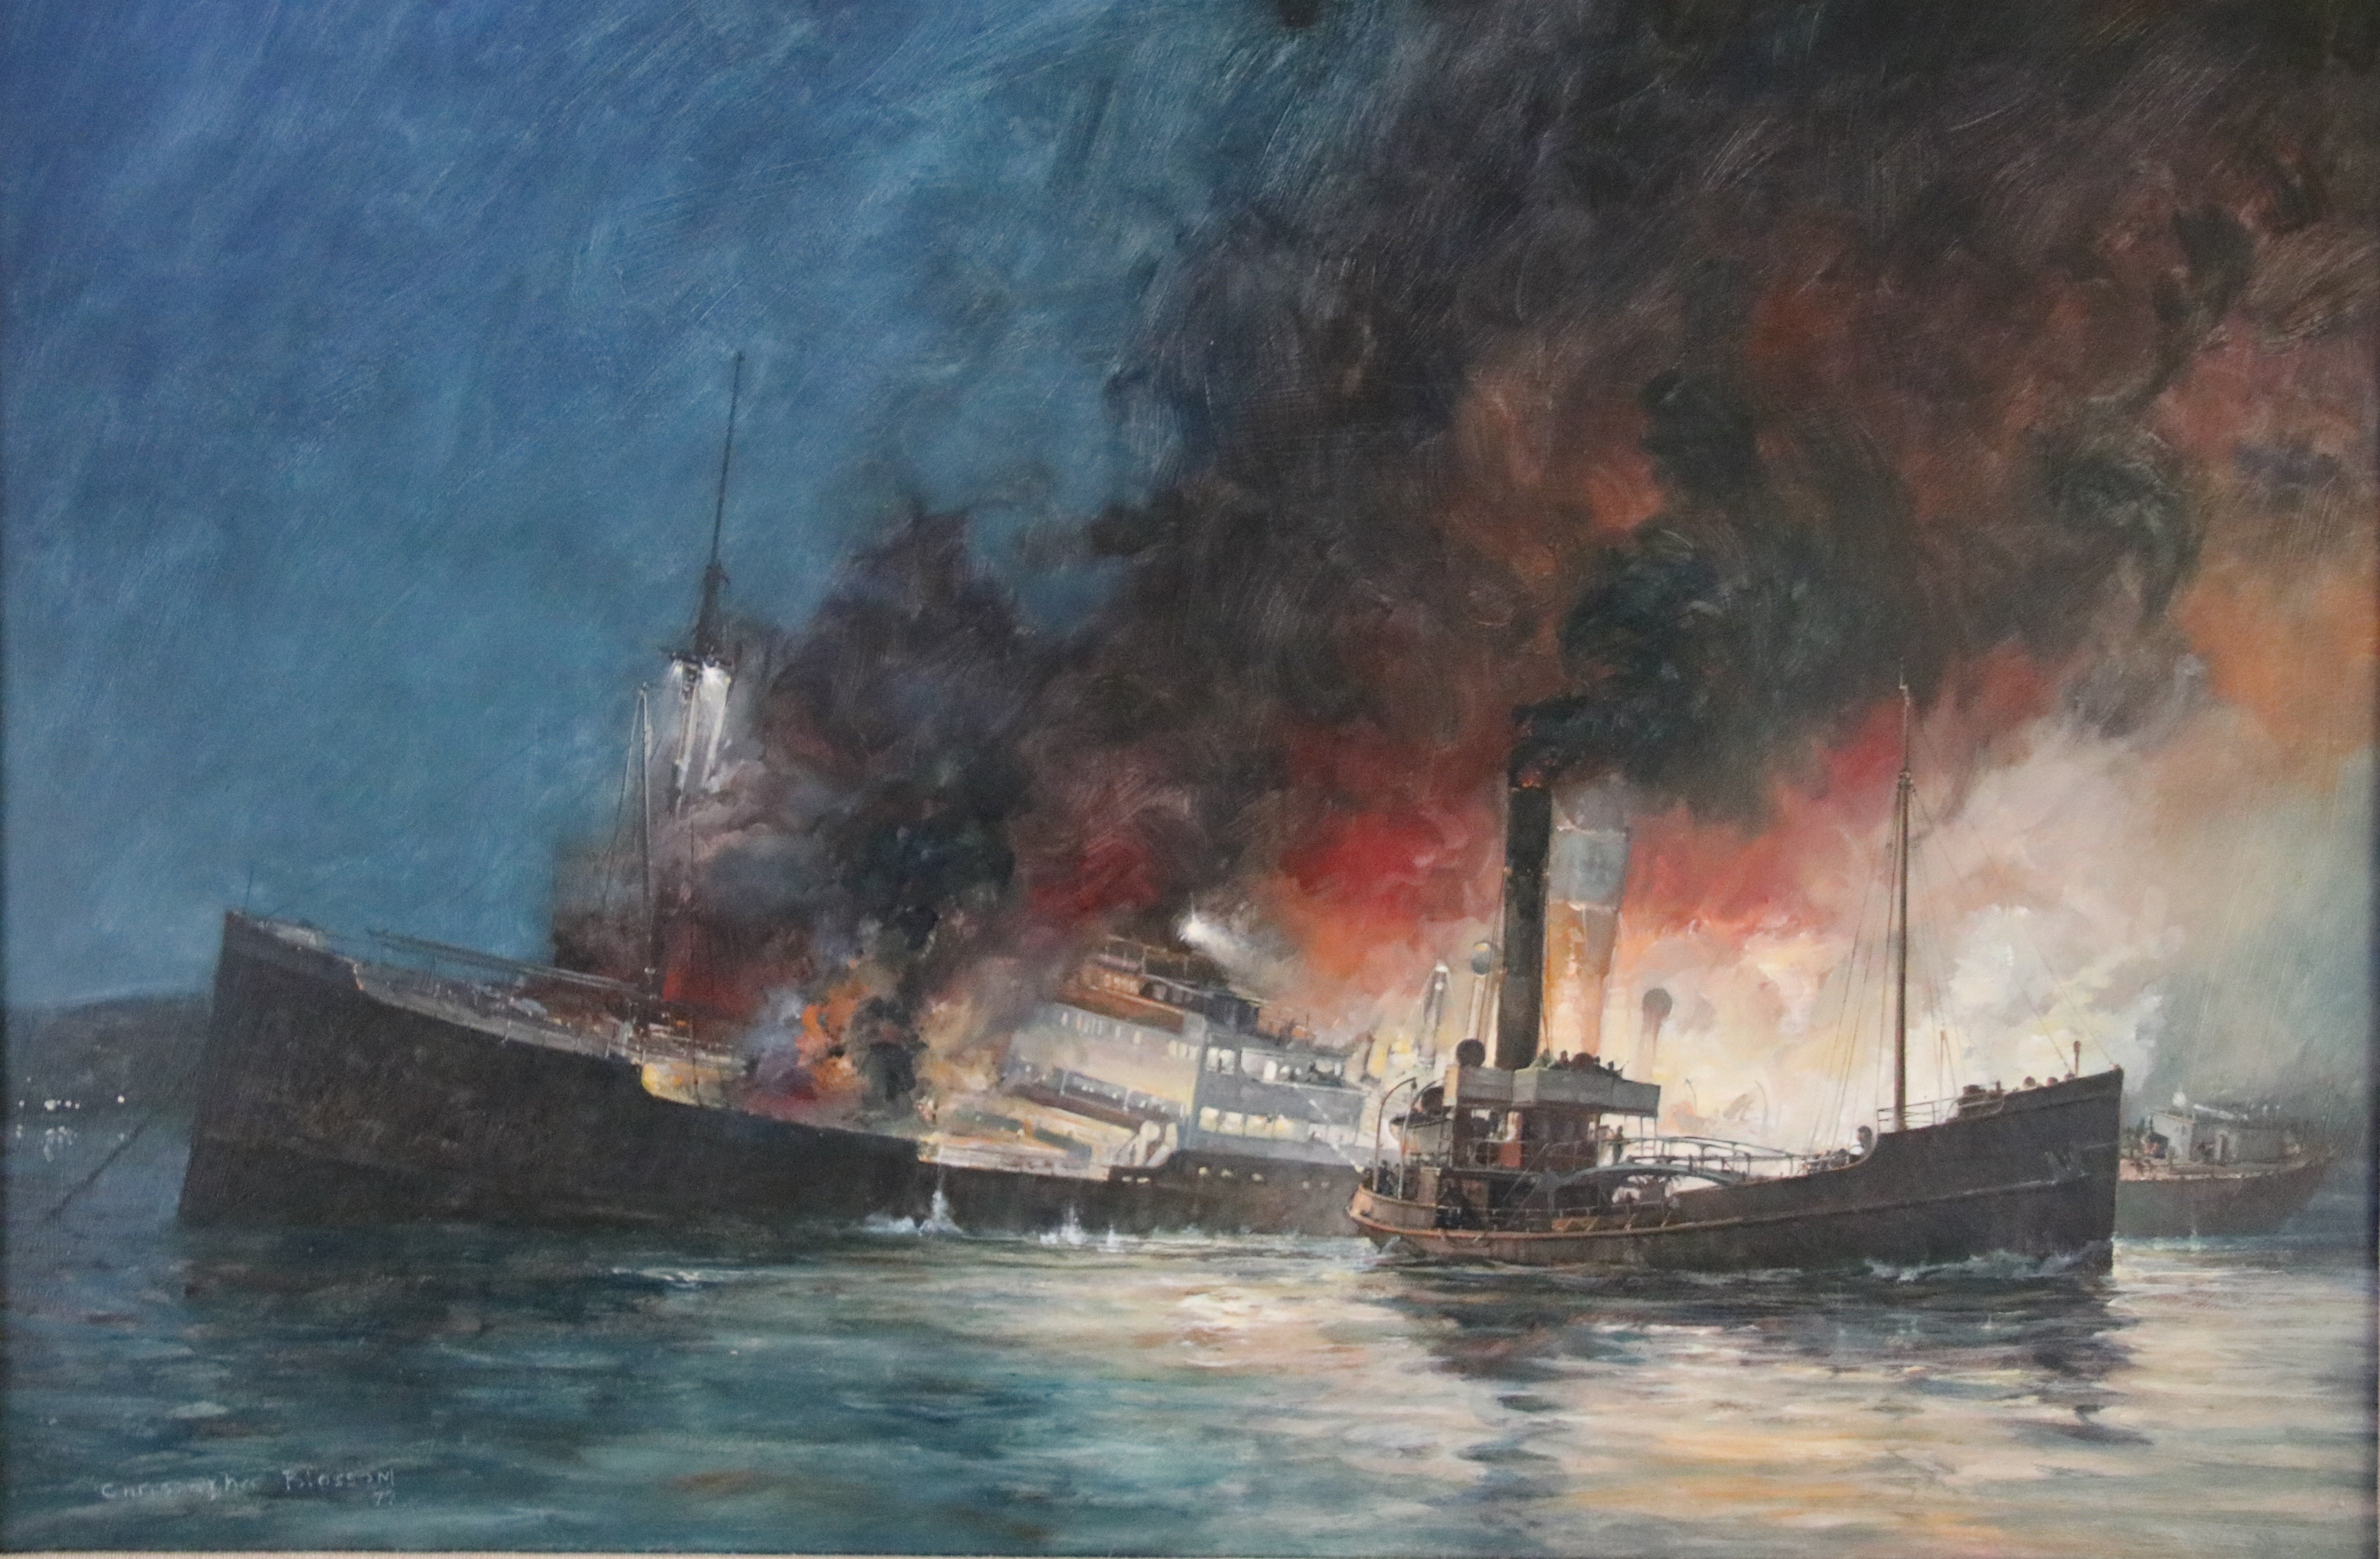 Great detail and you can almost hear the gunfire.
 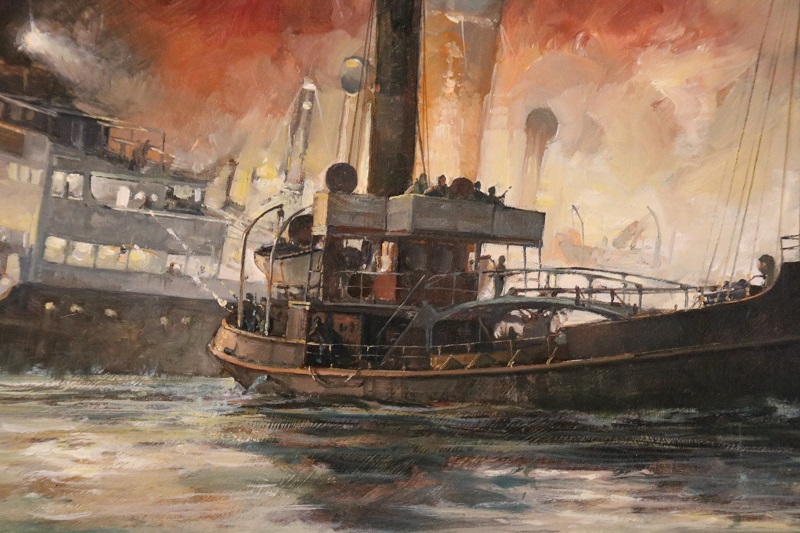 The painting is actually a book cover that Chris did for an old Bantum softcover book, I think, “The Last Action of the Calcutta Lighthorse”. This
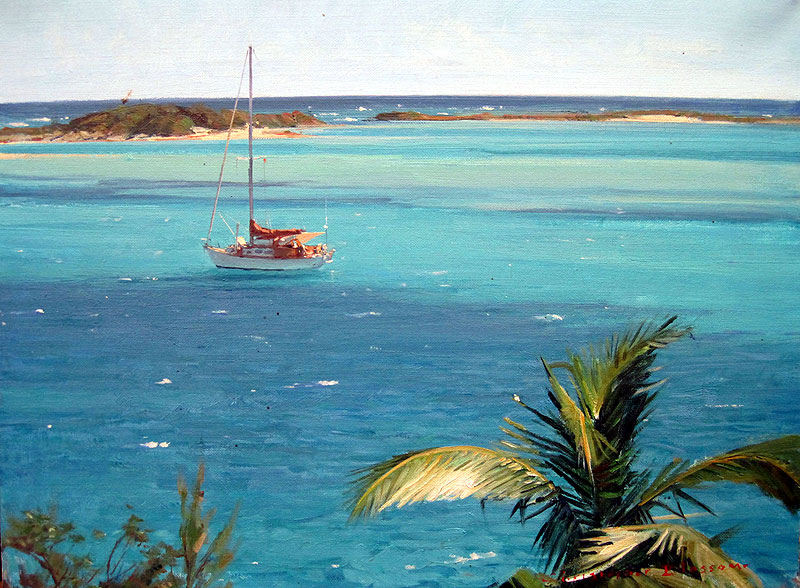
 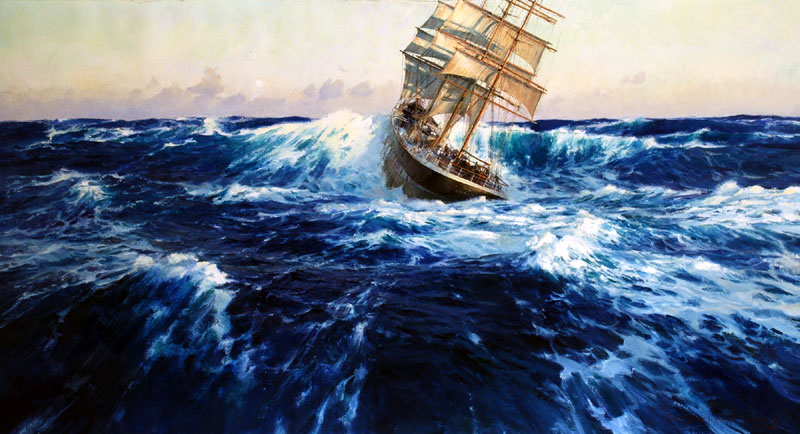 This piece is of an experience that is more Brenda’s speed. Chris painted this years ago when he and his family sailed in the Bahamas aboard their Luder’s 33, Acadia. That’s Acadia at anchor in the Exumas. Bummer for us, but this and the prior piece are not part of our collection.
  So, all and all, Cuba has proven to be perhaps the best “live it once, talk about it forever” experience that Brenda and I have ever had. And to think that it all grew out of “gear failure” a little more than a year ago when I was on my way to the eastern Caribbean. We didn’t make it to the BVI that year. However, for me, when I am given lemons, I make lemon aid. And, let me tell you, I am making gallons and gallons of the stuff with this story.
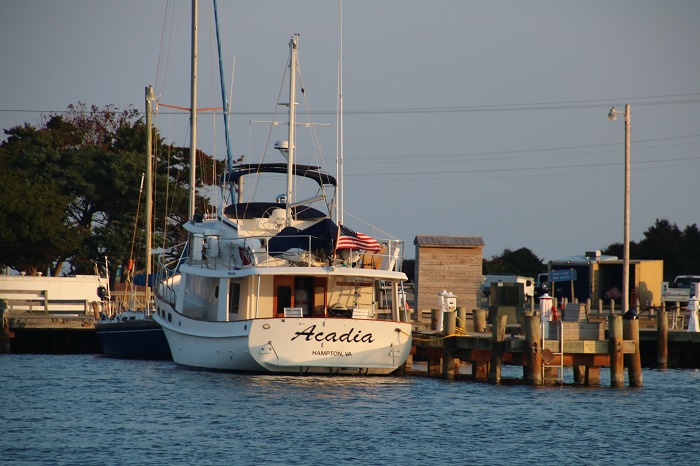
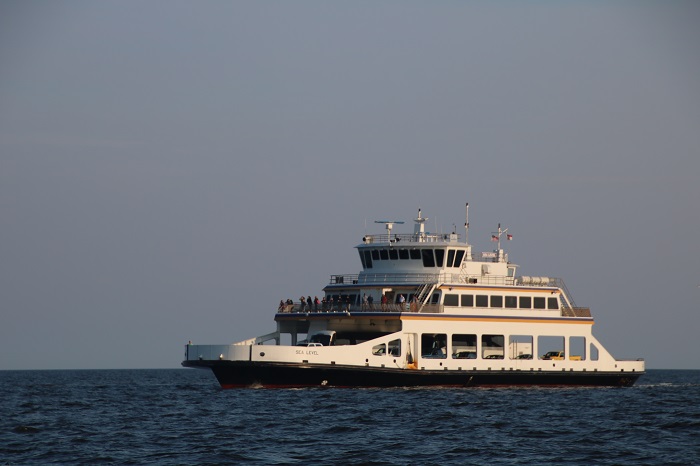 The night before, when we were entering the little harbor a ferry came in right behind me and shined their searchlight on me as I was approaching the dock to tie up. It was unnerving, to say the least and the lights blinded me. We tied up to our friends on Acadia across the dock. It is indeed a small world to run into friends unannounced. We enjoyed our visit.
  So now, forgive me but I am going to bore you with yet another group of “sunset photos”. “NOOOOOOOO, NOT AGAIN BOB!” Sorry… it was beautiful with more than a dozen shrimpers plying the waters in the setting sun.
  Every few minutes the scene changed.
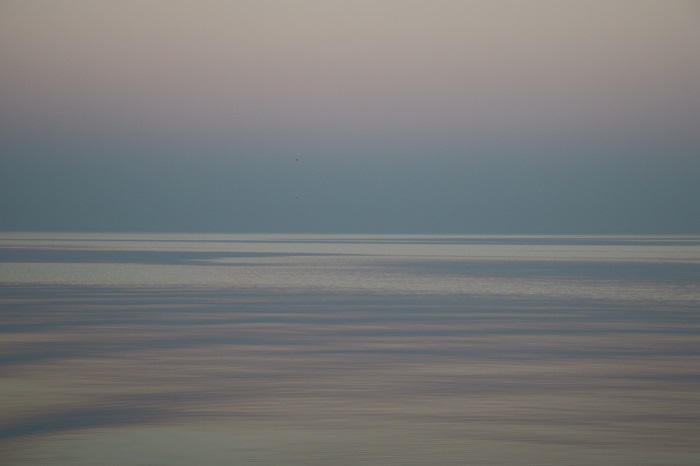
 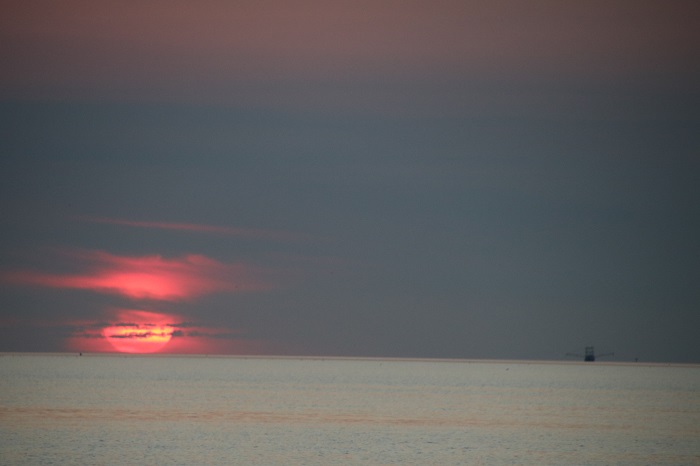 I was struck by this view that looked like liquid silver in the waning light. Not sure what I’d do with this photo. Perhaps it would make for nice “wallpaper” on my laptop.
  Tomorrow I rent a car to head back to Hampton to deliver Jim home and then board a train for Stamford CT and a visit with my friend Craig along with a presentation about Cuba to a group that I belong to. The Corinthians are having their annual meeting on Sunday. Other than that, nothing going on, nothing of note at all.
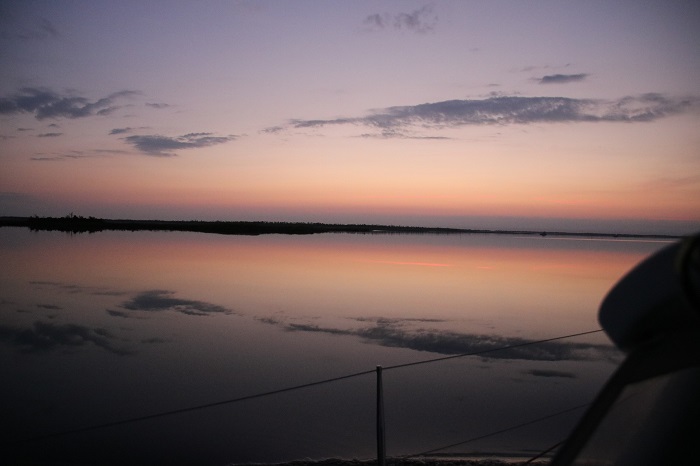 A perfect reflection of the trees on shore. Brenda, this would make for a lovely tapestry. Get on it! Please?
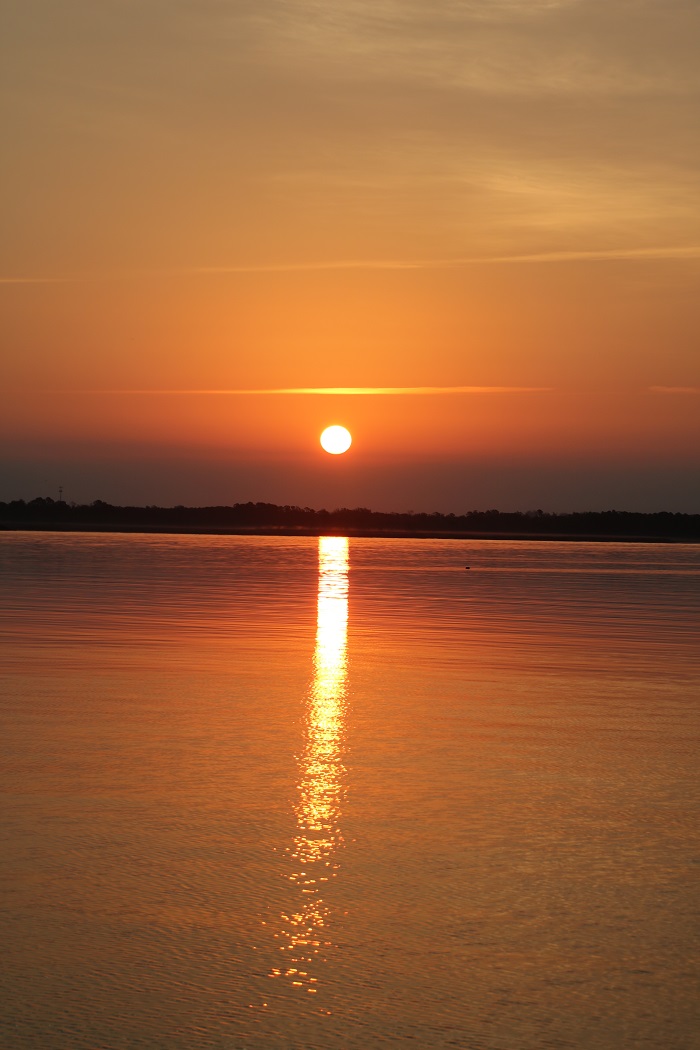
 A little while later, a full sunrise reflected on the still water. What a great way to begin the day.
 On this trip we are taking a different route, one that my crew Jim enjoys. We will head further east toward the coast, a route that I have not taken before. Instead of going through the Dismal Swamp Canal, we took the “Virginia Cut” that has a single lock.
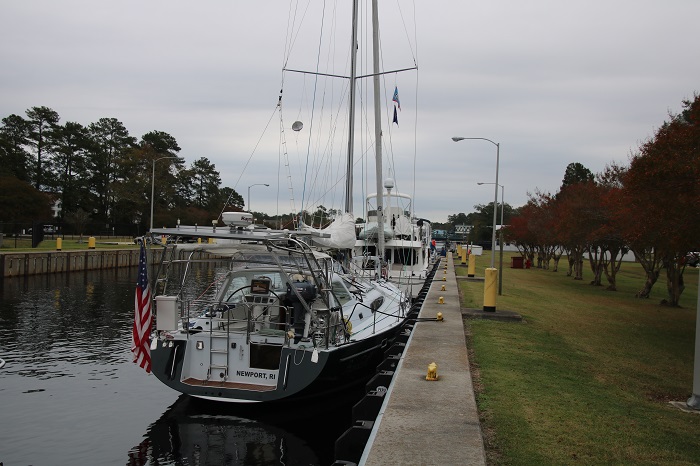 Jim has done this route a number of times, most recently just a few weeks ago. He keeps his boat in the lower Chesapeake and enjoys heading in a loop down to Ocracoke and then returning via the Dismal swamp canal further to the west.
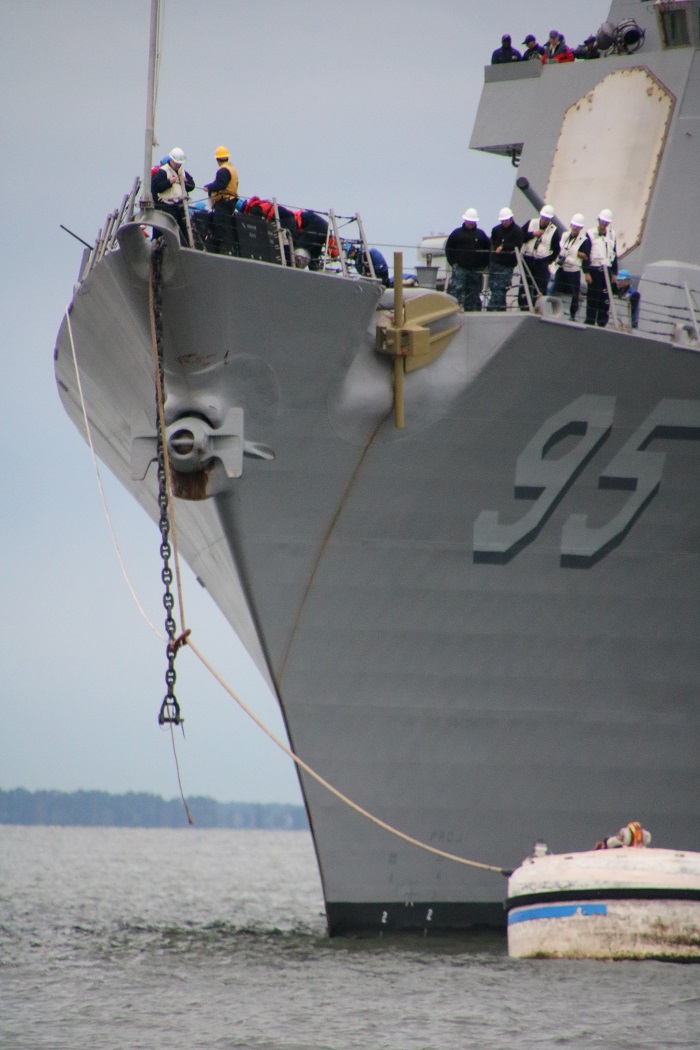 Hey look… His and hers aircraft carriers. If the election doesn’t sort itself out next week, there’s one for Hillary and one for Donald. Now, that would be fun.
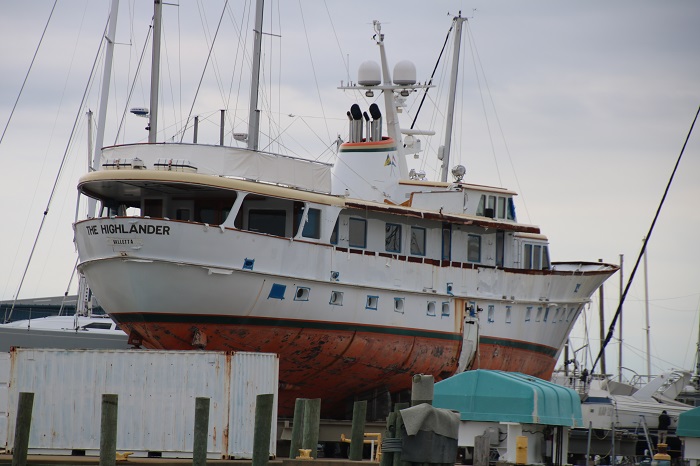
  And speaking of NYC, which I wasn’t, Highlander, Malcomb Forbes’s old yacht was in dry dock in Portsmouth. I saw here there last fall too. She’s looking a bit worse for wear. Too bad.
  In any event, we are making our way down the ICW and tonight we will take a slip in Ocracoke, go out to dinner and then make our way to Beaufort by Thursday night.
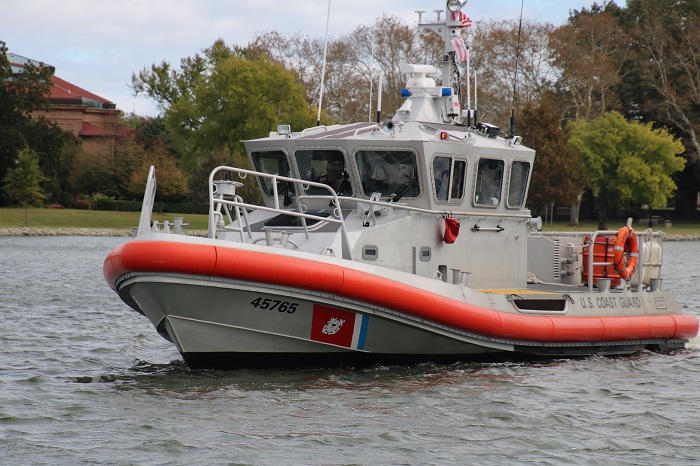
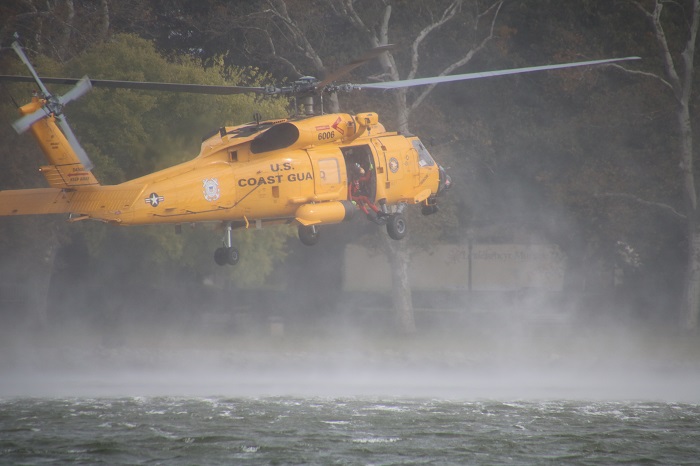
 Before the chopper arrived a small cutter was on scene to be sure that nobody strayed into the “hurricane zone” while the chopper was hovering overhead.
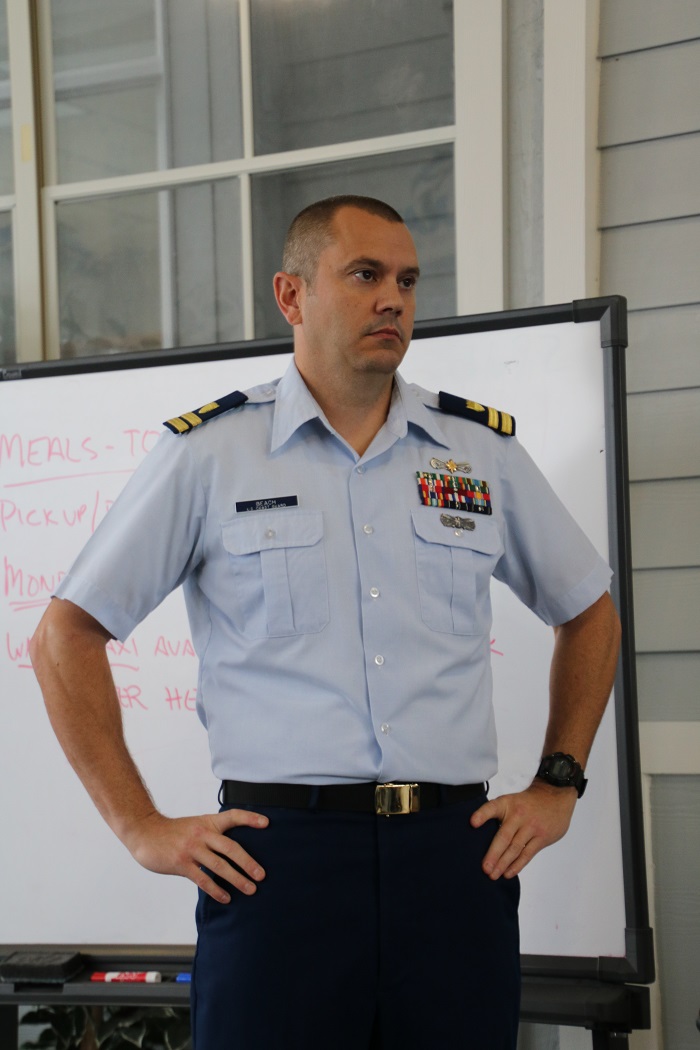
 Our “MC” for the discussion that proceeded the “rescue” we had two “Coasties” who shared a lot of terrific information on how to do our best to avoid a ride in a chopper in the future. Very nice guy but he did look serious. “I’d like a show of hands if you have an EPIRB on board. Another if it’s registered with your current information.” Everyone’s hand went up. Then he smiled.
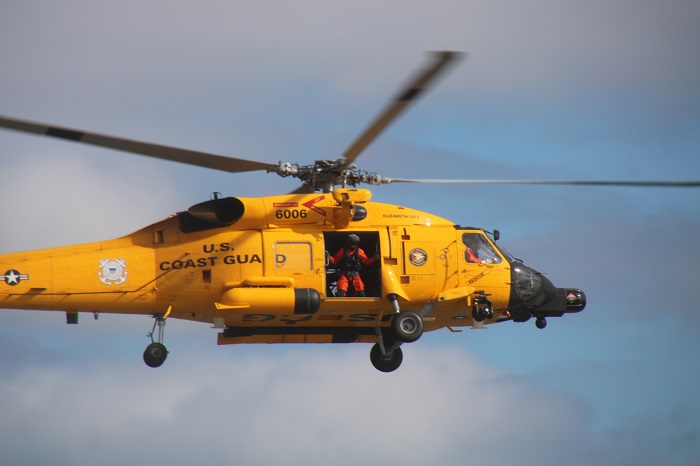
 Our rescue chopper is the only one in the USCG that is painted yellow instead of sporting the normal diagonal orange stripe. We were told that it was a “centennial edition” marking the 100th anniversary of the USCG. Think of it as sort of “Eddie Bauer” USCG chopper edition without the soft denim settees. Well, perhaps not exactly like that because they have to be able to hose everything down after all the salt what they kick up. “Hey you, scuba man, yeah I’m talking to you! Rinse off before you sit there. This is s a special edition craft you are dripping on.”
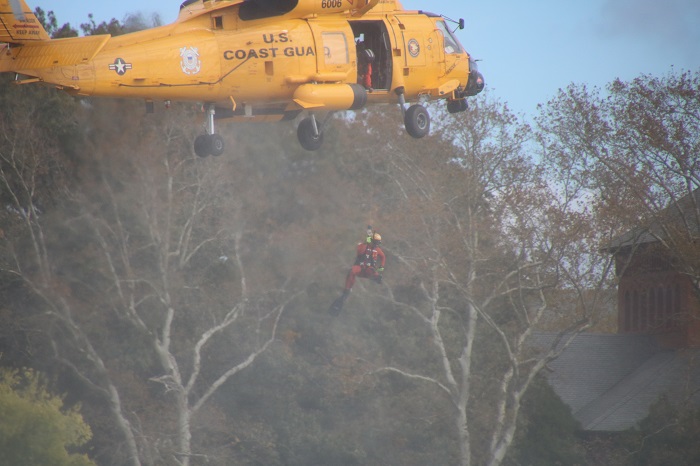
 Then they lowered him to the water. For a second “rescue” he jumped.
  All and all, it was a fascinating experience with everyone feeling better prepared and more certain than ever that they wanted to do whatever they could to avoid having one of these guys swim up to their boat and greeting them with “Good morning. I’ll be your rescue swimmer today.”