


90% preparation, 10% execution and showing up.
It is often said that most projects in life are 90% preparation and 10% execution, not to mention that some suggest that 80% of success is often just showing up. Combined, this suggests that a lot of work goes into a project just preparing for the job.
So, as I think back on all of the projects that I’ve done on Pandora, it does indeed take a REALLY LONG TIME to prepare for just about any project.
First, as there were only three of these boats built and the company folded up shop shortly after commissioning Pandora, hull #3, there is nobody to call and ask about what is attached to what or how the boat was put together. This means that I often have no idea of what I am getting into and what “lies behind the curtain.” In every way, and I’ve said this before, working on Pandora is a scavenger hunt.
Last fall I showed the rigger the corroded heads on the bolts that held the mast step in place and after only a moment he said “They don’t look to good Bob, you’d better pull one and check it”, Ok, got it but that proved to be way easier said than done. For the first order of business I spent months sweating about exactly how I was going to do that as the space where the step is housed is impossibly tight with wires and hoses snaking every which way and all very close to the bolts that needed to come out.
Obviously, the first thing to do was to put a wrench on the bolt and try to back it out. No good, as the heads were pretty well corroded and the wrench just turned and turned. No movement at all. 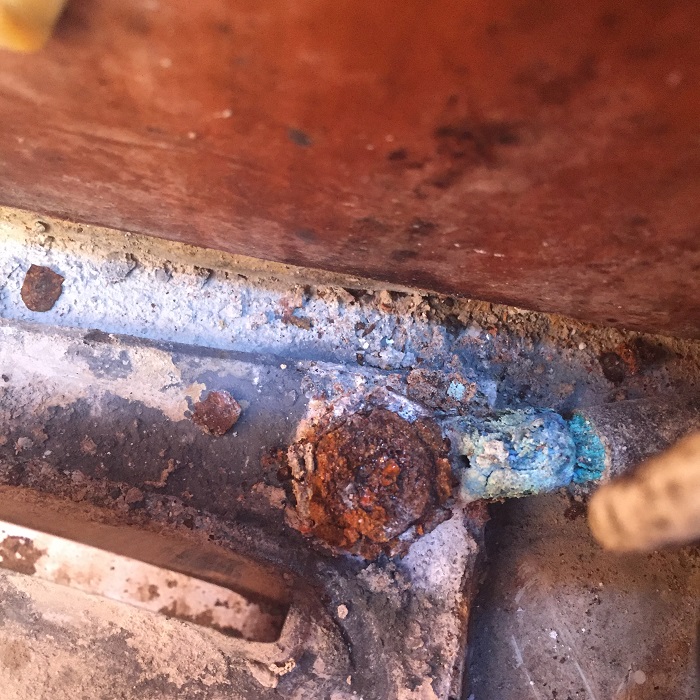 So what to do? Finally, after several months of “thinking” but not “doing” along with a good deal of applications of various products designed to release corroded bolts, I decided to drill into the head of one a bolt and tried to pull it out with a screw remover, a sort of reverse screw that you thread into a hole drilled in a stuck bolt, used to “extract” the bolt.
I know that I have gone over much of this already in prior posts and you might be asking yourself “Why Bob, why go over this all again now?”
Because, of all the projects that I have done on Pandora this was one of the toughest and surely the most frustrating I have done. More than once, over the winter, I left the boat after hours of frustrating work, without making much progress, feeling like Pandora was “executing” me. How many times I said to myself and anyone who would listen that “I wish I had never tried to get those bolts out” they were so well secured it was clear that they would NEVER come out on their own, a fear that motivated me to tackle this “fix” in the first place.
However, I kept going as the idea of the base of the mast coming loose and banging around down below was a terrifying thought.
In order to get a decent purchase on the bolt with a wrench, I drilled into the bolt heads and pulled with an extractor, drilled bigger holes and put in larger extractors and pulled some more. I tried everything I could, abrasive cutters, cobalt drill bits, all broken and still the bolts wouldn’t move. There was simply nothing that I could do would loosen them. and it wasn’t until I just gave up and ground the heads off of all four bolts, with a carbide burr run by an air compressor, that I was able to lift the step up and cut off the remainder of the bolts flush with the step.
Finally, FINALLY, I was able to get the step out of the boat but the old bolts were still there, if ground down flush and I still had to somehow reinstall the step. This meant that I now had to drill new holes immediately adjacent to the old bolts and do that in a very tight location. 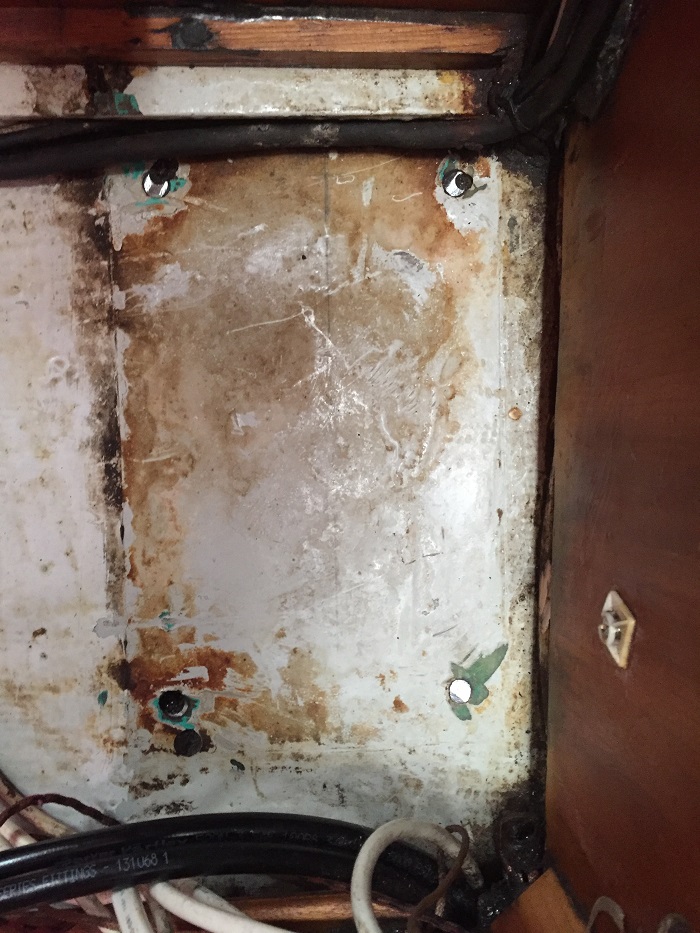 First I took the aluminum step to a welder who filled the old holes.
 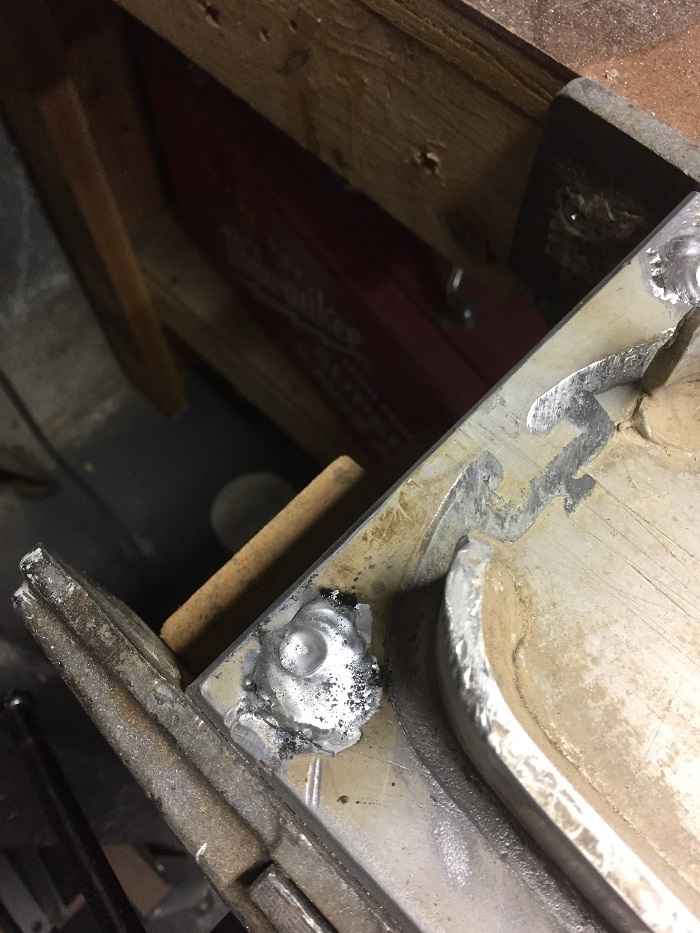 Then I ground them flush. They didn’t look pretty at all and there was some electrolysis from the stainless bolts that had not been properly bedded against the aluminum.
 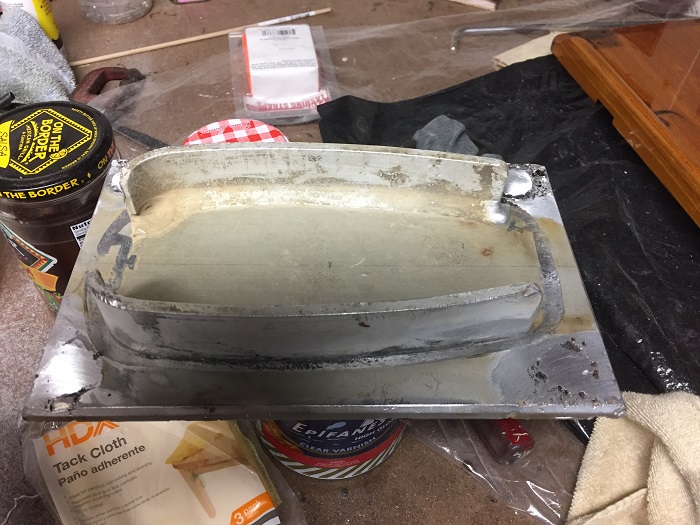 As I could not get the old bolts out, I had no idea about how thick the mast step was. First I marked the step to be sure that I could drill the new holes as close to the old bolts as possible and yet not too close to the edge of the step casting.
The rigger predicted that the fiberglass step would be at least 2″ thick, perhaps more. I drilled and he was right, 2.5″. With that in mind, I used 2.5″ lag bolts. 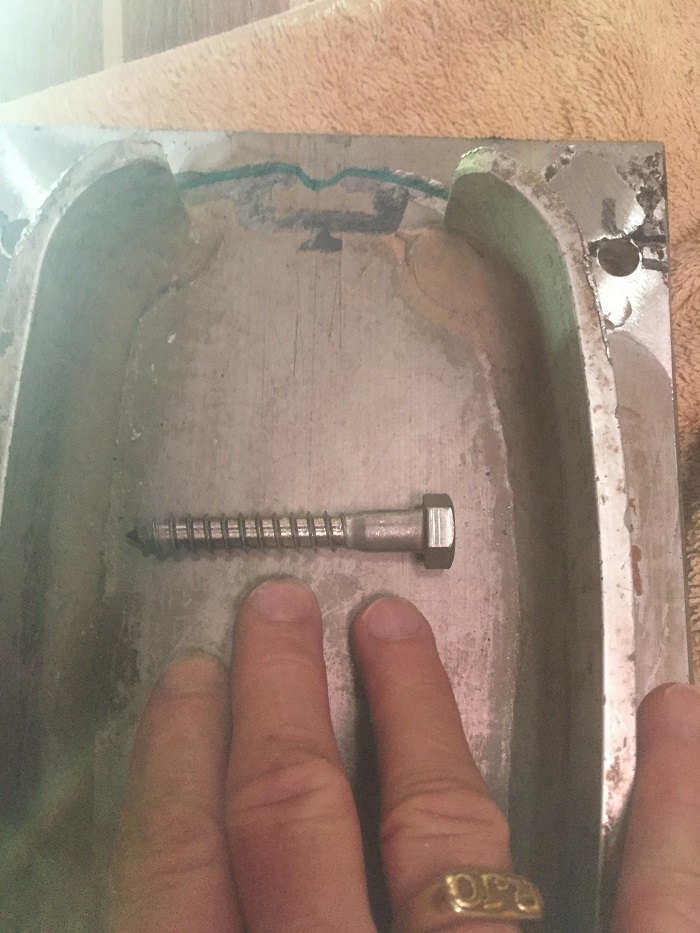 I marked the spots where the old bolts were and drilled as close to them as I dared and “dry fitted” the bolts in place. Everything fit. Good to go…
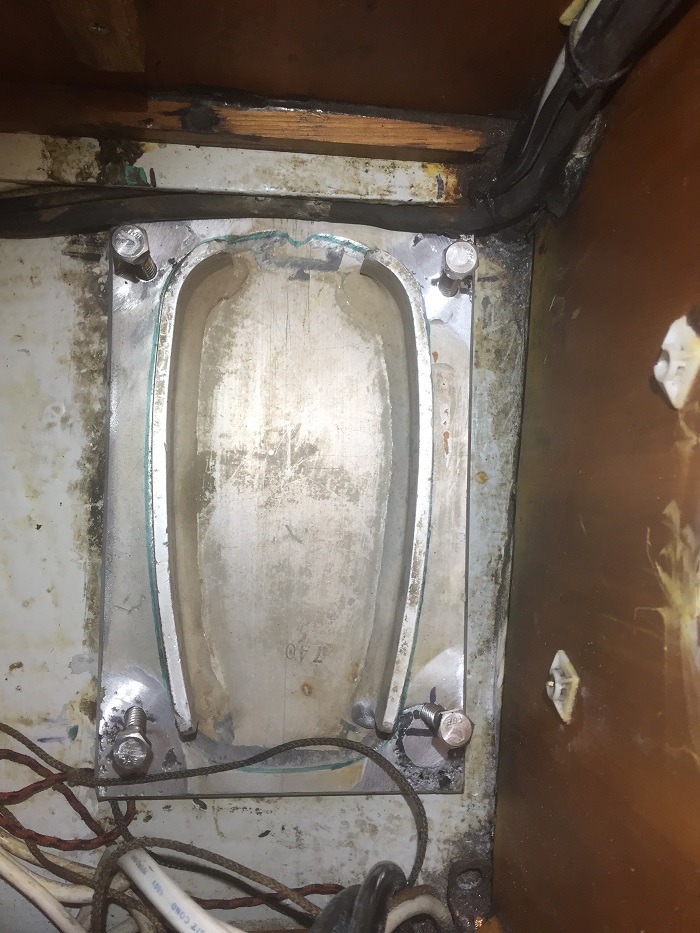 One of the problems with the old stainless bolts and why they corroded so badly, is that they had not been properly bedded to insulate them from the aluminum in the step. Stainless is a more “noble” metal, and when you attach two different types of metal, the one that is “less noble” looses. In this case, the stainless bolts won and the aluminum corroded badly. That is caused by a mild electric current that flows between two dissimilar metals. The result of this is a process of “electrolysis” that causes a lot of corrosion to both metals, especially with aluminum, which it did.
There are products that can be used to “isolate” dissimilar metals and keep them from corroding and I lubed up the bolts carefully before snugging them in place.
All done. Note the electrical cable in the upper right. That’s to direct power to the sea, from the mast, in the event of a lightning strike, something that I don’t want to think about.
Anyway, the step is back in place and it took less than an hour.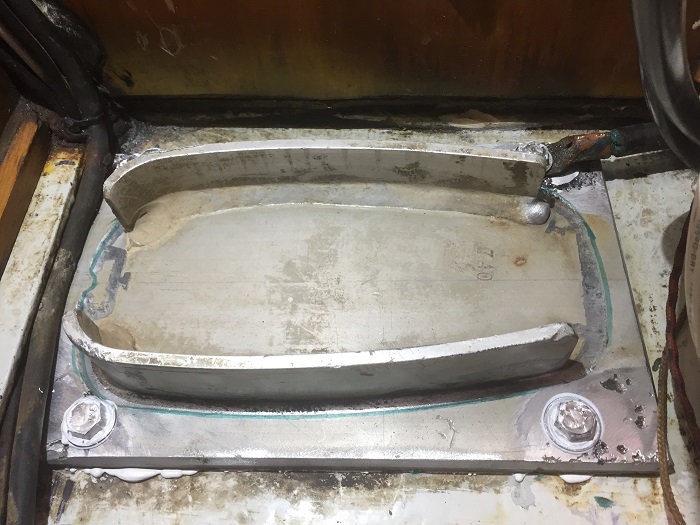 Wasn’t that easy?
No, not really, and a perfect example of how many things in life are indeed 90% preparation…
I guess that goes double for boats and with Pandora add the fact that I have nobody to call for advice so I have to just stumble my way around. Well, at least I can take satisfaction in knowing that the job is done and I did it myself. Yea, I cling to that.
Next project. The lists is long and time is short. Less than two weeks till launch.
Sure hope that the canvas guy shows up on Tuesday. Talk about 90% prep. I don’t even want to think about how many hours it took to prep for the replacement of the headliner.
As I’ll be paying him to put it all back together, let’s hope that it’s only 10% of my prep time.
Fingers crossed…
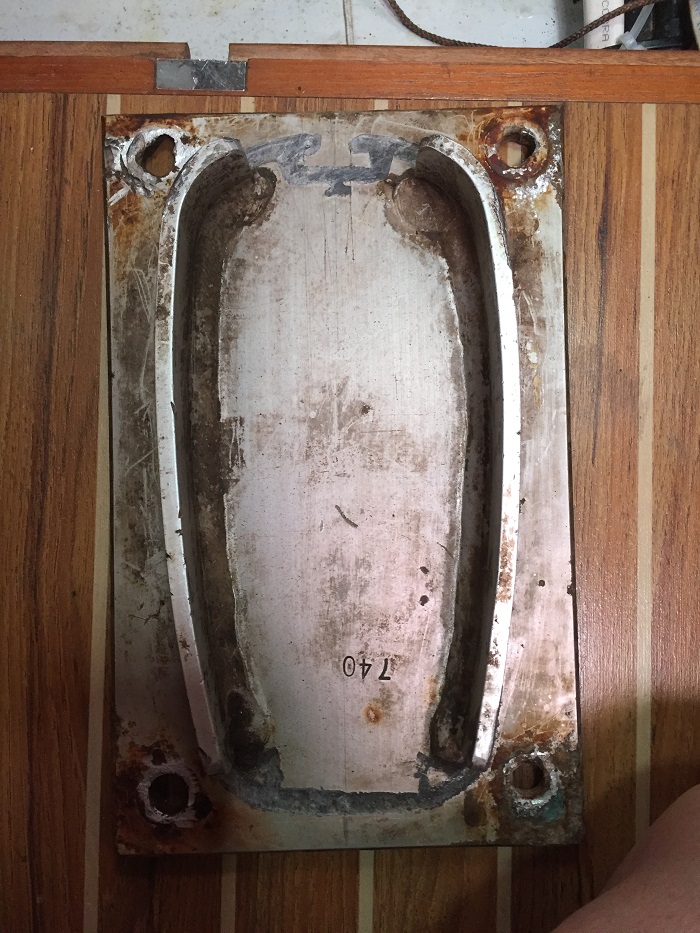 After that, I’ll drill new holes adjacent to the old bolts that have been cut flush with the step. Even though the remains of the old bolts are still in place, the rigger says that this is a perfectly fine approach as the bulk of the pressure is downward and only a small amount of shear force. I’ll be sure to install the new bolts with some sort of release agent or caulking like Life Seal, which is what the rigger recommends if I want the step to be removable in the future. Additionally, I’ll spray a thick lubricant/sealer like
 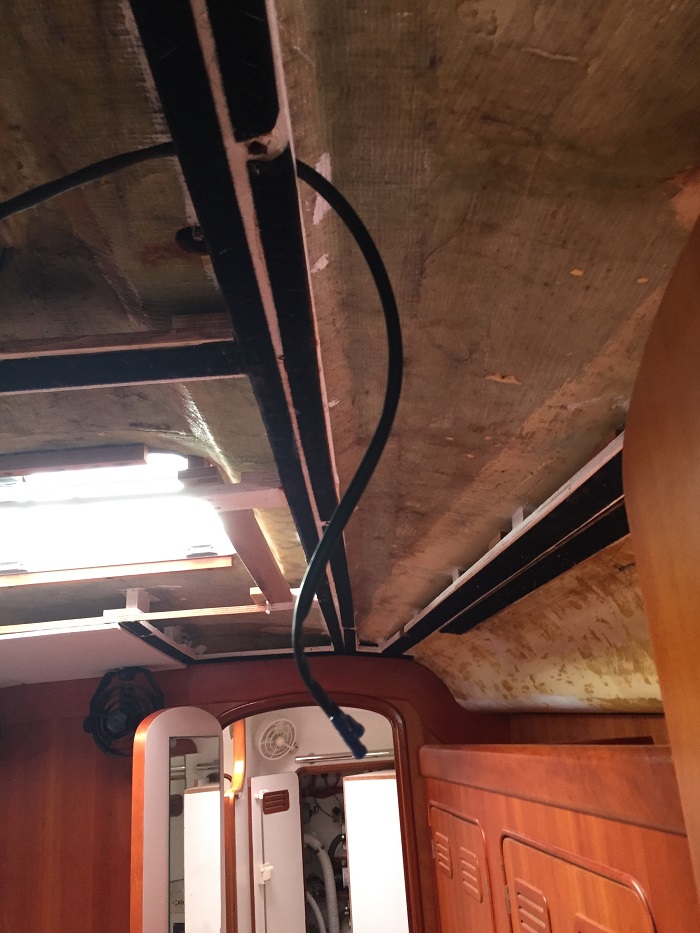 I am optimistic that he will be able to do it this coming week when the all important Memorial Day Weekend will be history. For now, Pandora’s salon looks like a construction zone.
 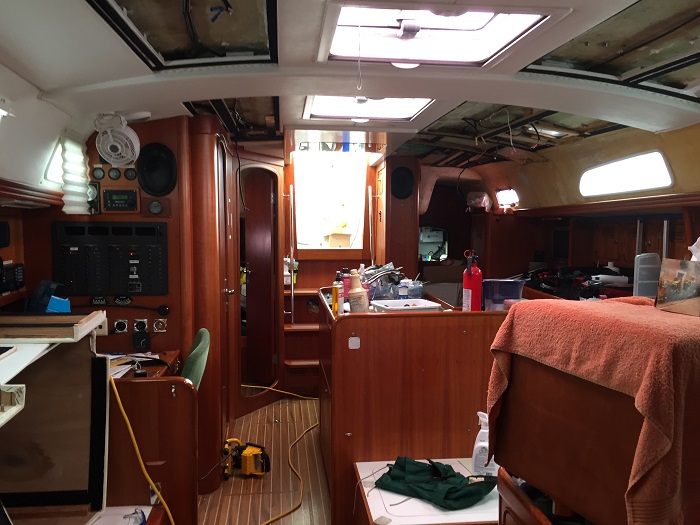 Or should I say storage container?
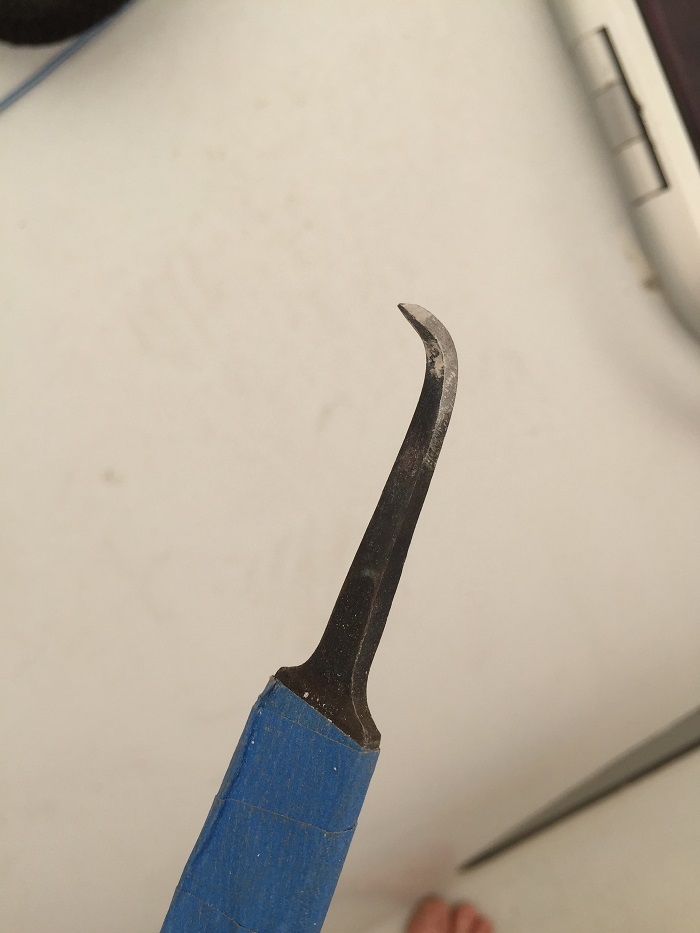
 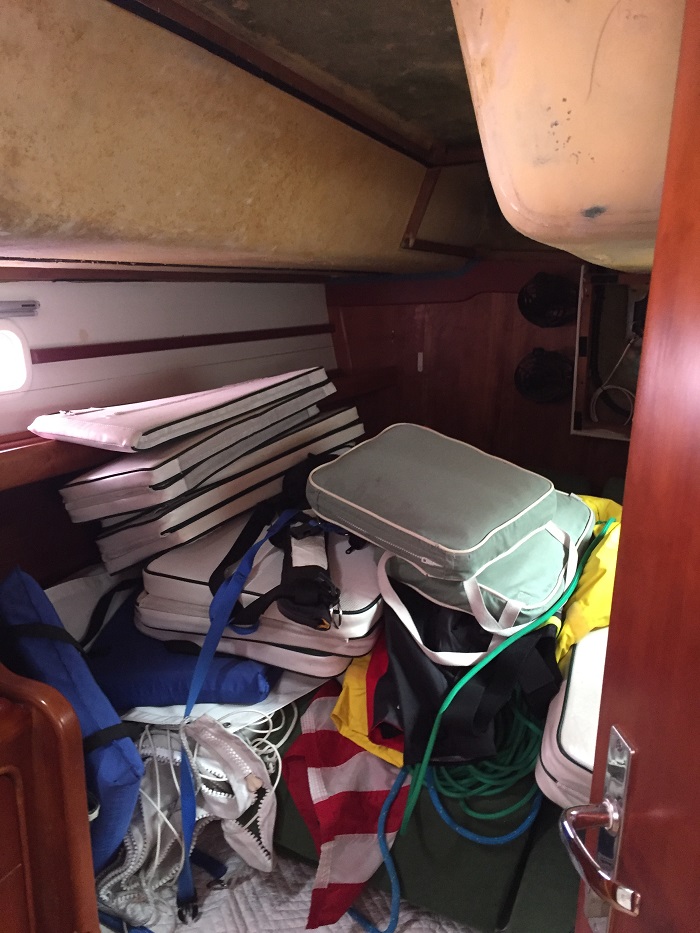 I am also renewing the caulk around the large tempered glass windows in the dodger. I was able to dig the old caulk out with a tool that I made from an old metal file. I heated up the narrow end with a torch, bent it 90 degrees and ground it to a sharp edge.
  It worked well to remove the old caulking but it still looks messy.
 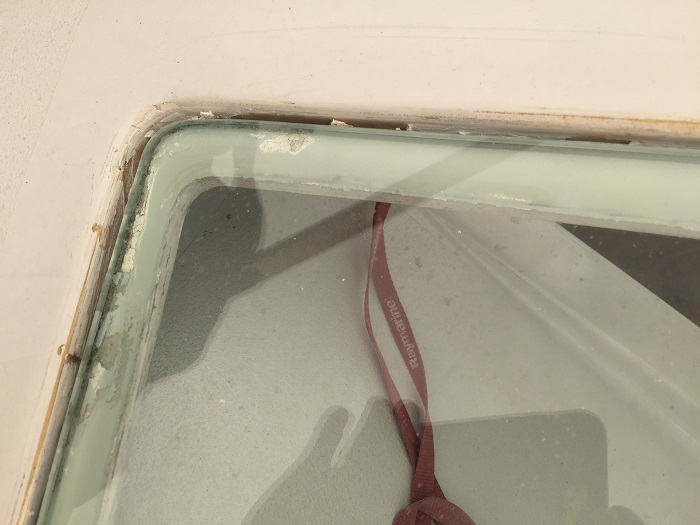 And, with something like 30′ of caulk to renew, it’s a big project. It took hours for me to clean out all the old caulk. I should have actually taken the windows out completely but I didn’t have the nerve so I’ll just renew the exposed caulk for now and try something more severe when things decay further, down the road.
  As far as what to use to replace the caulk, I spoke to someone who specializes in renewing hatches on boats and he recommended Sika 295 caulking along with a special primer and a cleaner to prepare the surface. The primer was nearly $100 for a one pint can. I hope it works. The caulk is made for industrial use, specifically for glazing and sticks much better when it is put on a surface that is well prepared. Or, so I am told…
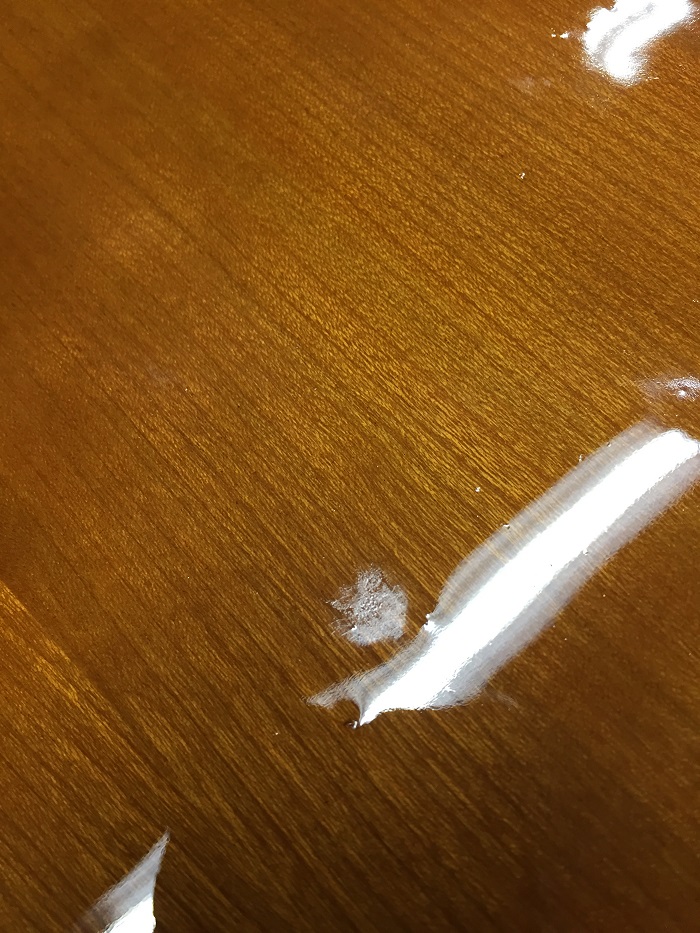 However, it looks pretty good now and I am going to call it done, even though there are a few dust specs here and there. I used gloss Epifanes, varnish, the best you can buy. Great stuff and quite a shine, if you ask me.
 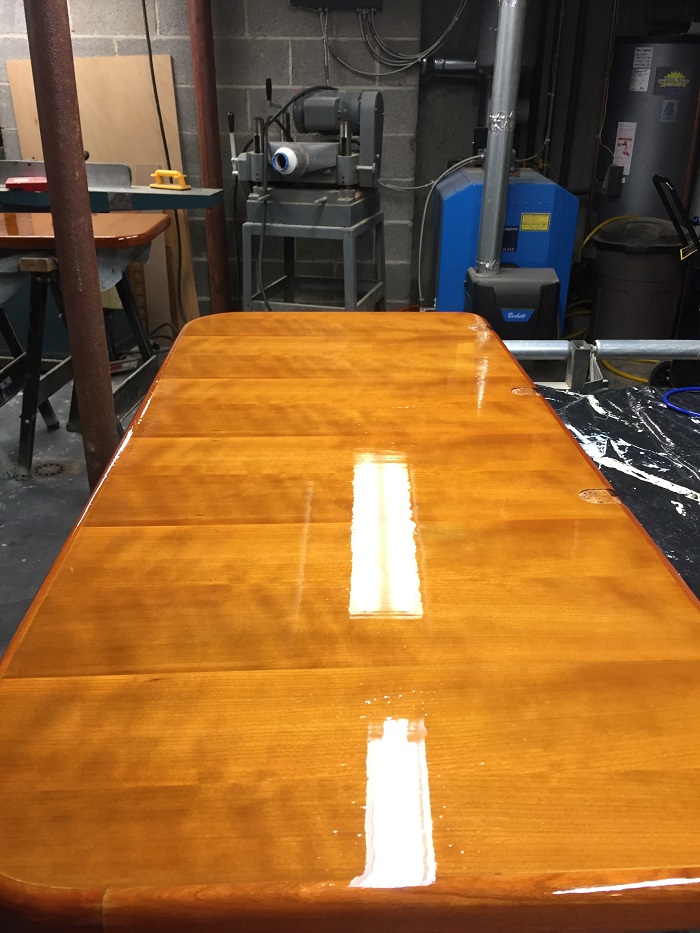 So, there’s a lot left to do but I am making progress, slowly but surely and am finally feeling like I can make it toward launching on a timeline assuming that the canvas guy finishes the headliner.
 Well, there’s lots to do and that doesn’t even get me to the point of preparing for the run to Antigua in November.
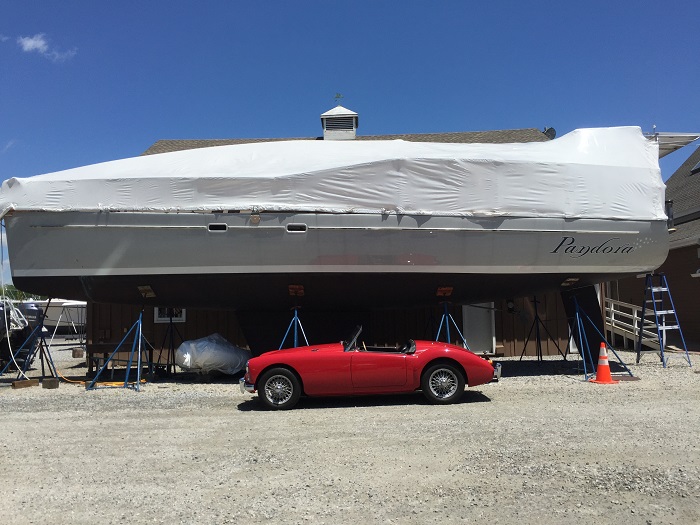 I am not sure if everything is clear but at least things are beginning to come into focus. Let’s hope that the canvas guy can fit me in or all this will seem more like wishful thinking than a plan.
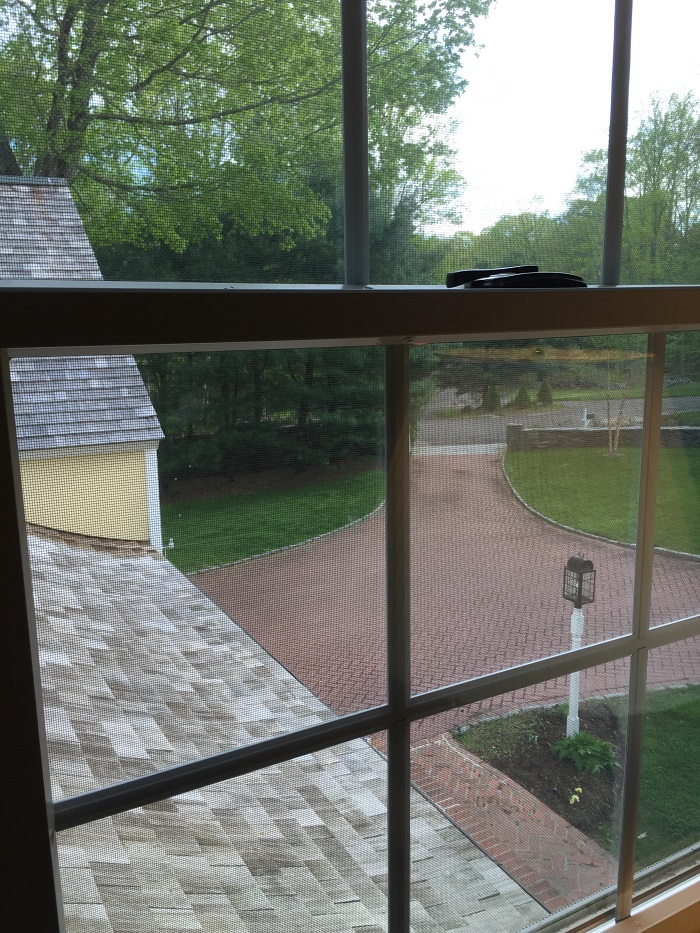 Not too long ago, it looked like this and I felt like there was no need to rush.
 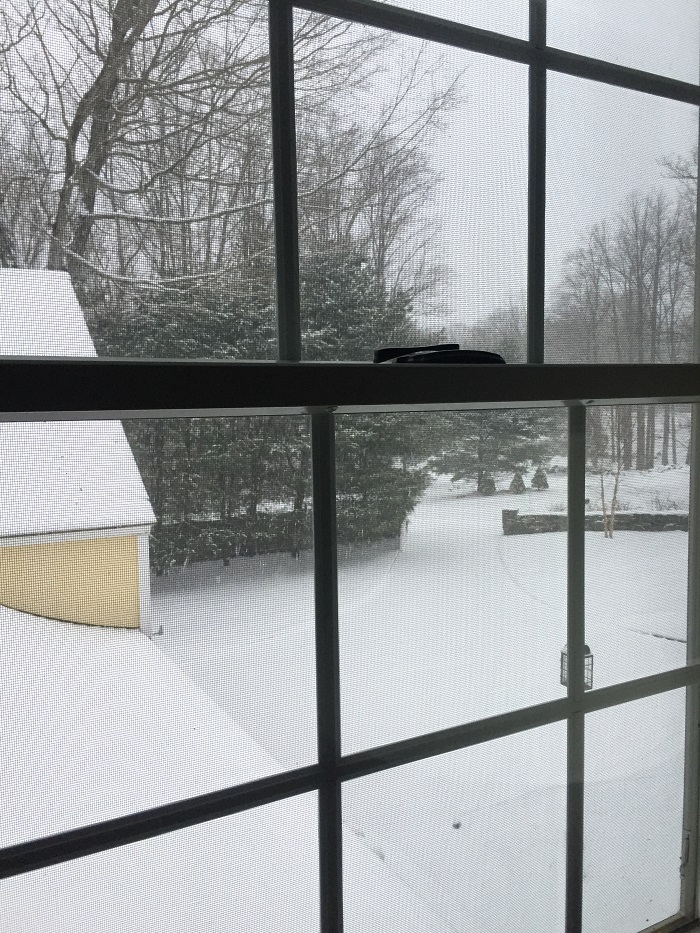 And, speaking of spring, I participated in another tradition at the Essex Yacht Club a few weeks ago, the burning of the socks. The idea is to get rid of those old socks, the ones you won’t need when it’s warm outside.
 So, here I am, nearly in the second half of May and there’s plenty still to do to get Pandora ready.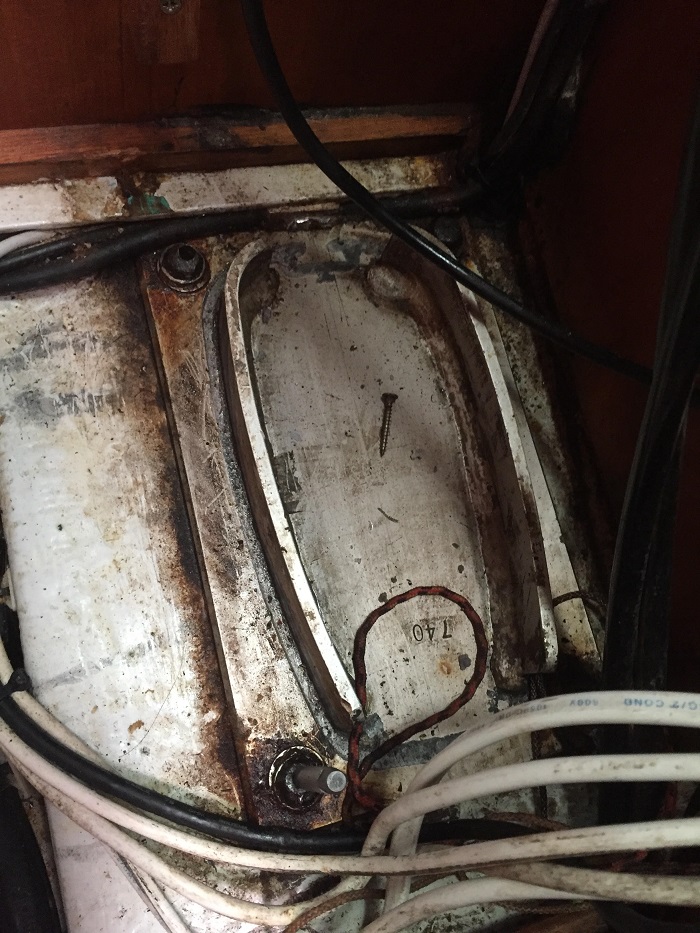
 That didn’t seem to be a terribly daunting project except that the entire engine needed to be removed to get at the gear box. It’s all rebuilt now and looks as good as new.
 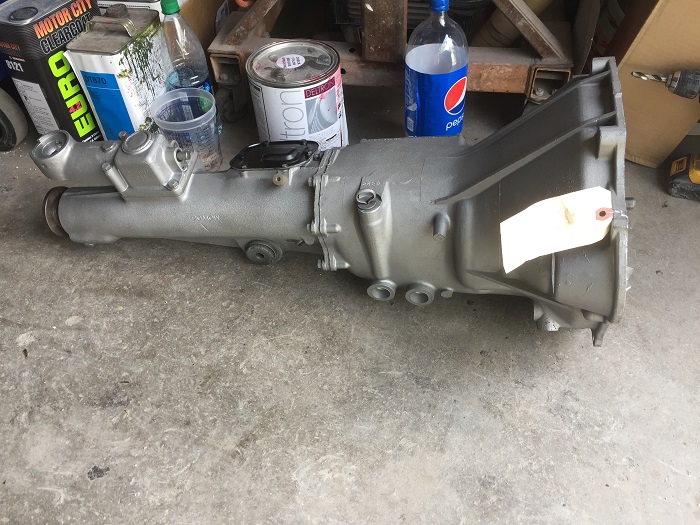 That circa 1962 engine, well it didn’t turn out to be very happy and that it’s issues went way beyond the gear problem. Indeed, it gets worse. “While we’re at it and the engine is out of the car, let’s check everything and see what else needs attention”, says the mechanic. And, he did and found that the cam shaft was worn and it also needed a valve job. Ugg…
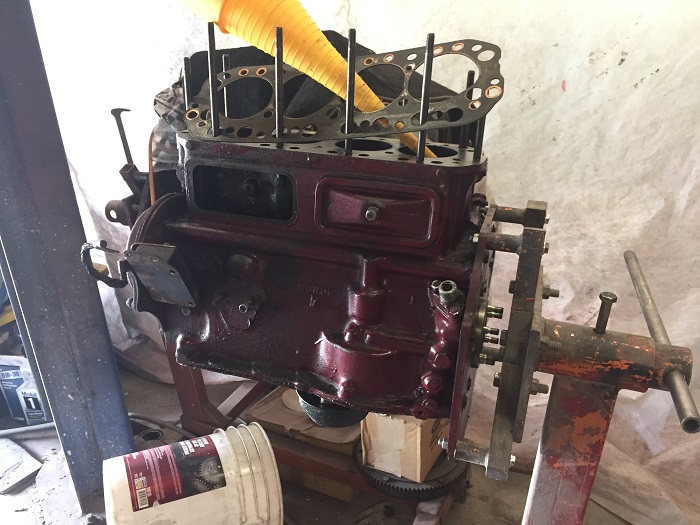 The head, now removed as you can see from the photo above, turned out to need love so off to a machine shop it went for a valve job. As luck would have it, they discovered that the head had a number of cracks. Not good, I thought, wondering how many “boat dollars” would be siphoned off to the MG.
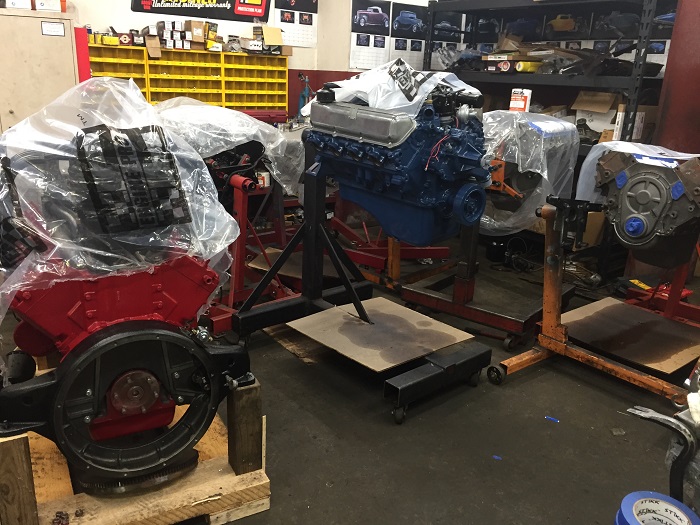
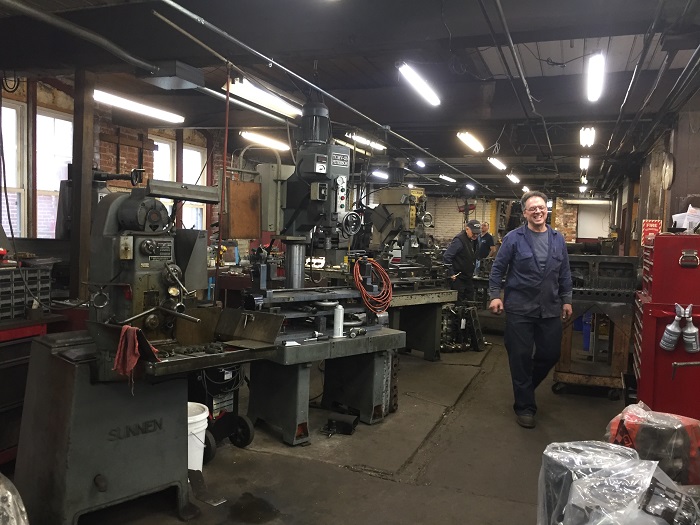 There were engines everywhere I looked, in various states of disassembly along with some really shiny newly rebuilt engines. Perhaps my favorite, all ready for the owner to pick it up, was a beautiful 12 cylinder red monster, on the right, from an antique fire engine. Awesome!
  So, I loaded my sad little cracked MG engine head into the car and off I went to that special place that heals sick engine heads in MA.
 Amazingly, he agreed to fix the head in a few hours and instructed me to head to a local mall for lunch and to return at 12:30. I did and returned just in time to watch him finish up the repair.
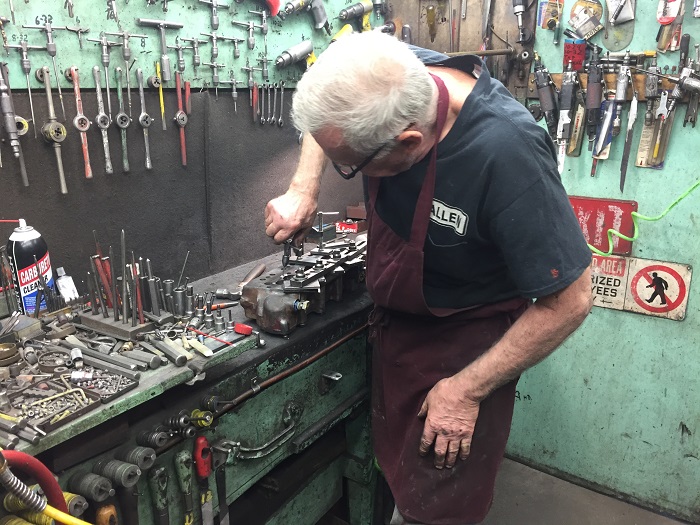 After filing the inserts flush, he used a pneumatic “tapper” to peen the metal in even more securely. I was exacting work.
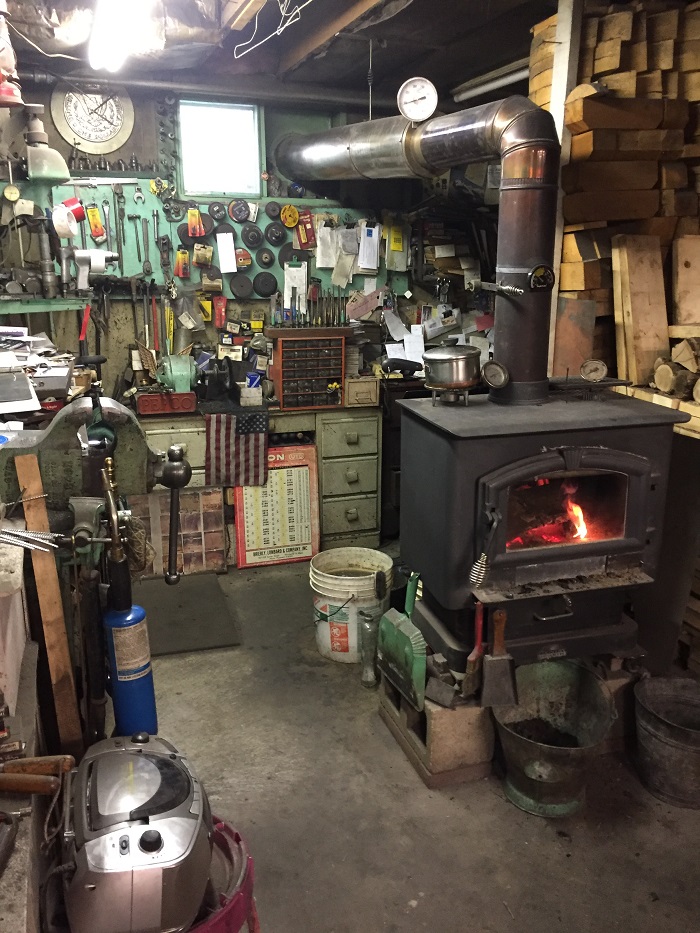
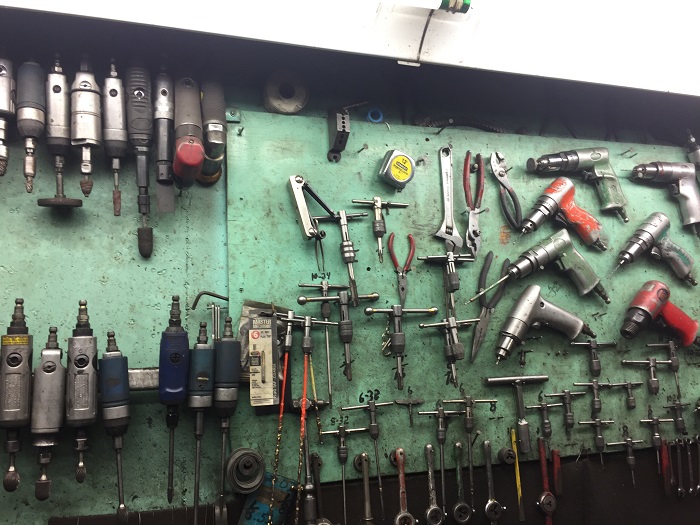
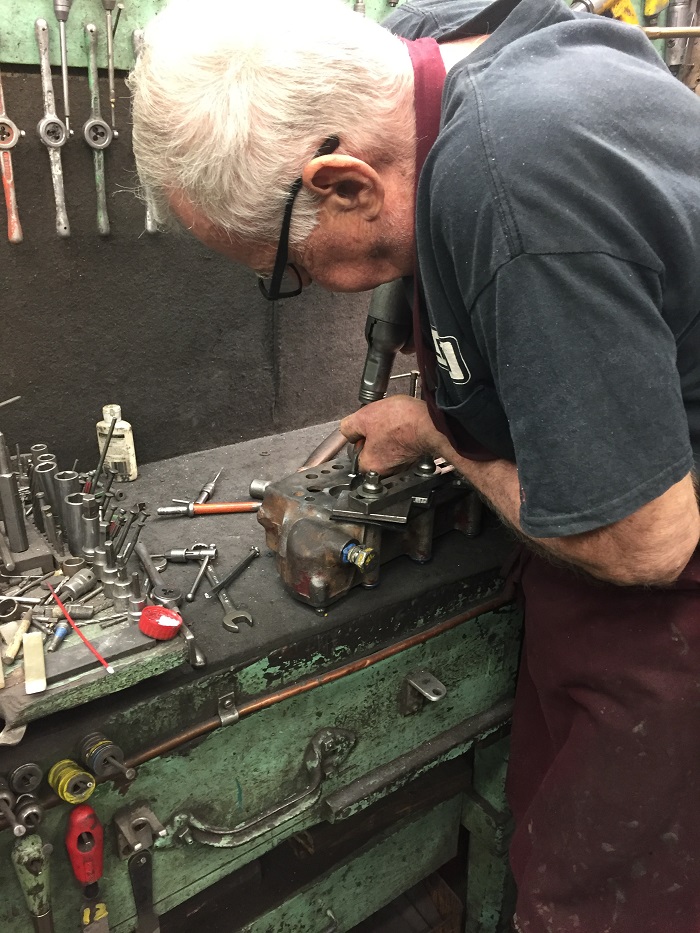 And, all of this very precise work was in great contrast to a chaotic riot of stuff everywhere I looked.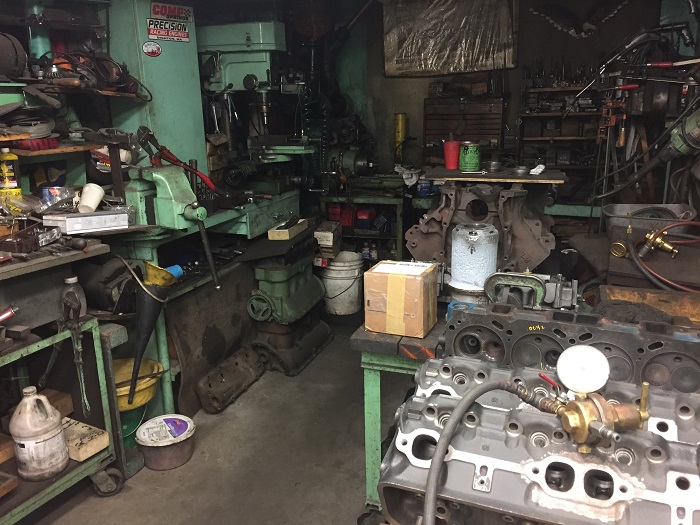
 When he was confident that the cracks were filled and secure, he took multiple clamps, metal wedges and temporary gaskets to cover each of the cooling chamber openings in the head so that he could pressure test the casting and be absolutely certain that his repairs were perfect. It was hard to follow with his quick movements but it was clear that he knew exactly what he was doing.
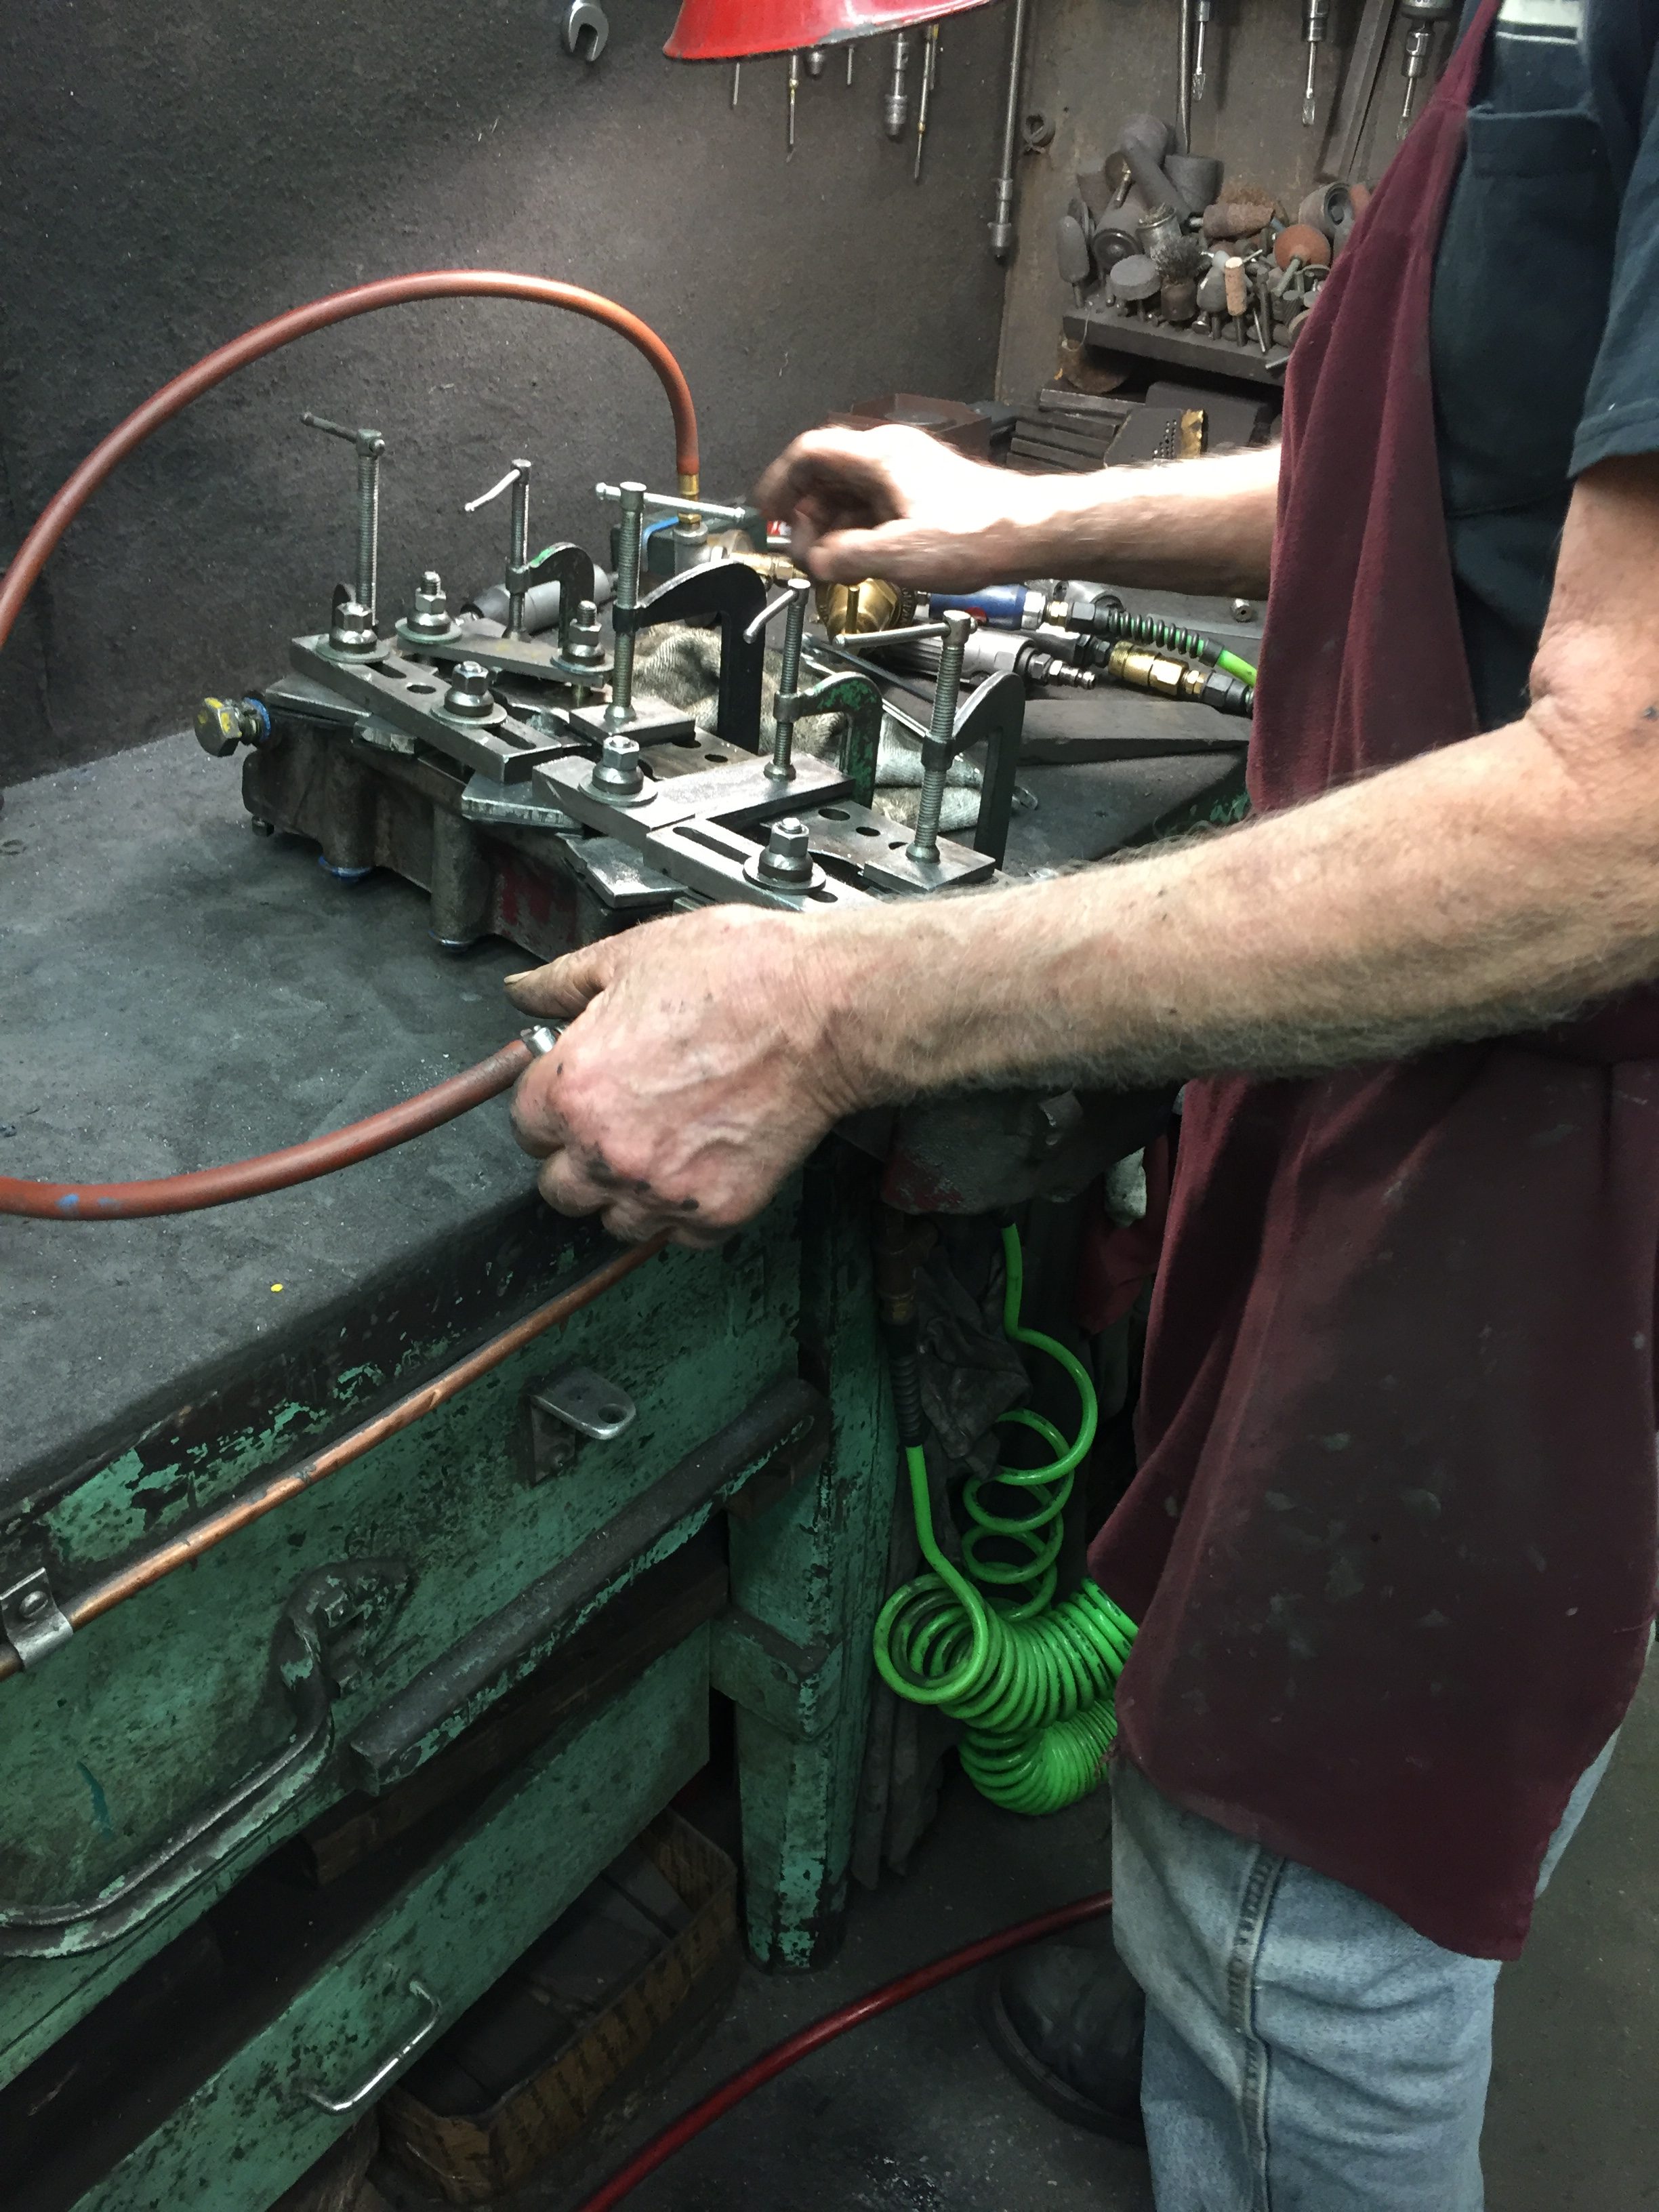 He turned up the pressure to see if it held.
  While the head was pressurized, he applied a liberal coating of WD40 to check for bubbles of escaping air from problems in the head casting. There were none. As expected…
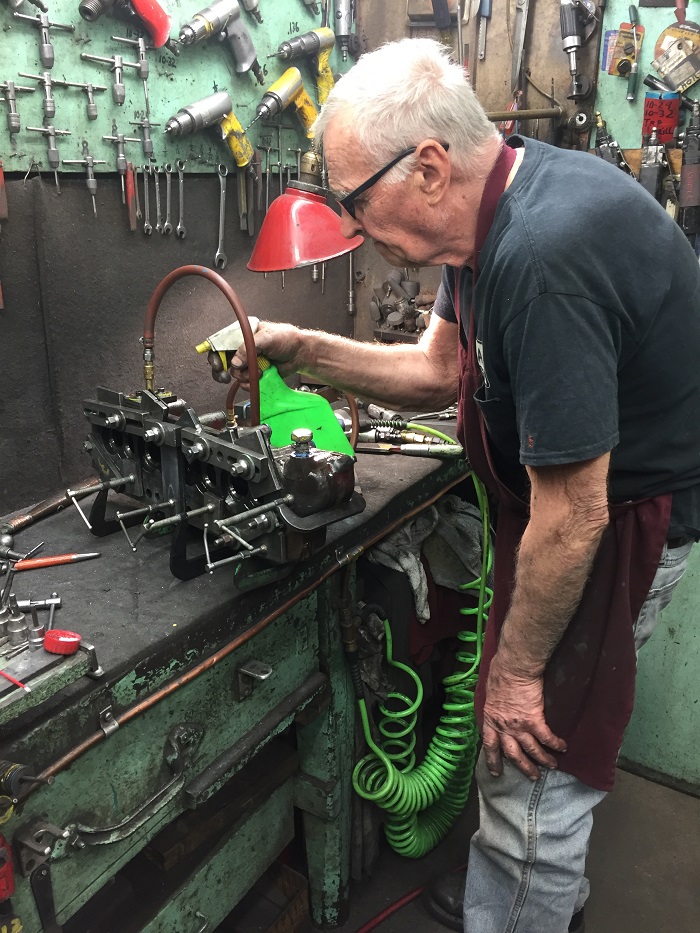 The whole process took about an hour and was fascinating. It surely demonstrated that it pays to have work done by someone that does this sort of thing every day and in Frank’s case, all day, every day.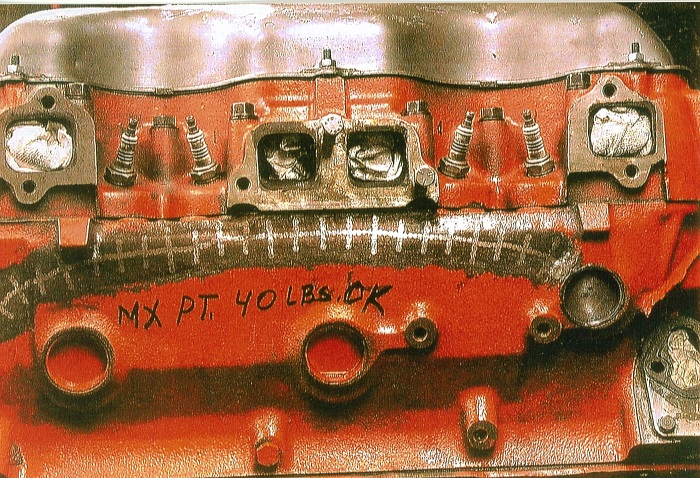
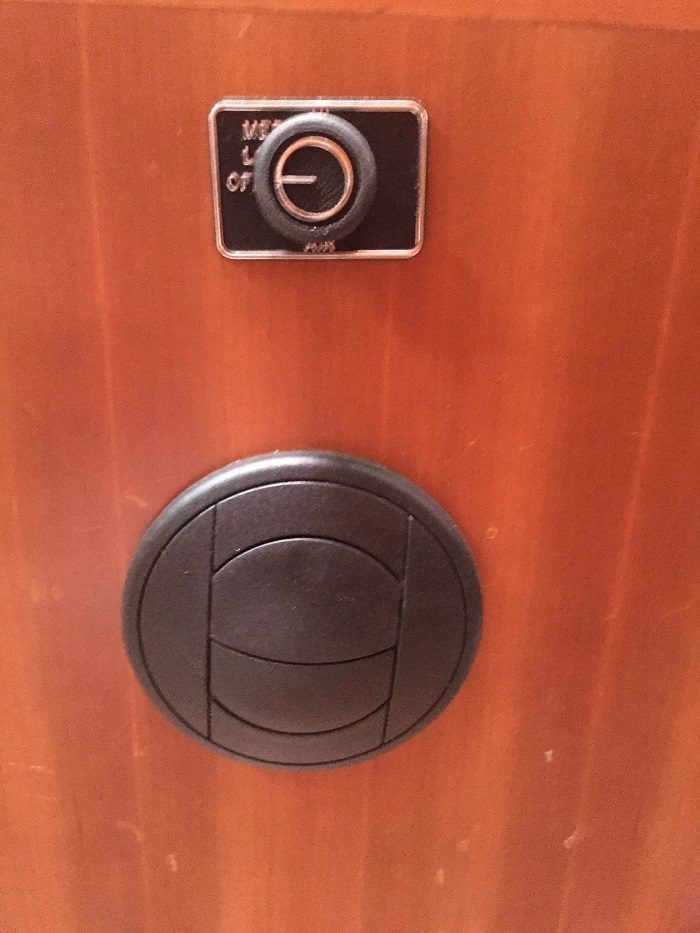
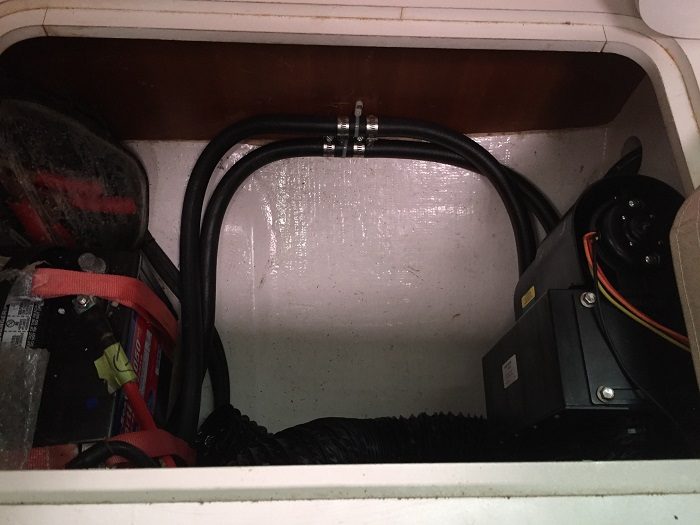 This is the switch to control the heater fan. There are three fan speeds and two vents. It’s located on the front of the settee in the main salon so it will offer easy access. I hope that it won’t be “easy breaking” as well. I am hopeful that the cushion, right above it, will keep it out of harm’s way. That’s also the vent, right below it. It can be opened and rotated to direct the, hopefully, hot air.
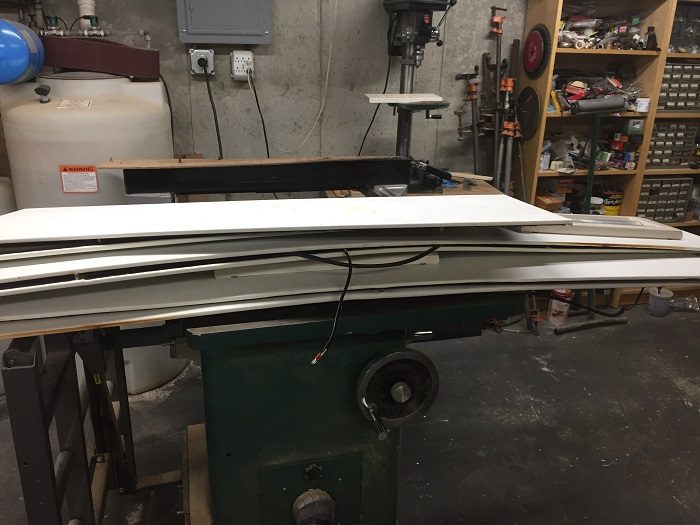
  As I have mentioned in prior posts, a lot of the overhead panels were badly damaged from dripping water coming from badly bedded fittings on deck. The granny bars, near the mast were particularly bad offenders. Here’s quite a stack of panels that needed recovering, about a dozen.
 The vinyl on each panel was held in place by hundreds of staples, something like 500 per panel, many rusted beyond hope. I had to pry each one loose with a screwdriver and then pull it out with a pair of pliers. Talk about repetitive motion injury.
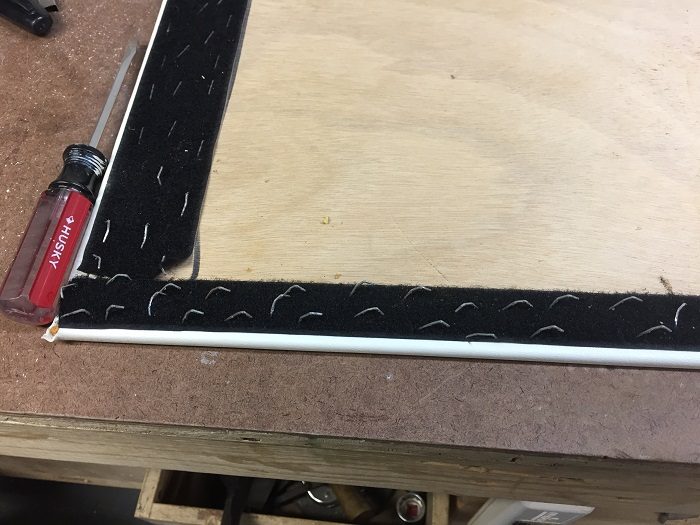 Others were so badly rusted that the velcro just pulled off. Of course, that left a mess of bent rusted staples behind. Many of the panels are scored to allow them to bend to follow the curves of the ceiling. In many cases, they were cracked so I had to reinforce them with even more staples, stainless steel now.
 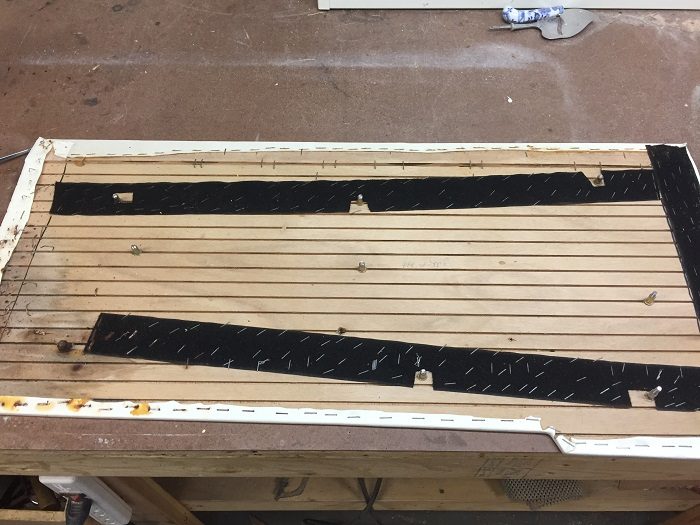 All of the panels are cleaned up now and out for recovering. I was going to recover them myself at the canvas shop but Chad decided that he didn’t have room for me to spread out and is going to handle this himself. Oh boy, this process is going to get even more expensive. Let’s hope he can finish them fast, really fast.
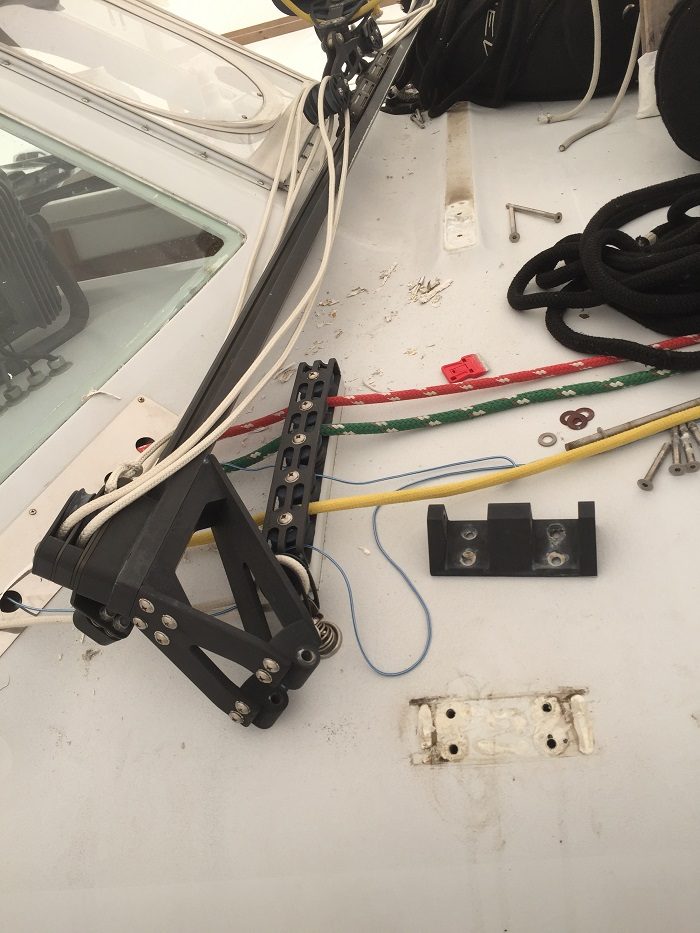 I was also surprised with how little bedding compound there was under each fitting. Also, the traveler is held on by a dozen fastenings. That nasty leak over the galley should be gone, for now anyway.
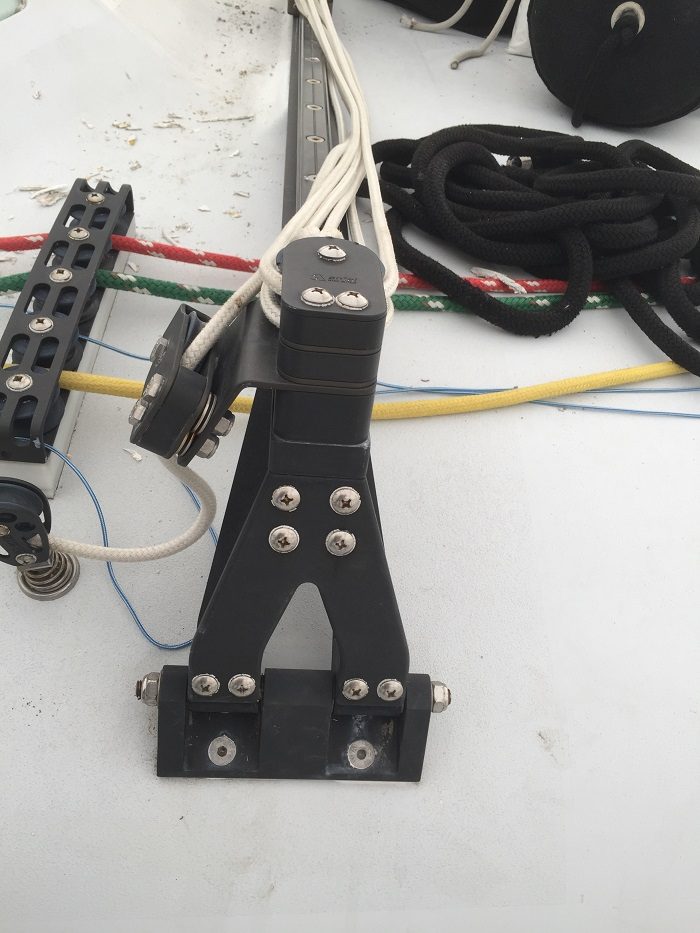 The list is still long and winding but at least I am moving forward instead of two steps back.
 And it even came with some nifty attachments, including one that looks around corners. Wouldn’t it be fun to drill into an adjacent hotel room wall with this?
 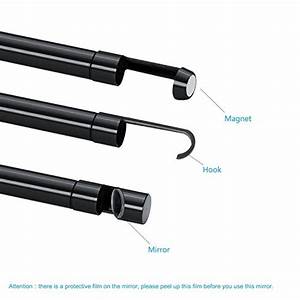 So, this afternoon I will “scope” out the mast step situation and see what I have to do to get those bolts out. Wish me luck.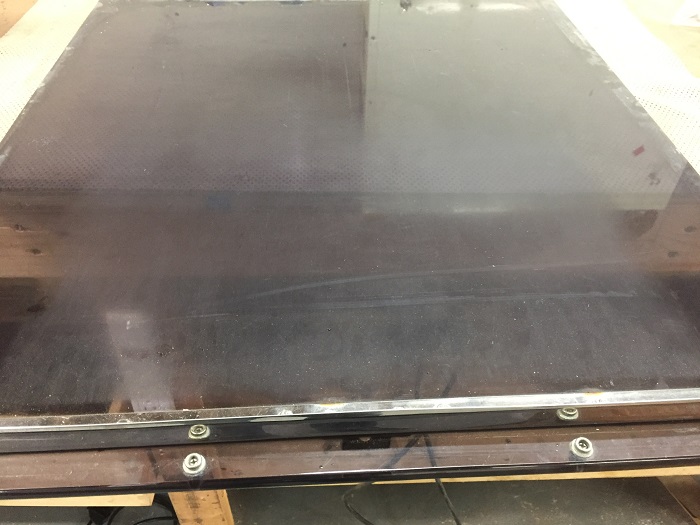
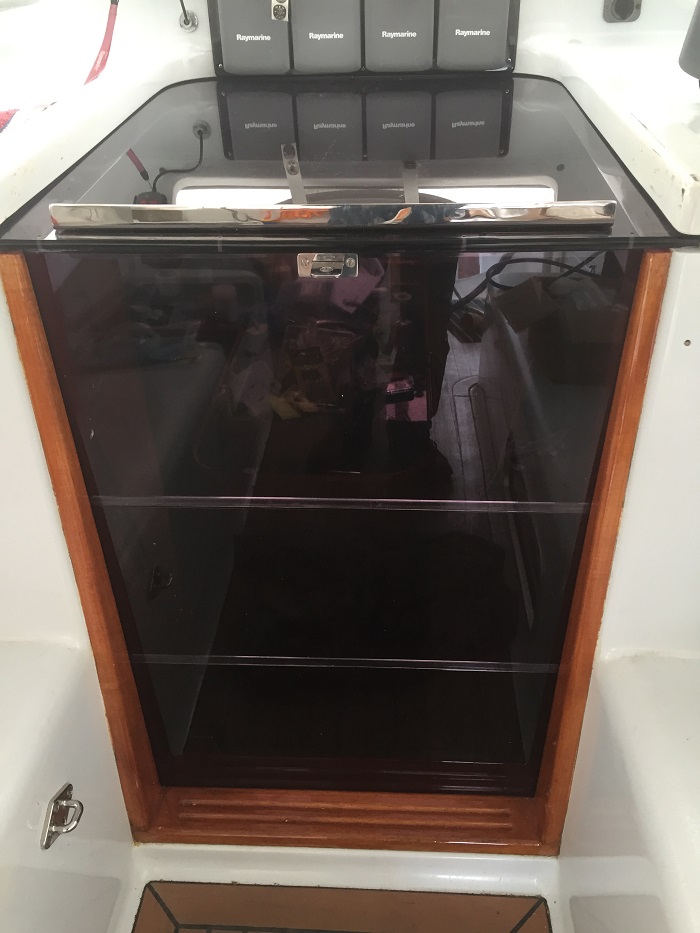
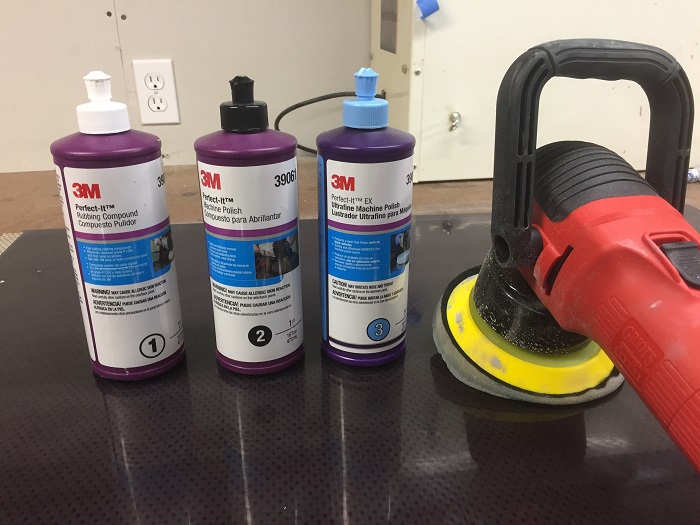 In this instance, I decided to skip the middle grade and went from the most aggressive compound to super fine, on both sides of the panels. The whole process didn’t take long at all, less than an hour, and the difference is striking. I also used the compound to shine the stainless, with a rag. I am really happy with the result and it was surprisingly easy to do.
  I have mentioned in a prior post that I was replacing all of the old, inefficient fluorescent fixtures with LED. Yesterday I installed the new fixtures in the cockpit. I decided to use a version that is smaller than the ones I selected for use below decks as I am hoping that they will not be too bright. I had a hard time identifying a model that would work on 24v but these are good for both 12v and 24v. Only a few years ago it was very difficult to find dual voltage fixtures and bulbs but they have become much more affordable and now are available in a nice warm white, 3,000k, which looks great.
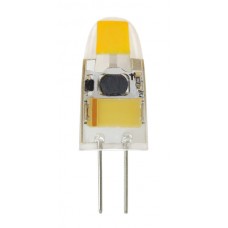
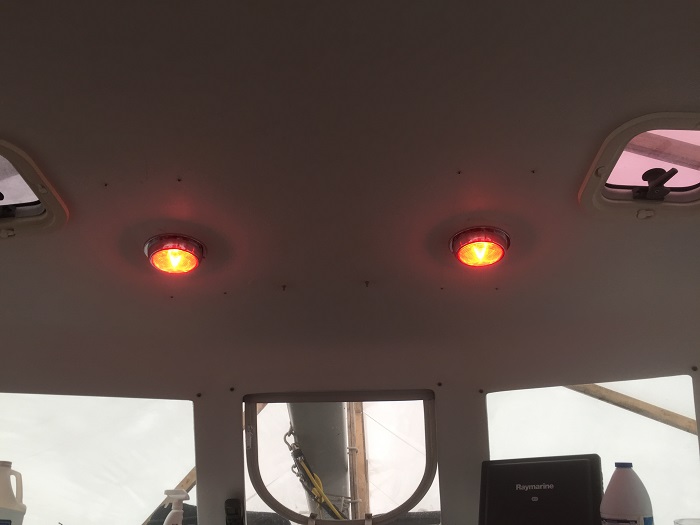 I have struggled to find LED replacement bulbs for the many halogen fixtures in the cabin that fit as most G4 LED replacement bulbs are not designed for use with a dimmer or are too big. Fortunately, Dr LED also makes a terrific little bulb that is small enough to fit in most any fixture, is very bright and yet dims well. These
  Well, there’s still plenty to do to get Pandora ready as I work my way through the list, one step at a time. Unfortunately, the list is long and it continues to grow at least as fast as I check items off.
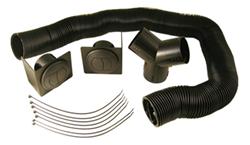
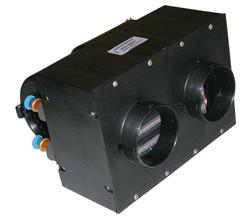 I also purchased a length of
 It’s always challenging to tackle projects on Pandora as the process, more often than not, feels more like a scavenger hunt, trying to find the right parts and not knowing where to get them. It is especially complicated when the parts are electrical as the boat is wired for 24v which usually means special order. As there were only three Aerodyne 47s built, I can’t just contact another owner to see how they might have solved a similar problem. For my last boat, a SAGA 43, there were more than 50 built and there was a very active owner’s forum with a number of owners who knew their boats inside and out and always had a quick answer to most any question.