


Not in Maine but not so bad.
We left Newport yesterday and are now in Wickford. Yesterday morning we were greeted with our first fog of the season, perhaps more than anything, a reminder that we are NOT IN MAINE, as planned. Yes, the headliner, the cause of our delay, is mostly done but not perfect yet. Stay tuned for more on that ongoing saga.
So, back to the fog. This was the view that greeted me yesterday morning just after sunrise. The shore was a lot closer than this photo suggests. The fog was short lived and burned off as the sun rose. 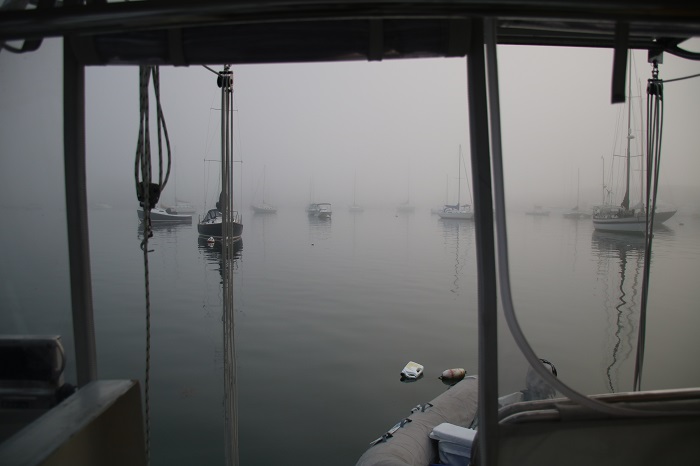 We’ve been on the move for about a week now, with a short visit to Maine (by car) where I gave a talk at the Camden Yacht Club about cruising the southern Caribbean. Our visit was brief, only two days, and we stayed with our cruising friends Tom and Jane of Bravo, who we first met in Bequia, the winter before last. They were very gracious hosts and we loved staying in their charming home, snug in Camden village.
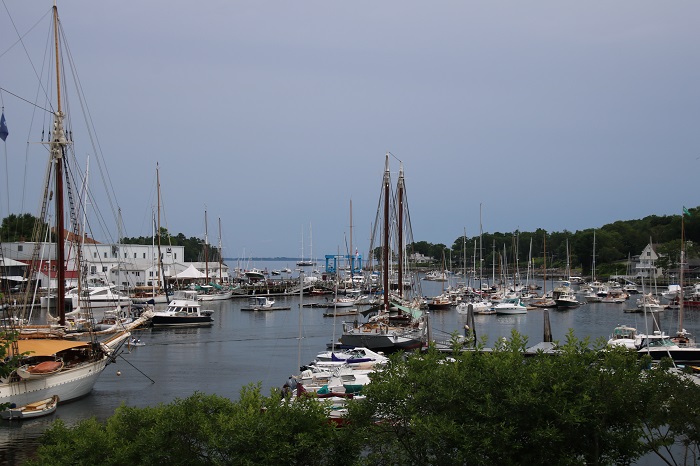
On our first morning, Tom and I braved the light rain, making the short walk to the waterfront to take in the sights. With the Camden Classics being held that week, there were many beautiful boats in the harbor, with more on the way as the week progressed, promising some 80 beautiful “temples to sail” in attendance by the weekend.
This boat, Belle Adventure from London, built in 1929 and designed by the legendary Fife, is a lot older than she looks. Note the canvas covering her bright work that will stay in place until the owner shows up. It’s a lot more economical, relatively speaking, to build canvas covers than to renew the varnish. Out of the UV of the sun, the varnish will keep fresh longer. 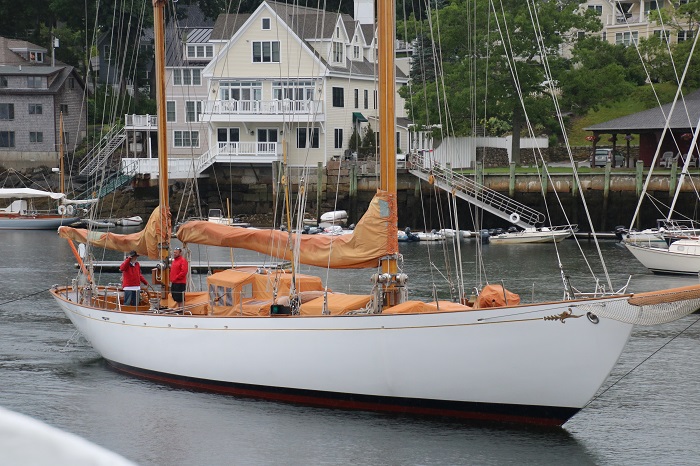 She has lovely lines and is probably in better shape than when she was launched so many years ago. I’m pretty sure I have seen her before, perhaps in Antigua.
 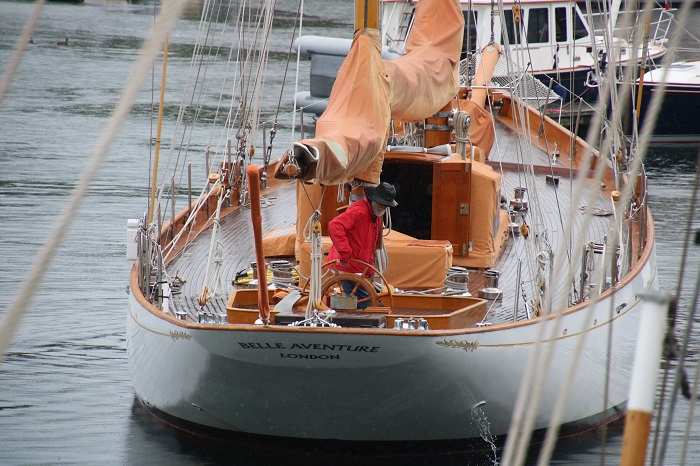 It was painful to know that I would miss all the action of the regatta as we had to head back home the next day.
This much varnish clearly makes the point “I can afford it!”. You will never see a yacht with this much perfect varnish that isn’t maintained by an owner, ast least one that actually sails their boat. Interestingly, this boat was built only a few years ago and is modern in every way. This sort of boat, looking like a classic and yet sporting a modern under body and rig, is called “spirit of tradition”. 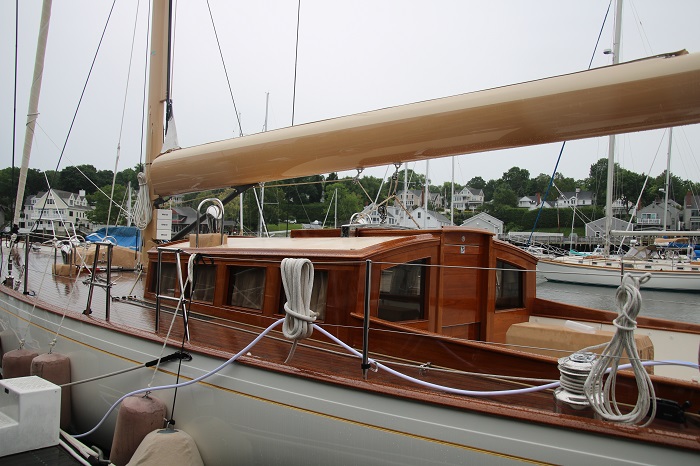 Camden harbor is perhaps my favorite harbor anywhere. It’s terribly quaint. Being here reminds me of so many fun cruises to Maine in years past.
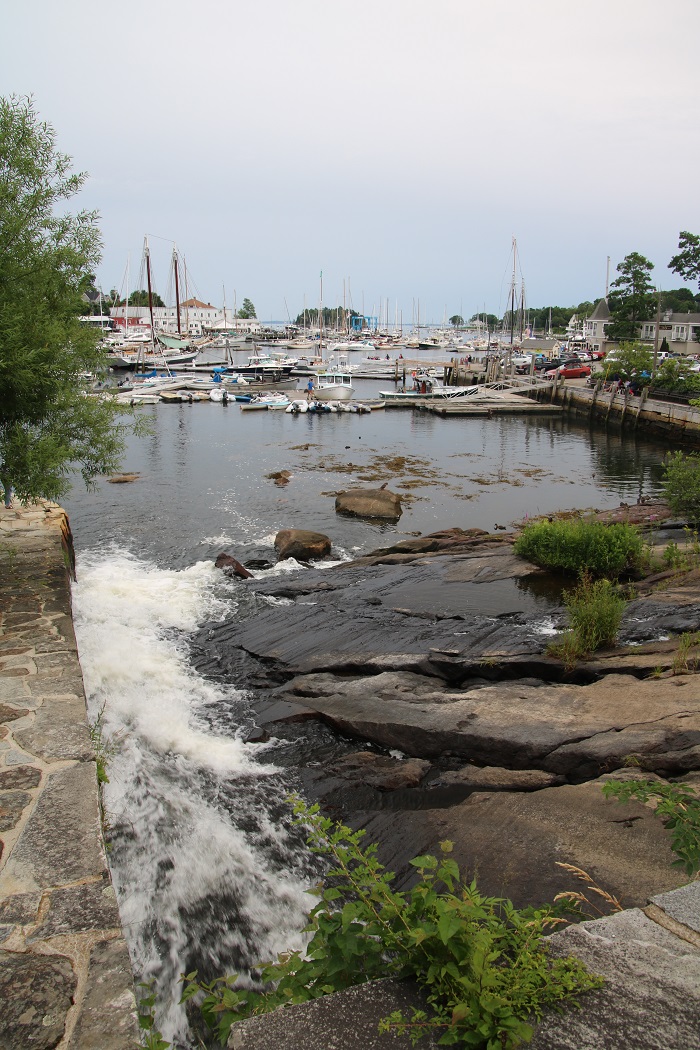
 There is a babbling brook at the head of the harbor, and it was babbling away as expected. I can recall time years ago when we were in this harbor when we had a huge summer downpour and the babbling become a roar.
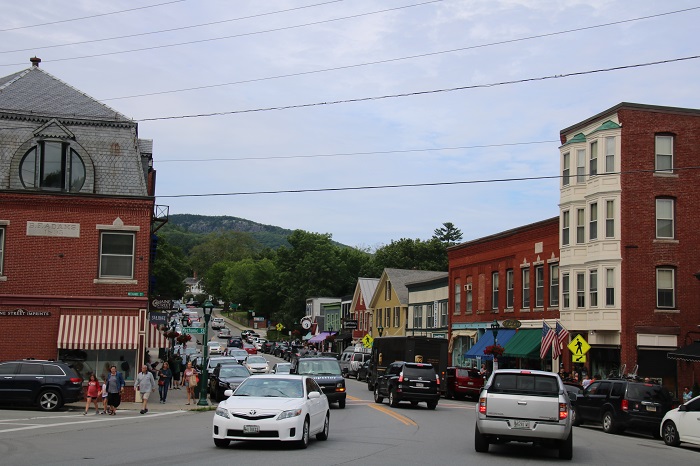
  All of the traffic that heads for points east has to wind itself through the impossibly quaint center of town. The buildings evoke an earlier, simpler time. Well, it probably wasn’t simpler but that’s what we all say.
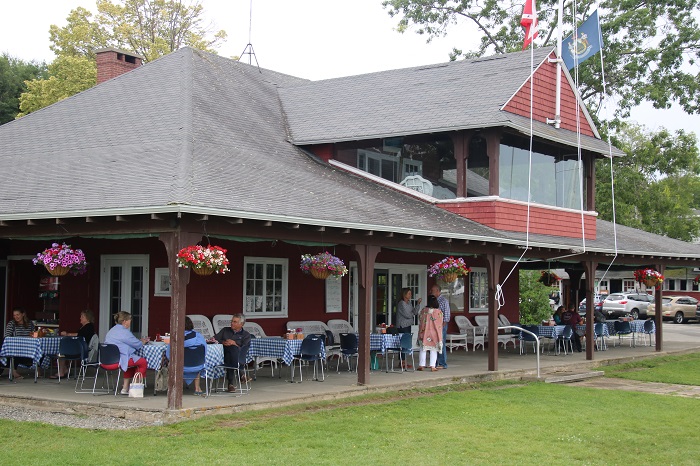
 This is the Camden Yacht Club. They host a “summer speaker series” with guest speakers, sometimes twice a week, on all sorts of topics. I was thrilled to be invited to speak here as we’ve been coming to this friendly club for many years. Our host Tom, was my sponsor and invited me to speak. I really enjoyed the evening.
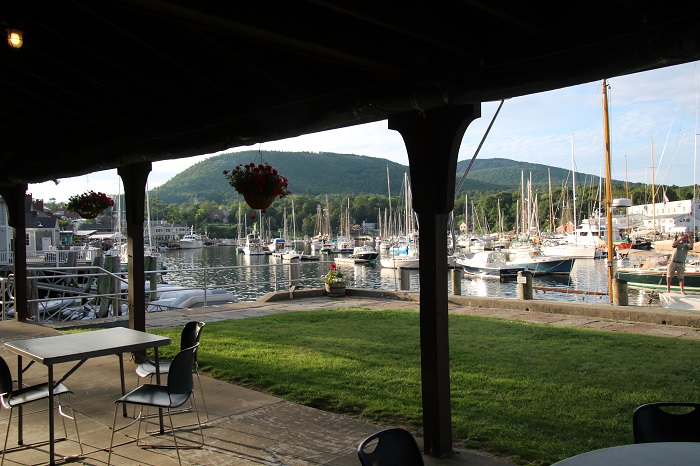
 This view from the club, of the aptly named “Camden Hills” is beautiful in the afternoon light.
  Over the winter I had also organized an event with another group that I am a member of, the Corinthians, their summer cruise wrap-up dinner at the ApprenticeShop in Rockland.
 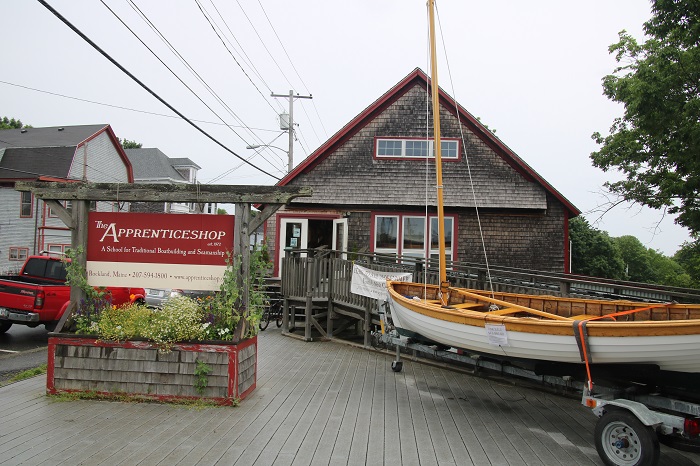 However, as I didn’t make it to Maine with Pandora, we weren’t able to stay and participate in the dinner. Just to be sure that all was in proper order for the event, we visited the shop and met with my contact Liz and the caterer Jenn. I was sad that I wouldn’t be a part of the event that weekend but wanted to be sure that all was set. Reports were that it came off well. No surprise there as Liz and Jenn seemed to be quite buttoned down.
Liz gave us a tour of the shop, where some lovely boats were being built. The lines on this lapstrake rowing boat are sweet. 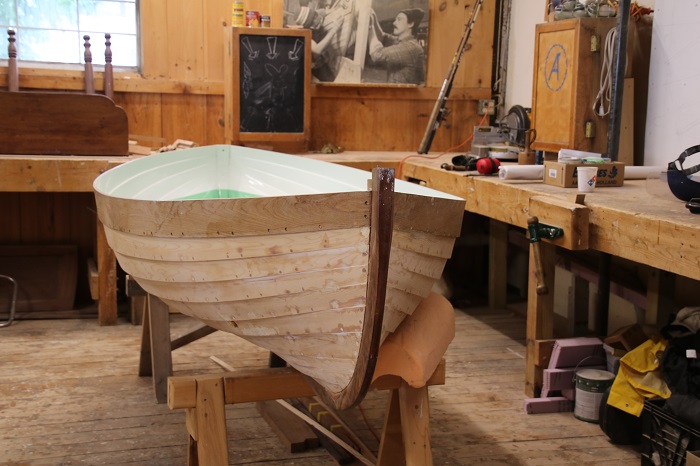 We were told that this boat, once completed, will be shipped to Europe. There are a number like this being built at different shops, some in the US and some in Europe, to the same design, and they will all race together when they are completed, I think in Scotland.
 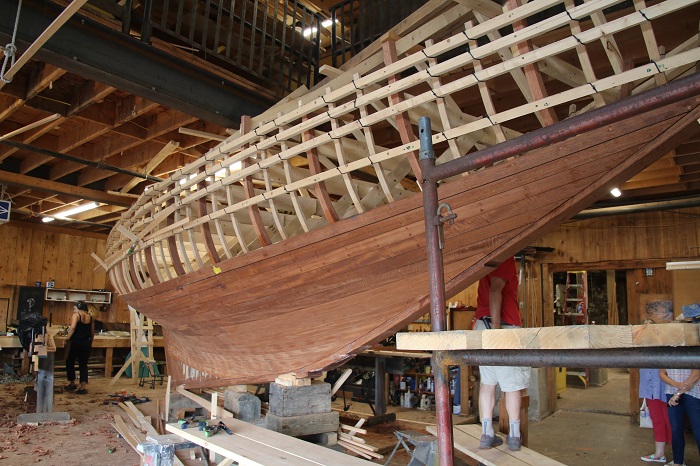 The ApprenticeShop is a place where students can enroll to learn a trade in wooden boat building and they have been successful over the years, with many graduates moving on to full time work in the business. I understand that it is possible for “mature” folks, like me, to take a two month intensive course as well and that sounds like a great idea for down the road. It’s not an inexpensive endeavor but you do get to take home a small completed rowing or sailing boat, which would be fun. Something to think about.
After our whirlwind Maine adventure, we headed back to CT and Pandora to get ready for the arrival of our friends Karyn and George who were joining us for a few days of of sailing. Originally, the plan was to rendezvous in Rockland but after bagging that destination, we agreed to have them come to Essex and spend a few days exploring before winding up our adventure yesterday in Wickford.
Our first stop from Essex was a short distance to Fisher’s Island, west harbor. Fisher’s is an exclusive and mostly private island but you can go ashore and do some exploring. The Fisher’s Island Yacht Club is always welcoming and we tied up at their dock. 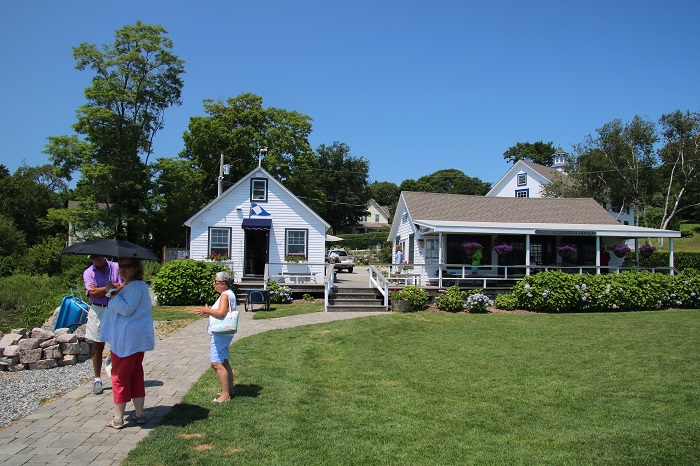 Interestingly, I had been introduced to the commodore of the club at the Essex Yacht Club the night before. He and commodores of a number of other clubs were visiting with our own Commodore Klin for dinner.
As you’d expect, being late July and all, it was plenty hot in the afternoon and the girls went in for a dip. They reported that it was bracing at first, and then quite pleasant. I guess it was as they stayed in for a long time. 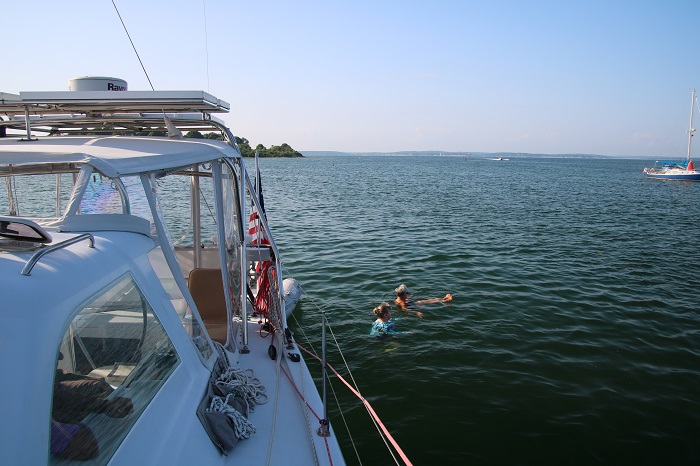 The prevailing winds in the NE are generally from the SW in the summer but, as luck would have it, not, the wind was blowing directly from the SE and Block Island, our destination. After a frustrating few hours tacking toward Block and waiting for the expected southerly shift, I gave up and turned on the motor. We picked up the Essex Yacht Club mooring which was open.
Along the way, as we went through The Race, the narrow cut that marks the eastern end of Long Island Sound, we were passed by a ferry. Knowing if approaching ships were on a collision course has always been a source of anxiety for us but as Pandora now sports an AIS transponder, we were able to see the name of the ferry, contact the captain who said he’d pass us to our stern. AIS is one example of how technology can indeed make life better, and in this case, way less anxiety producing. 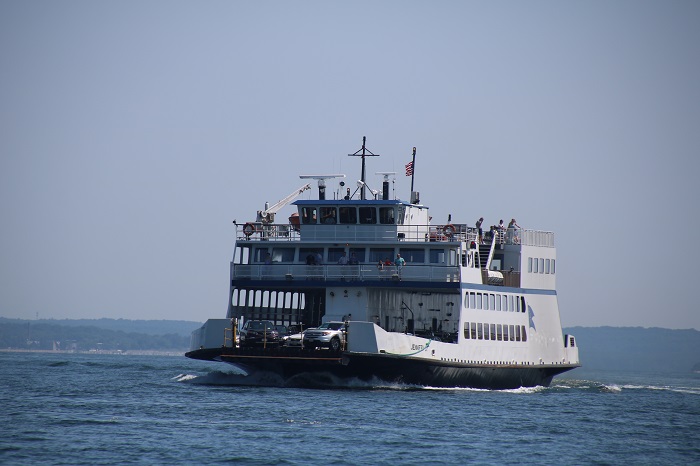 Snug in Great Salt Pond, we were treated to a perfect sunset.
 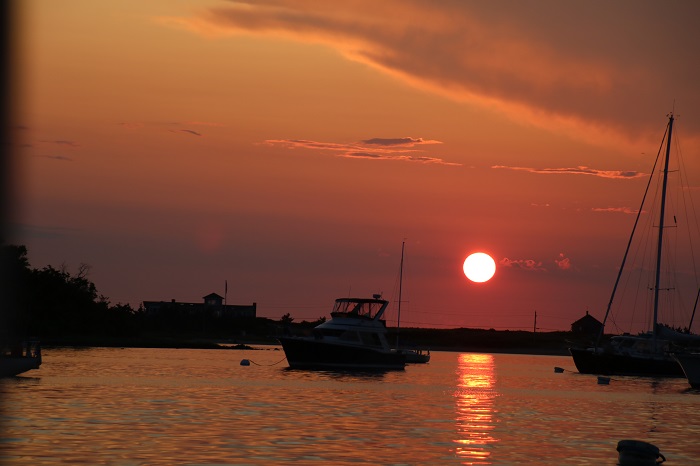 The Essex Yacht Club maintains a few guest moorings in popular harbors and it is a real treat to go into the harbor and pick up a mooring for “free”. I say that as the rental moorings in Block are always full and there is a mad scramble to get one when a boat leaves, with those waiting in the wings zooming up with their dinks to claim their prize.
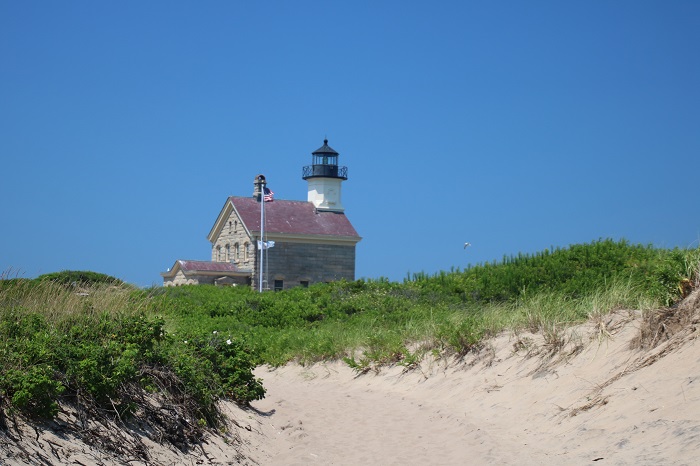
This old Navy tug has been someone’s home for many years. Legend has it that the owner, when he purchased the tug years ago, sold the thousands of gallons of fuel in the tanks, yielding almost as much as he paid for the boat. True story? Who knows, but it’s fun to tell. 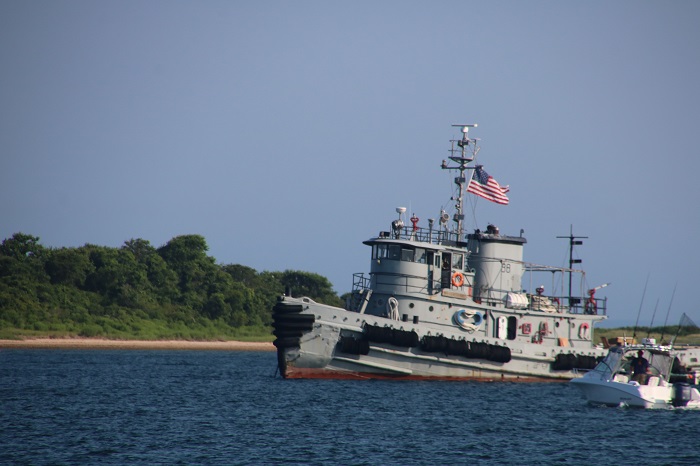 We were joined by our friends George and Bonnie and the six of us rented a van for the day and toured the island. One of our stops was the North Light, a beautiful spot at the end of the most northern spot on the island. In the distance, on a clear day, you can see Point Judith.
  On the south east side, the now famous, and to some infamous, wind mills, the first of their kind in US waters. I, for one, hope that they put out many more in the coming years.
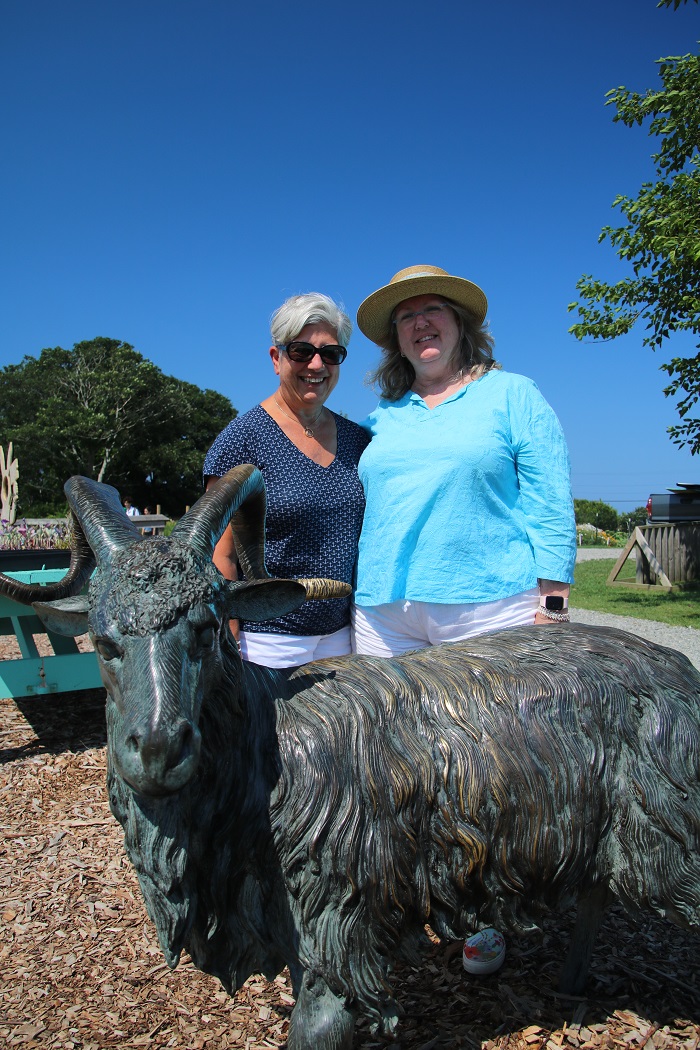
These are huge, some 600′ tall from the seabed to the tip of their rotors. Check out the sailboat on the right for scale. We were told that the 5 generators in the “farm” put out enough power to serve some 17,000 homes. 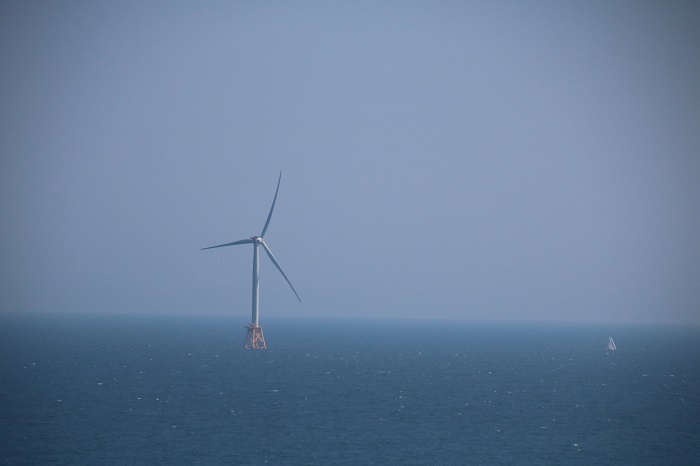 Along the way we visited, as you’d expect given the fact that Brenda and Karyn are knitters, a fiber store near a farm with all sorts of exotic animals including camels, emus and, well, other animals, a few in bronze. Brenda and Karyn have been friends for many years. This coming week Brenda will travel to Cape Cod to spend a week with Karyn who’s hosting a workshop.
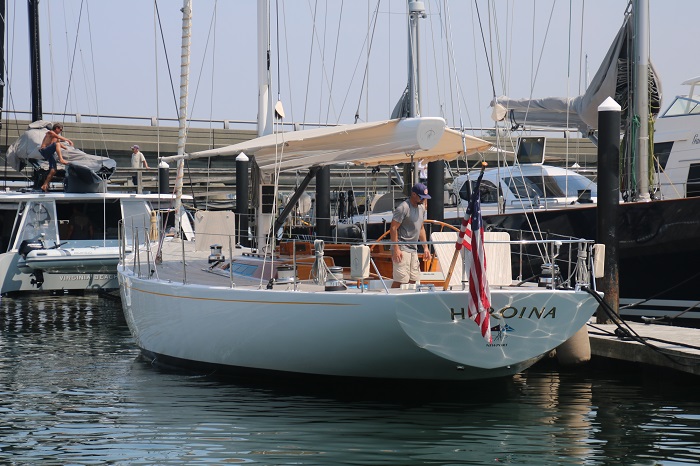
  Beginning with a visit to rural Fisher’s and then on to the summer hot-spot of Block what better next stop could there be than Newport, home to so many beautiful yachts. We enjoyed a stroll downtown followed by dinner ashore and then a harbor tour on our way out of the harbor yesterday. I am always blown away by the scale of some of these yachts. Even more amazing is how much of their time they spend tied up at in a marina. It’s a small world and I have seen this one before.
 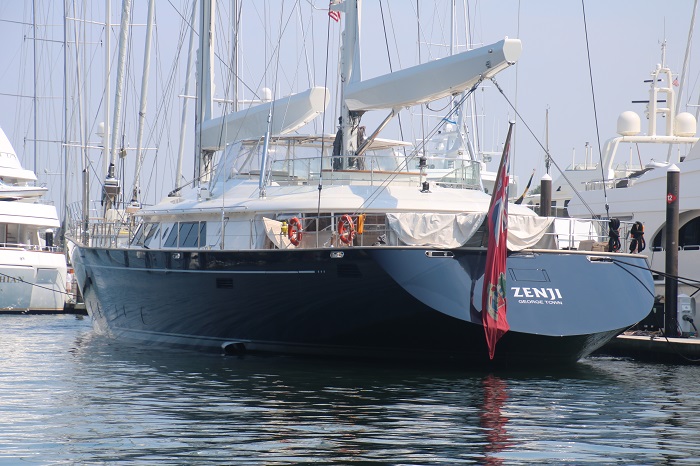 A somewhat more diminutive but still big yacht.
  We passed Harbor Court, the Newport home of the NY Yacht Club, once the summer home of the Brown family that founded Brown University. The family made their money running opium to China in the clipper ship days. I expect that the family doesn’t like to be reminded about that sordid little detail in polite company these days. Somehow that little bit of history doesn’t seem to attract the same justly deserved animosity as the current problems facing the Sackler family, the makers of Oxycontin that has fueled the tragic opioid epidemic. Forgive the starboard list as I was snapping shots while dodging moorings in a crowded harbor.
 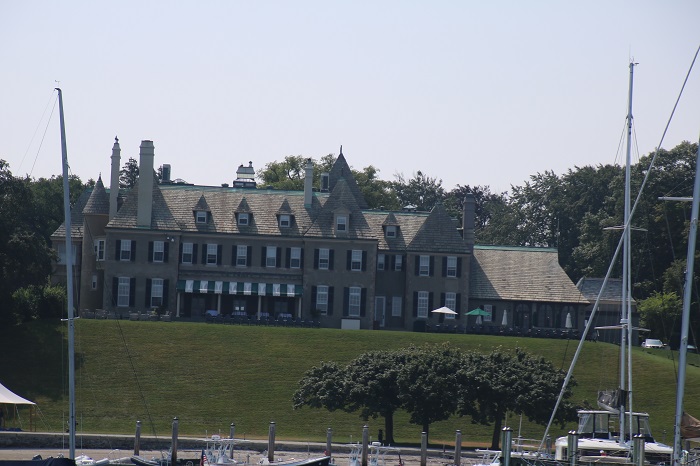 As a side note, Pandora will serve as “tender” to another boat on next week’s NYYC Cruise next week and I’ll be attending the opening event of the week at Harbor Court next weekend. Stay tuned for more on all that.
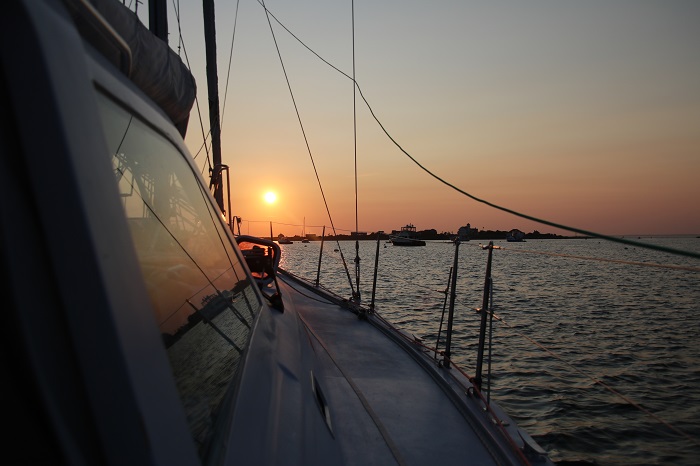
As we made our way through the harbor I was struck by this family swimming off of their classic motoryacht. What fun and said “summer” to me. 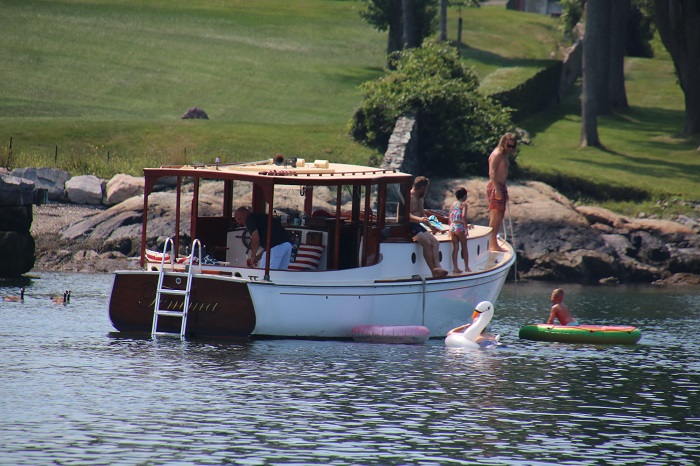 So here I sit, the sun is just peaking up over the horizon in scenic Wickford. Not a bad view to begin the day. Yes, I know, that starboard list again. It was 05:00 and I hadn’t had my first cup of coffee yet.
 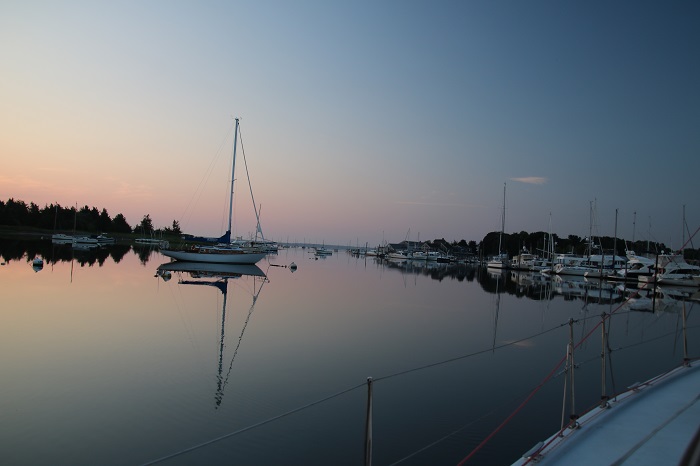 It’s nice to be aboard again and on the move. Yes, it’s not Maine but it’s not so bad.
It’s going to be hot today.
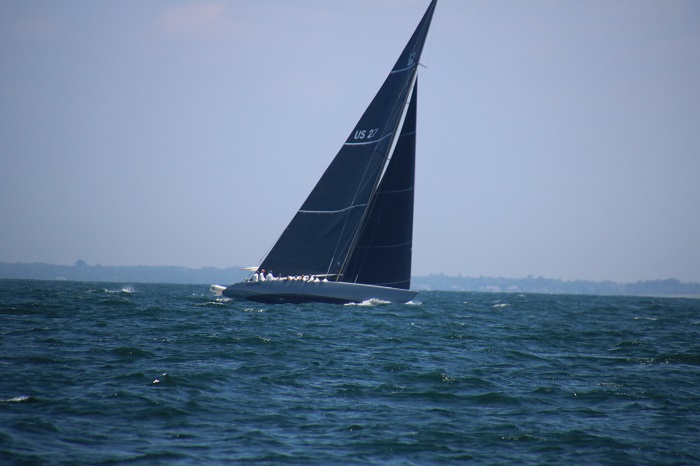
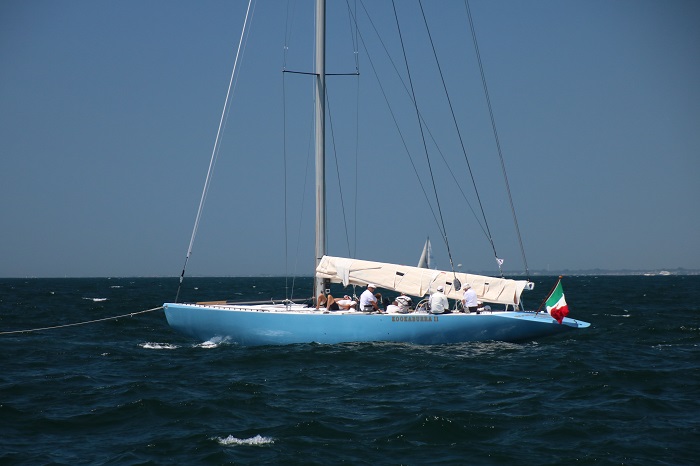 These are remarkable, powerful machines.
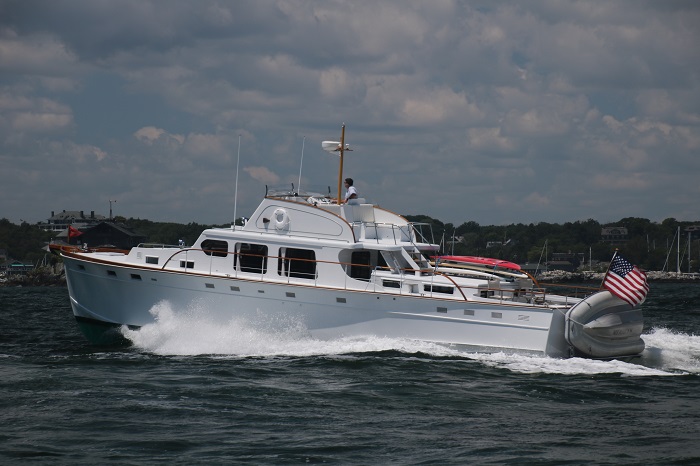
  And the spectator boats, none the less impressive. I loved the lines of what is probably an old Huckins. What an elegant, classic yacht.
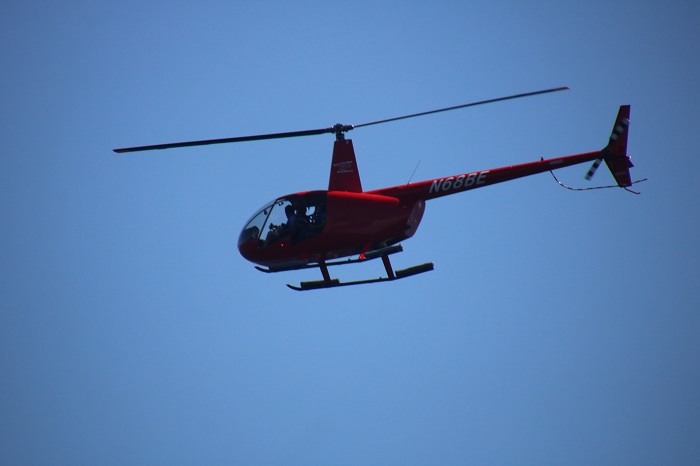
  Of course, where there are big money yacht owners, there is a photo chopper, flying over the fleet documenting the excitement. Later at the awards dinner they would be selling their work to excited owners and crew even more enthusiastic after a few drinks.
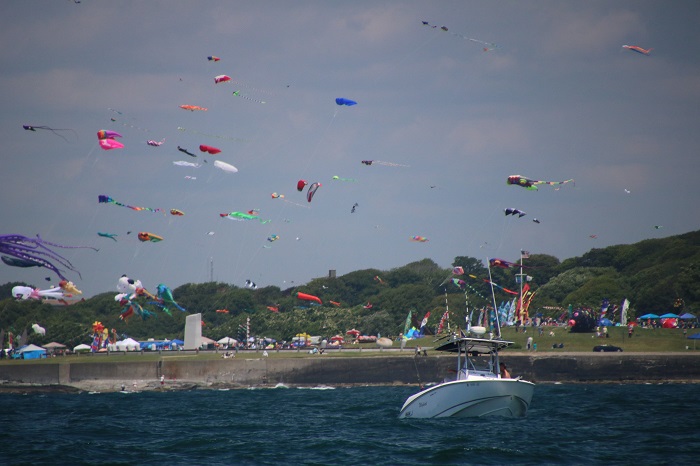
 As we approached the harbor we passed Brenton Point, the day’s site for a kite flying contest, it seems. What a sight.
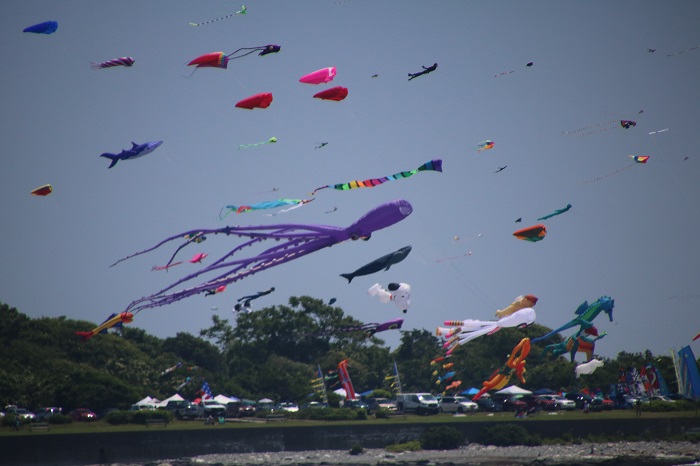
  As we passed, I was struck by some of the particularly large kites like this octopus and whale. I wonder how hard it is to hold on to such a huge kite.
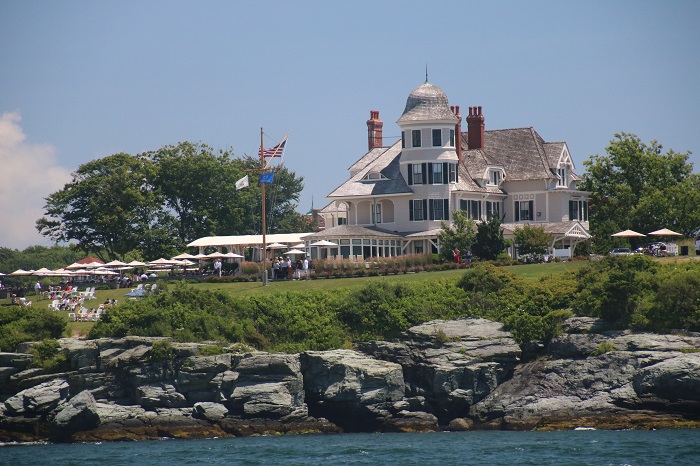
 Of course, what better spot to watch all the fun than from the lawn on one of the historic inns? “Jeeves, I’ll have another gimlet, and make it snappy. Muffy will have a third mimosa while you’re at it good man.”
  There’s clearly no shortage of money in Newport where a “dink” has over 1,000 HP. How about one with four outboards?
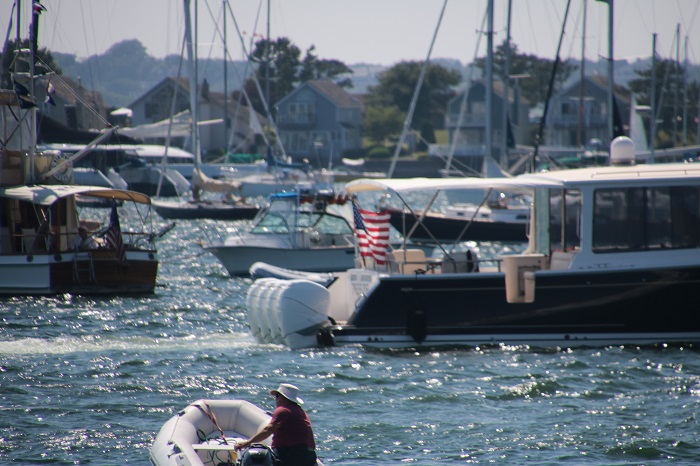 The evening festivities for the regatta were to be held at the International Yacht Restoration School, known for rebuilding small boats all the while teaching a new generation of builders and restorers the art of wooden boat repair. The most popular design for the school is the restoration of Beetle Cats, and there are plenty of tired hulls to choose from. Buy an old boat, they will fix it up and sell it to you. Easy!
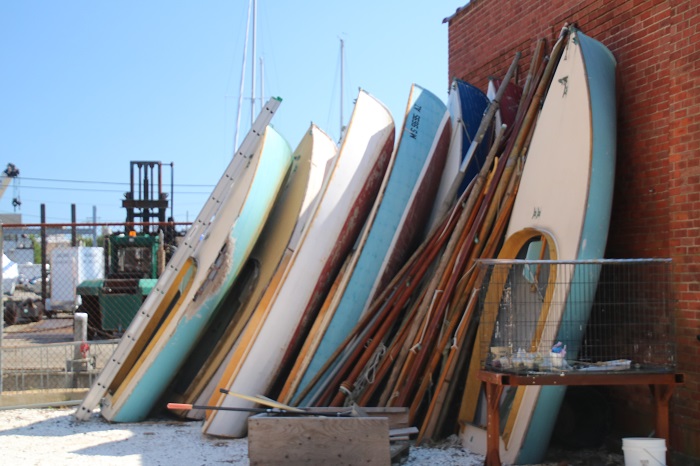 So there you have it, a failed run to Maine but all is not lost. I’ve already spoken to Brenda about moving plans around so that we can do a bit of cruising and enjoy what’s left of the summer before I head south in the fall.
 Oh yeah, and about that headliner. The canvas guy might think he’s done but oops, not quite as there more than a few details that seem to have escaped his guy’s attention when he finally stepped onto the dock from Pandora on Thursday evening. I’ll be calling and I’ll be sailing.
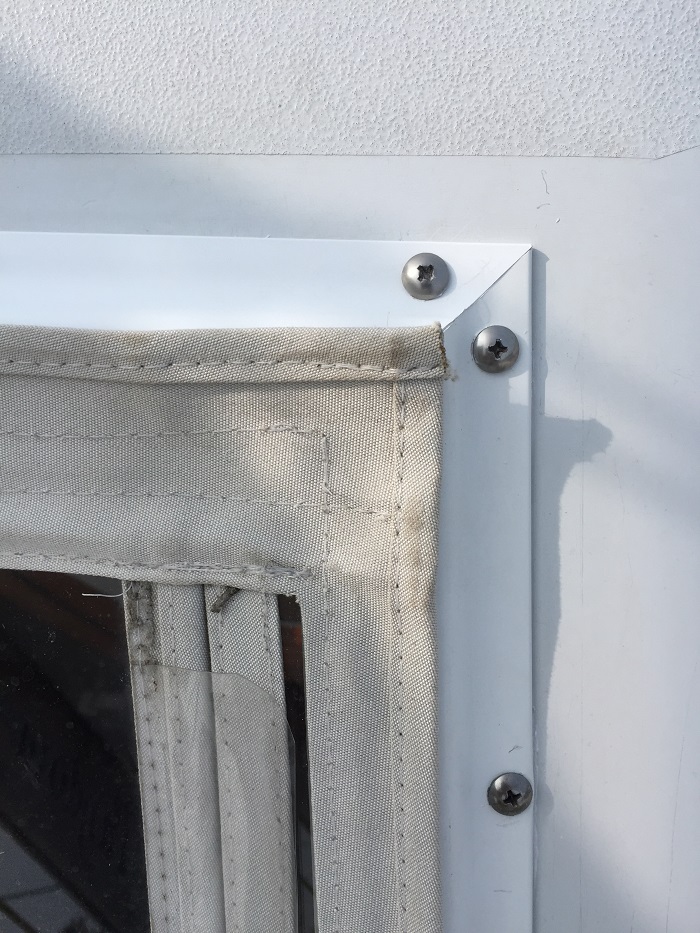 The new trim is a big improvement on the old corroded aluminum. The trim was never properly bedded so the stainless screws ate away at the metal.
 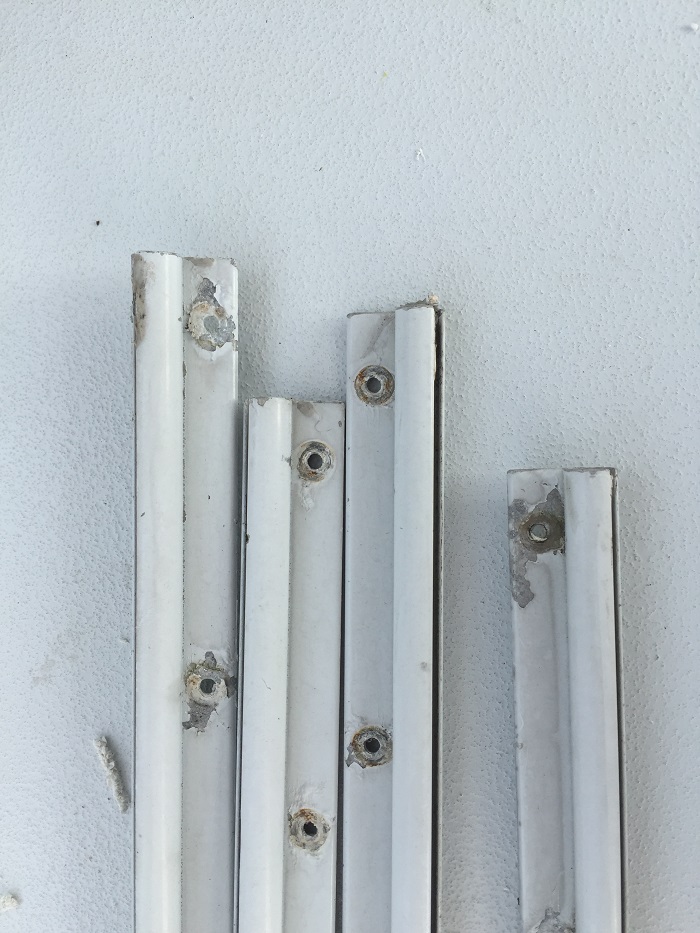 Now, it looks a lot better, better than ever.
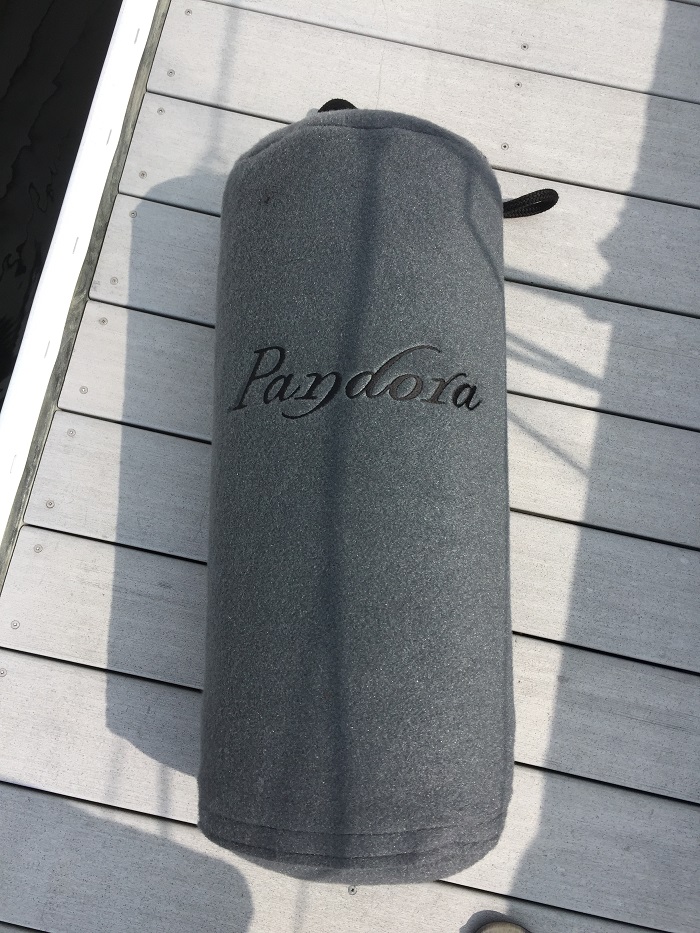
  I also ordered new fender covers to protect my expensive new paint job. They are a lovely grey with Pandora’s logo on each of them, six in all. They are 10″ in diameter and pretty big fenders.
  Anyway, it’s mid July and I am still messing around and trying to get Pandora ready to head to Maine. Every day it seems to be getting a bit hotter. Did I mention that it’s going to be 90 today? It’s hard to believe that when I started really working on Pandora on a nearly daily basis way back in March and recall wondering how I was going to be able to work comfortably aboard with such cold temperatures. I purchased a portable propane heater and used it just about every day for weeks on end. No need for that heater now.
 Without the headliner in place I can’t really put much aboard like cushions, bedding and clothing. All the stuff that makes living on a boat fun and with two days till “liftoff”, this isn’t feeling even a little bit like “fun”.
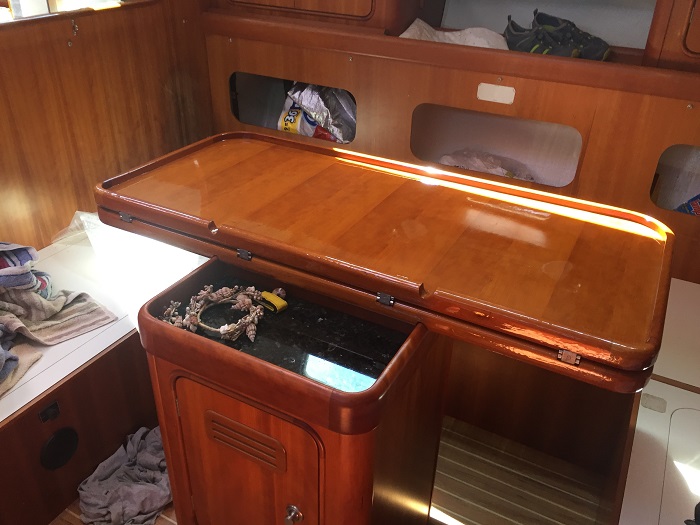 Opened up it’s pretty impressive, “boogers” and all. Actually, if I squint just a tiny bit, it looks pretty much perfect. I heartily recommend Epifanes varnish. It’s wonderful stuff. I can’t believe that it took so many years for me to “discover” it.
  Part of the reason that I have tried to be understanding of the delays on the headliner is because I learned from the canvas guy that he had a few customers scheduled to leave on their vacations as of last Wednesday and he had to get their jobs done.
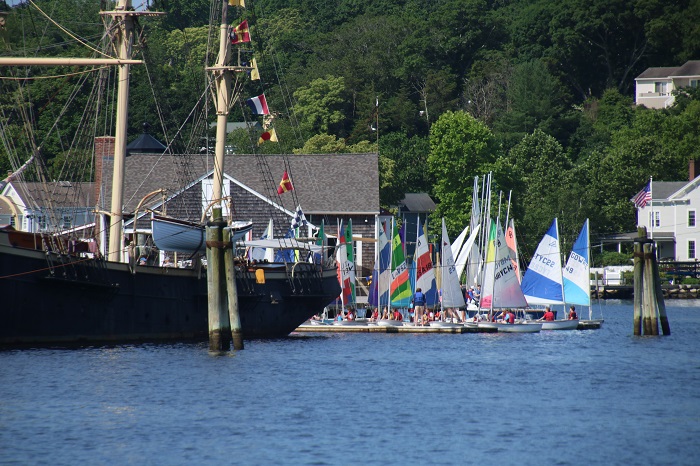 It looked like such fun, to be on the water in a small boat. Yachting is often described as a rich man’s sport, but it doesn’t take a big bank account to mess about in small boats.
 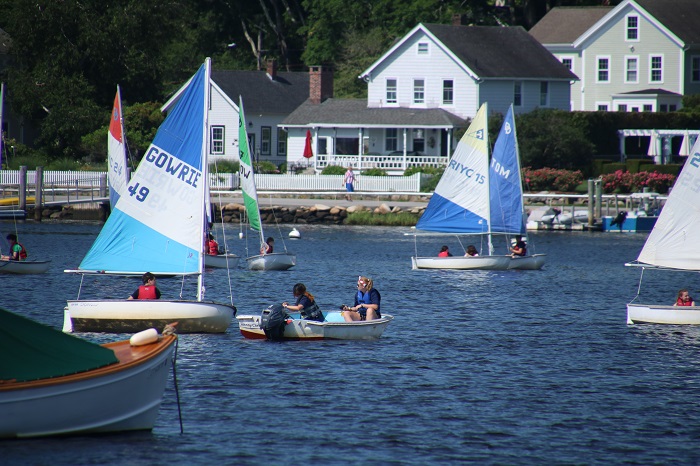 Sure, sometimes sailing can be complicated and there were plenty of boats for the well healed. This little beauty may be small but she’s clearly designed for an owner with means.
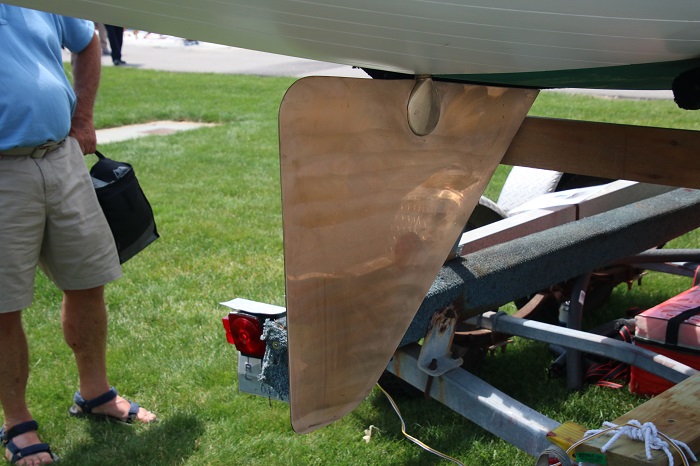
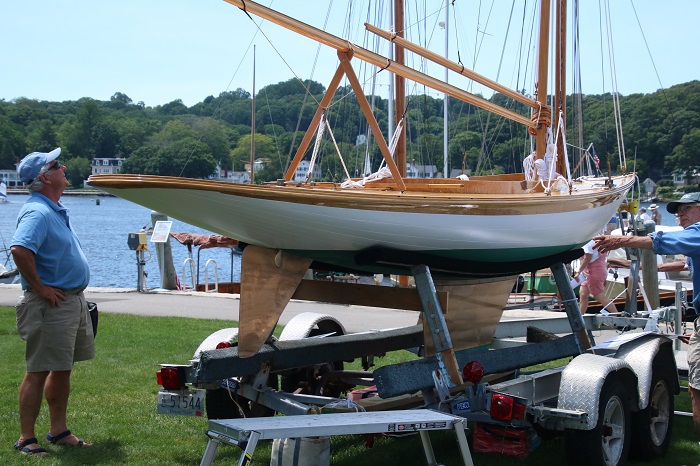 Every detail is exquisite, down to the partially balanced bronze rudder.
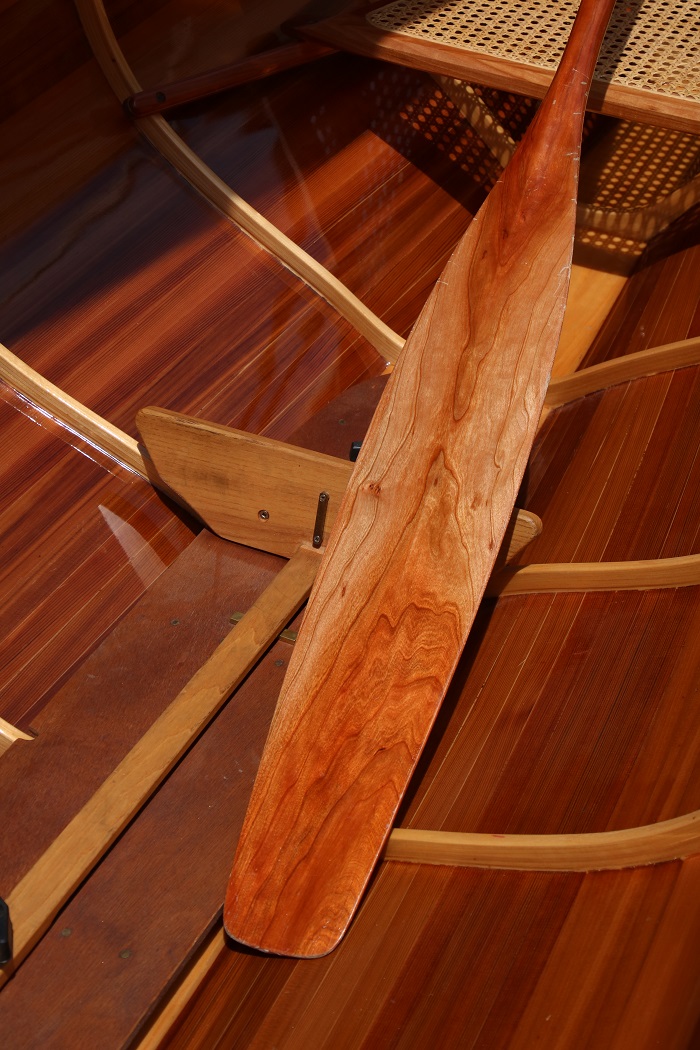
  Something as simple as a paddle can be a work of art. This one is made out of my favorite wood, cherry. The grain is fabulous. Cherry is a pretty heavy wood for a paddle, but what a sight.
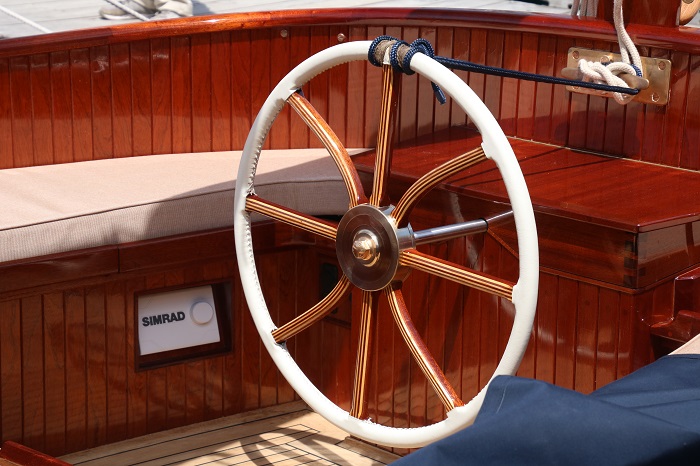
  The often say that “God is in the details”. If that’s the case, this wheel is divine.
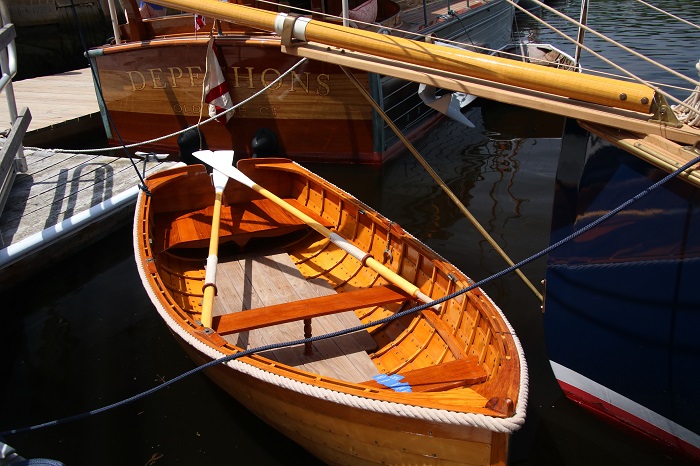
 This dink is as much a work of art as a means of transportation and to row her would be transporting indeed.
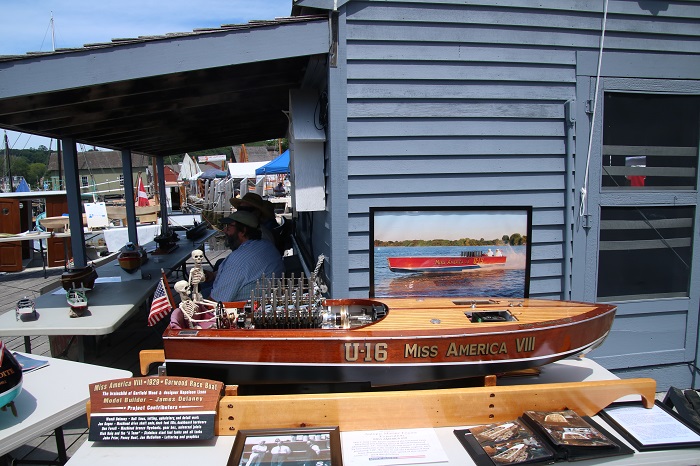
 A boat doesn’t need to be big to be fun. At 24″ long, this remote control racer is a replica of the famous Gold Cup racer, Miss America.
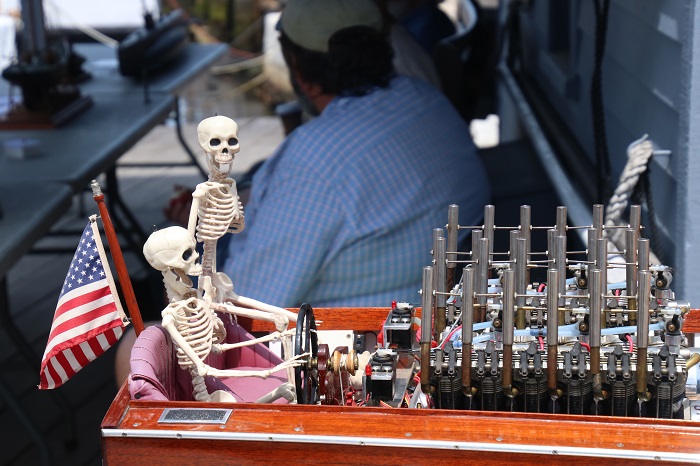
  What about these passengers? It must have been a rough ride.
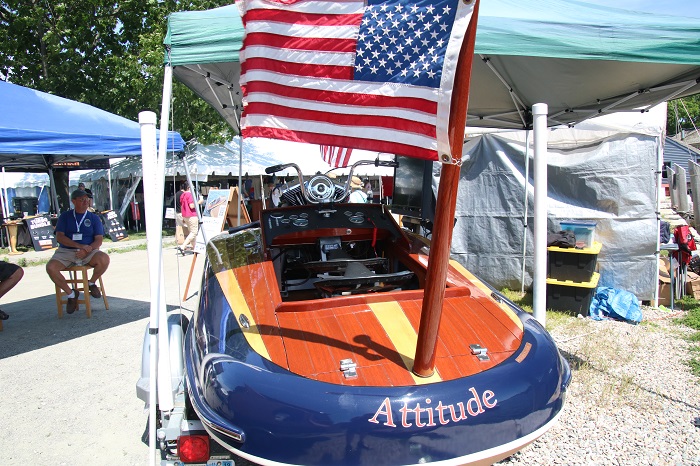
  And speaking of a rough ride, how about an ulralight racer with a huge motorcycle engine and handle bars to match? Not Brenda’s first choice for a relaxing cruise on the river. “Where’s my cup holder?”
 Boats have always been a part of our history. The Mayflower, just finishing up from a multi-year restoration, will be launched in September.
 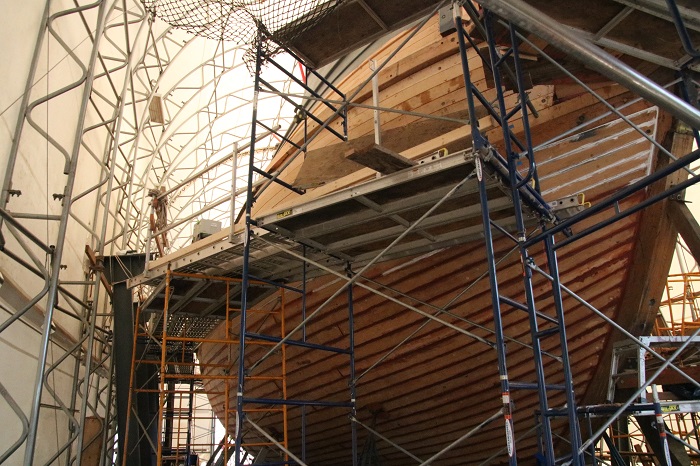 Some have said that there is nothing that typifies art and design like a boat. Look at the detail in her stern.
 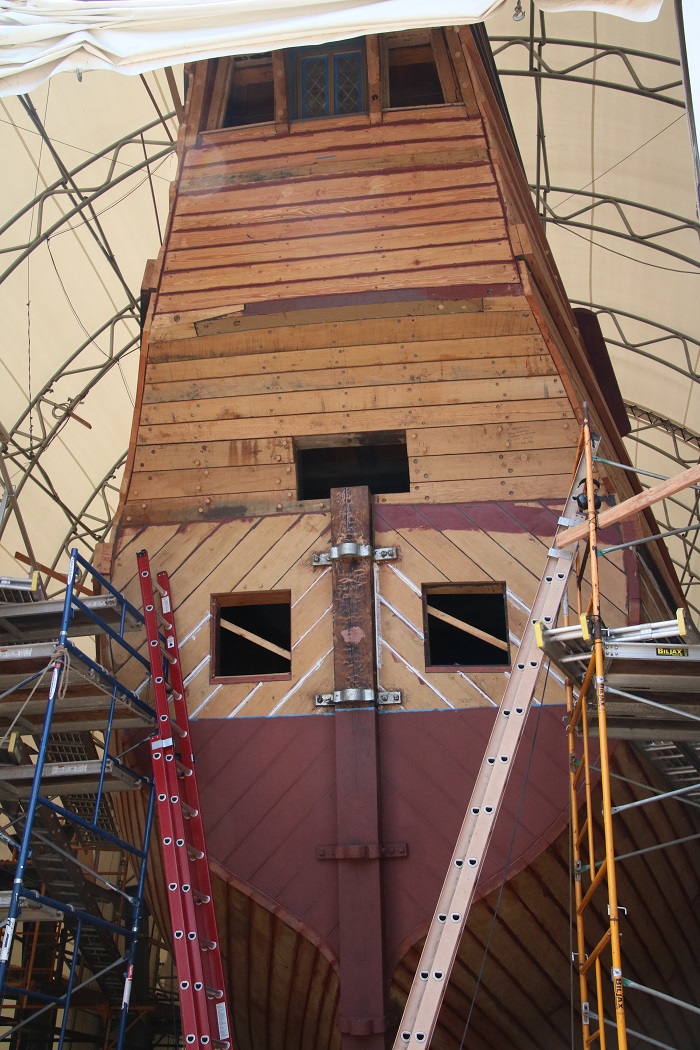 So much detail in her construction.
 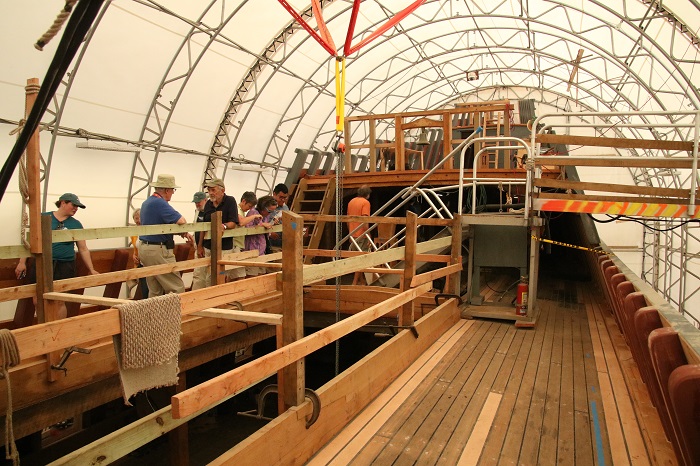 Unfortunately, we will be out of town when she splashes in September.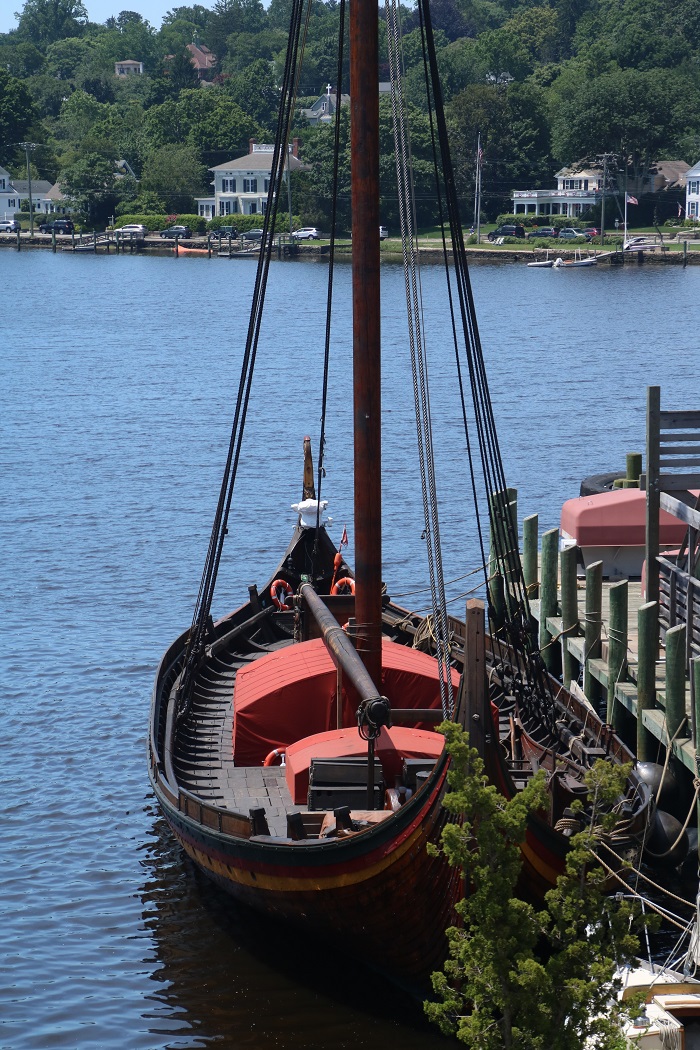
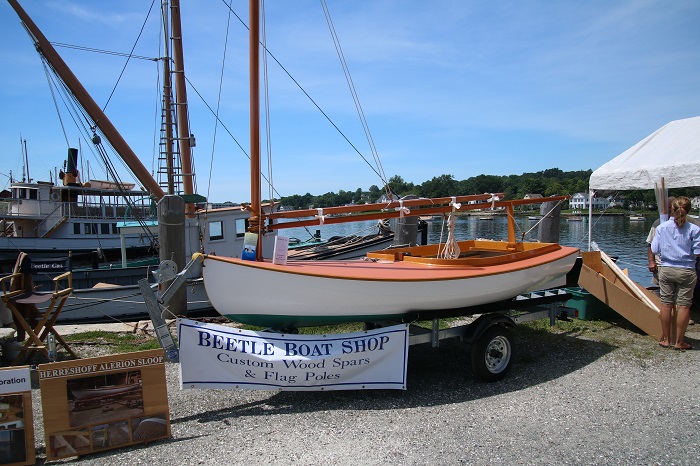 These sweet little boats have a loyal following with owners passing their cherished Beetles down from generation to generation. Beetle has a program, “mooring to mooring”, where owners call to tell that they are done for the season, Beetle comes to pick up the boat and returns it in the spring to the same mooring. In that case, not a lot of effort to head out sailing but clearly makes the point that “Whatever it takes. Whatever it costs” is the answer to getting out on the water.
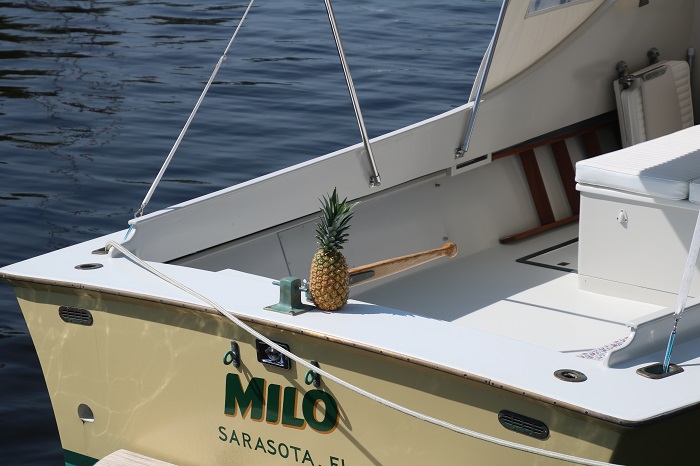 Brenda sent me a link to a letter-to-the-editor that she read recently in the NY Times,
 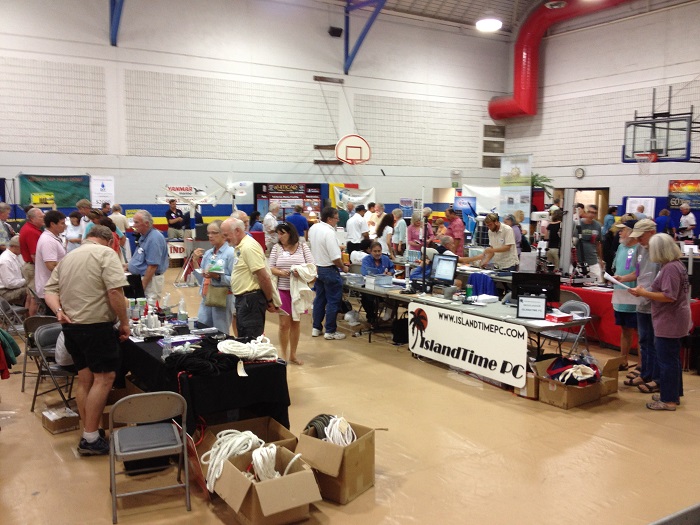 Along the way we have been given great advice on how to prepare for for travels to far away places, lent cars, helped with laundry, shopping and were guests at their homes and yacht clubs. Others spent months traveling with us, “buddy boating” along the way, as we learned the ways of living aboard for extended periods.
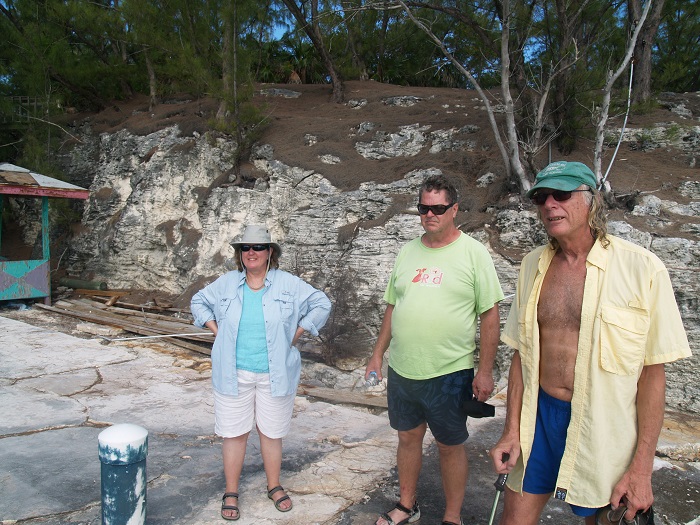 Before crossing to the Bahamas, where we cruised with both couples for much of that first season, while we were waiting in Ft Lauderdale for a weather window to cross to the Bahamas, they treated Brenda to a much needed celebration on her birthday. She was feeling more than a bit homesick and it really cheered her up.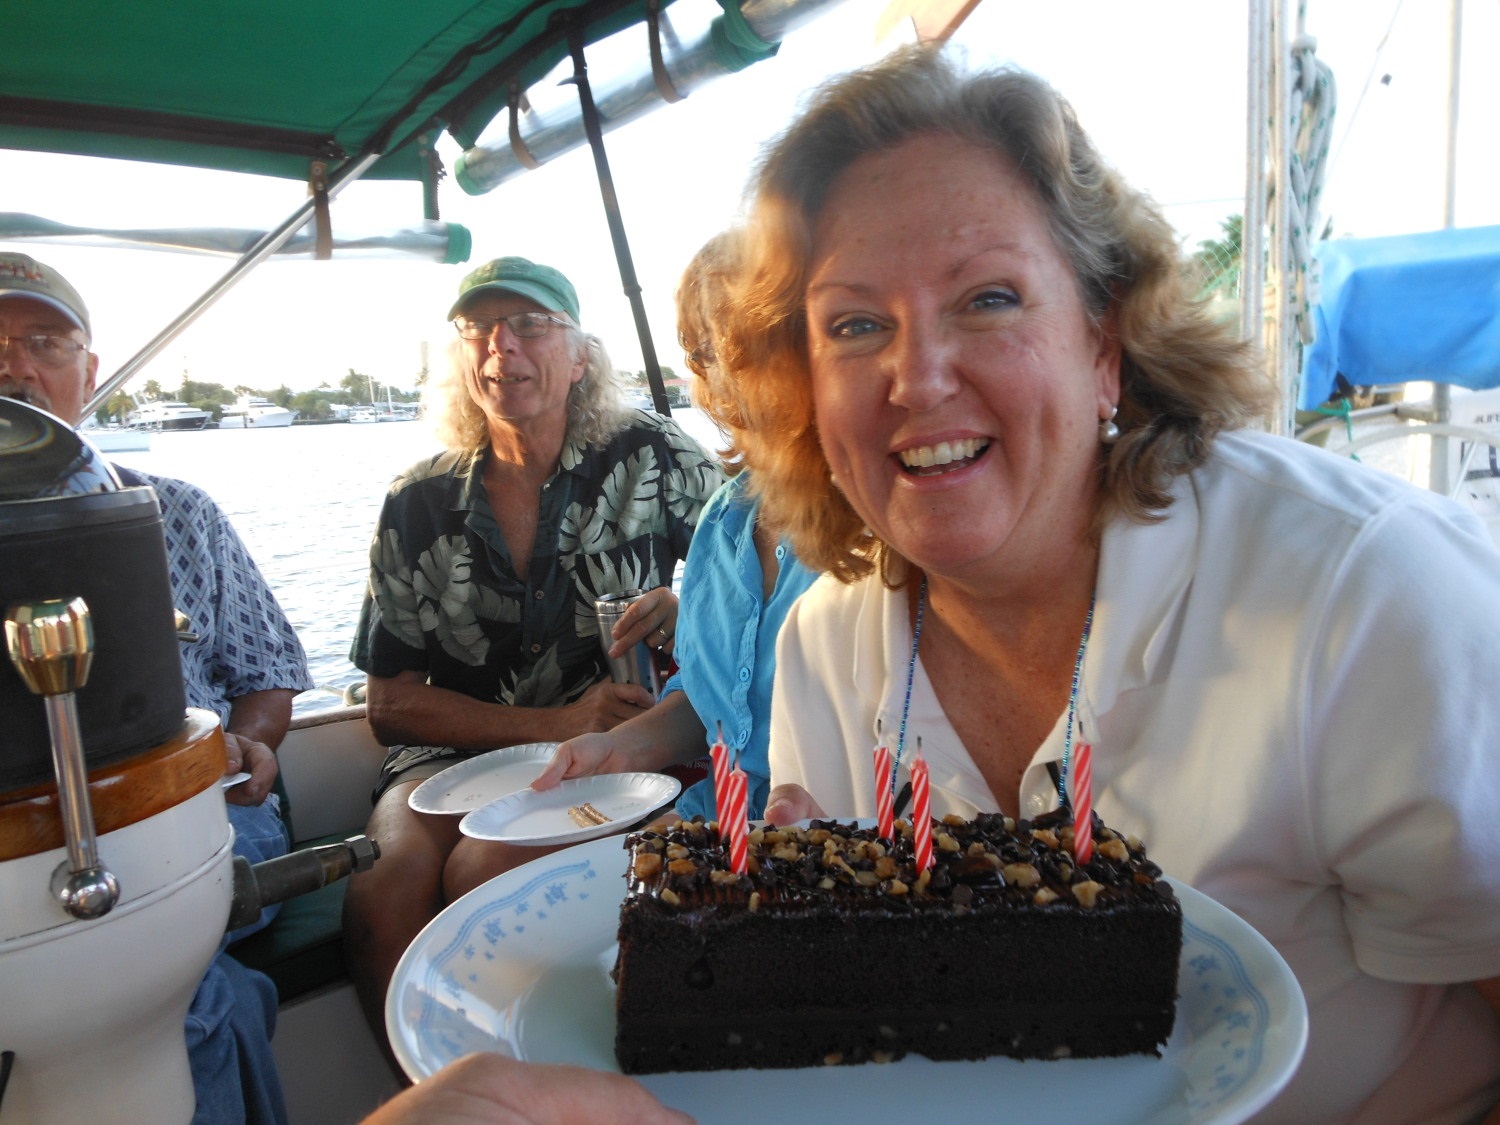
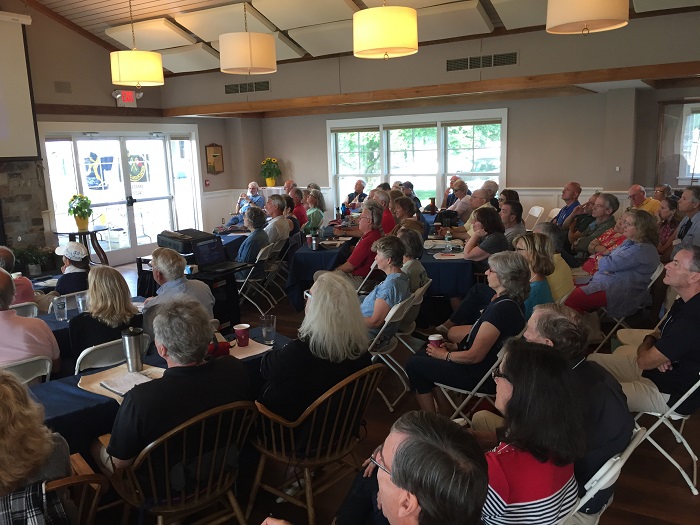 Sailors came from all over by land and sea, with about 20 boats and crew arriving by boat. I thought it would be fun to display a selection of “well traveled boats” so that attendees could see, first hand, the types of boats that make long ocean treks. I selected six representative, well traveled, boats to be on the docks, open for tours and it turned out to be a great idea. Unfortunately Pandora, also a great cruising and blue water boat, wasn’t on display as the canvas guy, after months of promises, had still not installed the headliner, to my extreme distress.
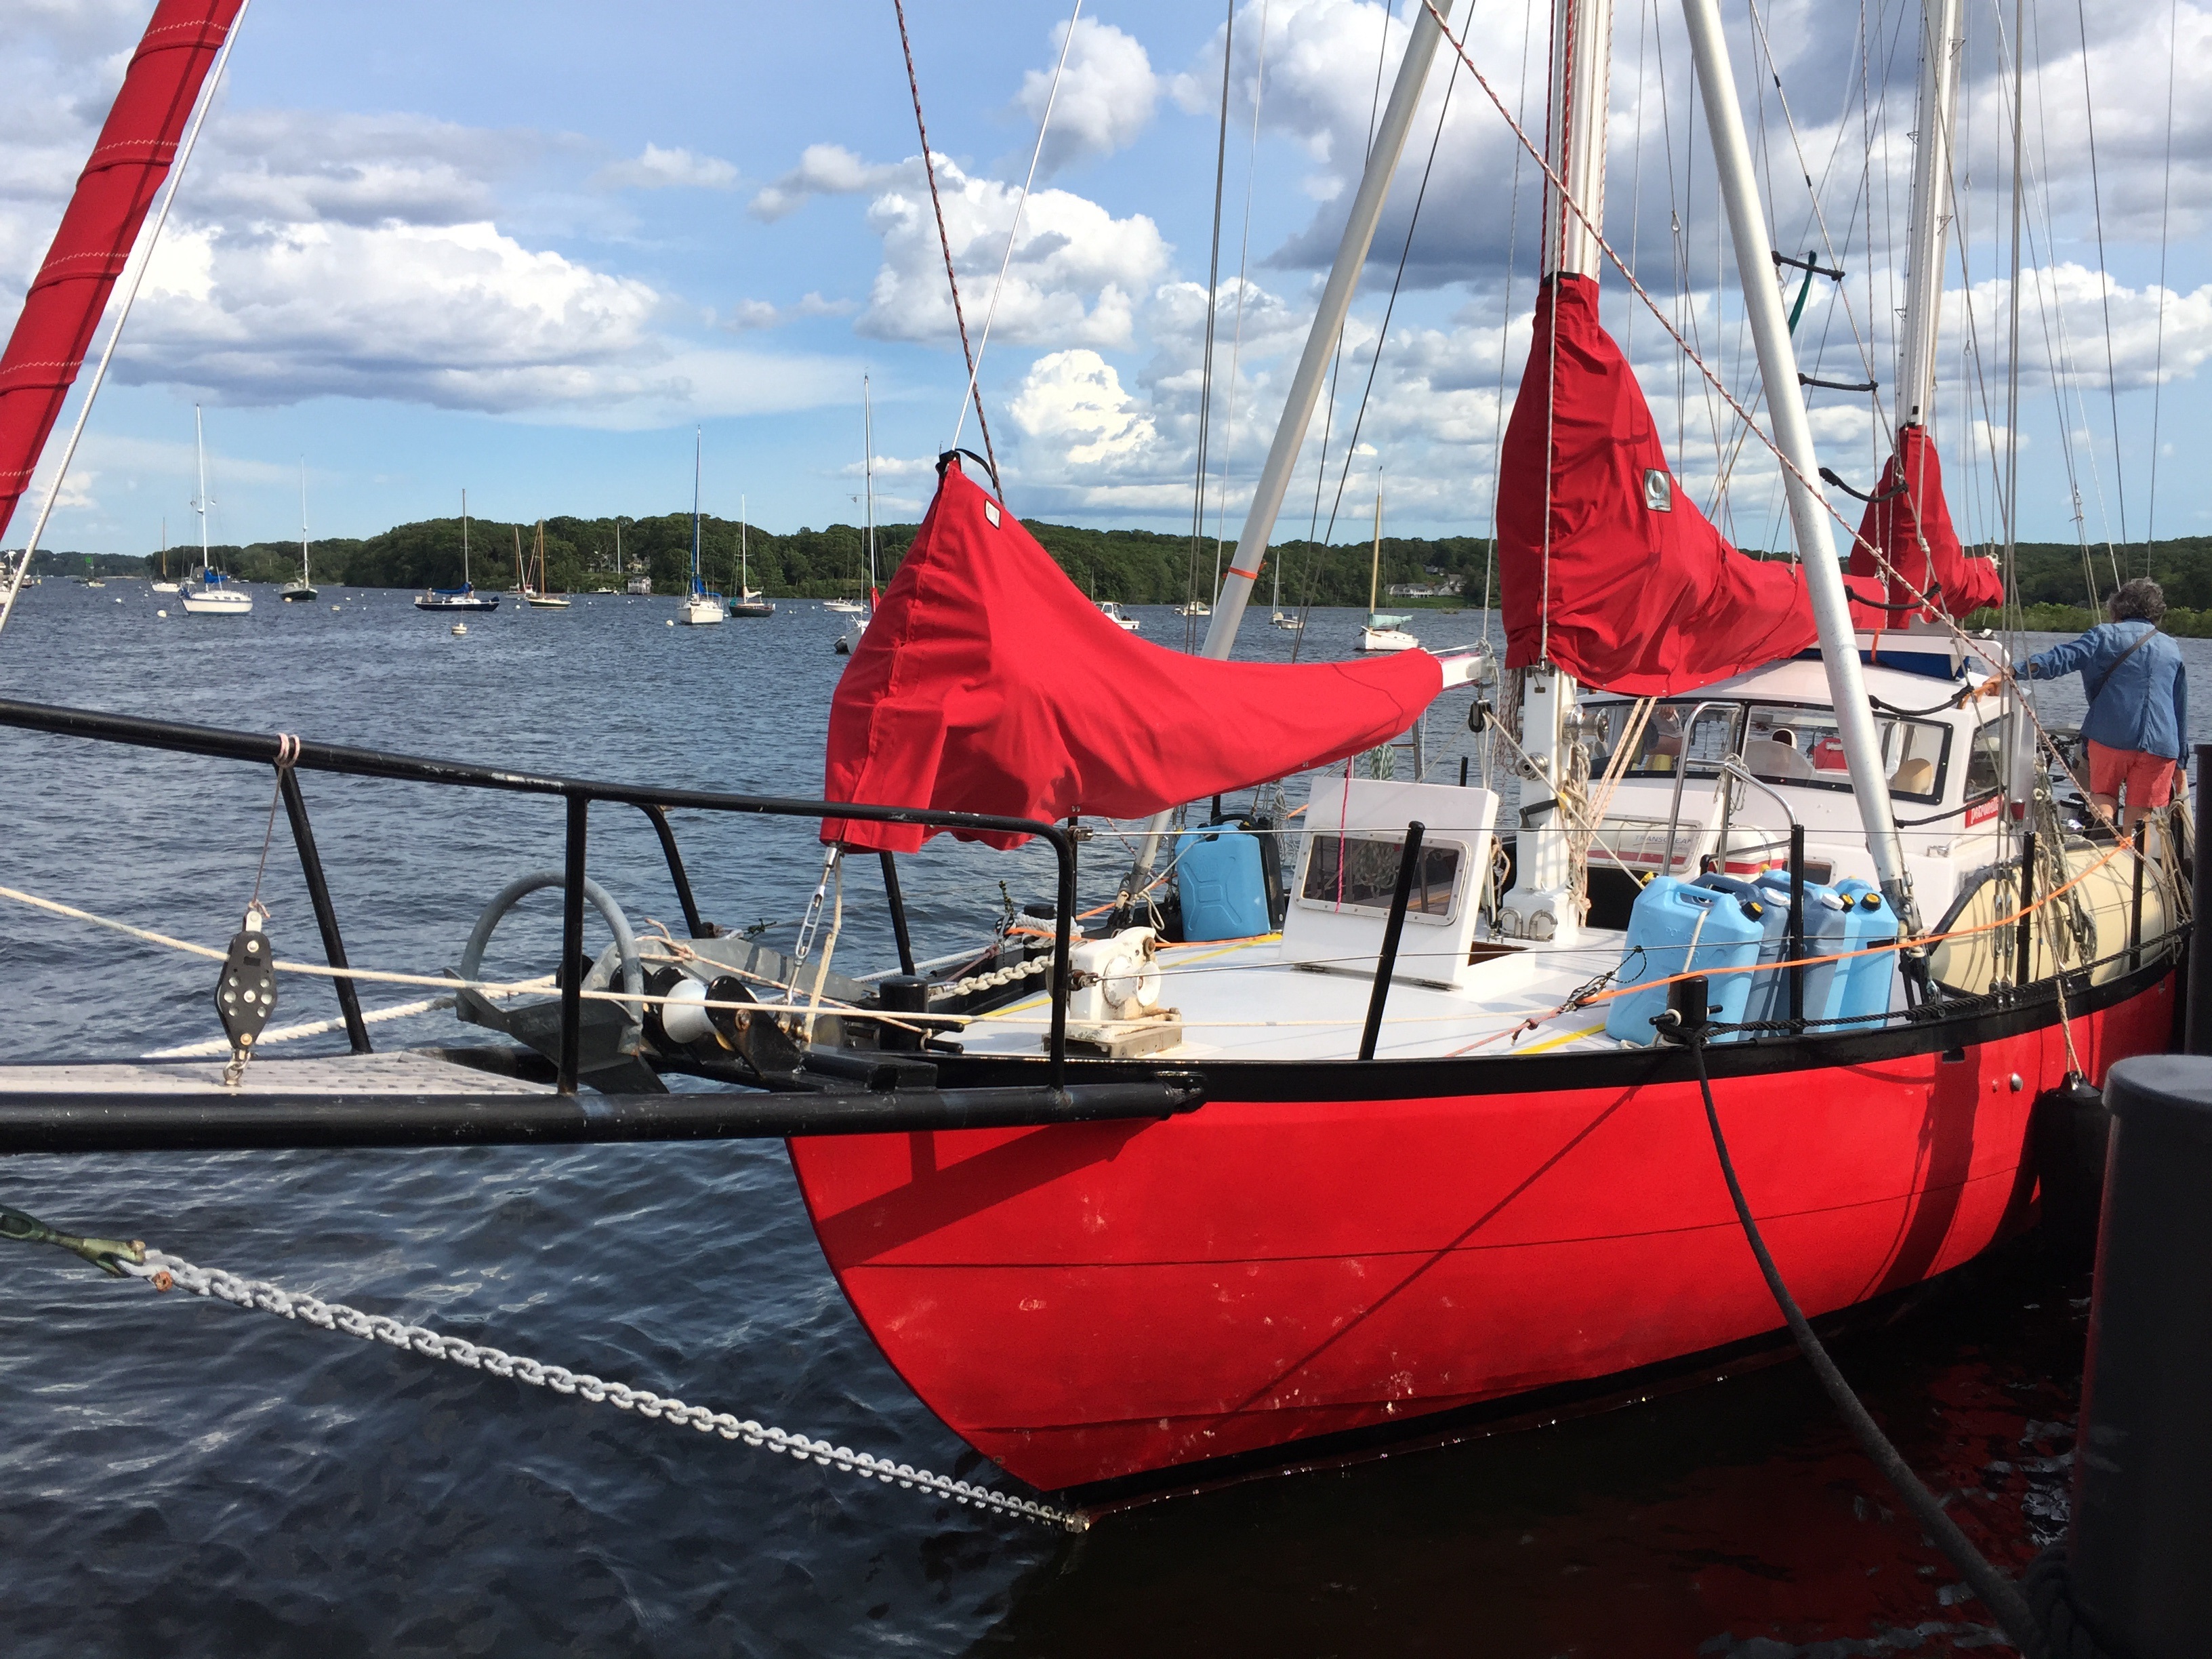
 I was particularly intrigued with this lovely Joshua 40, painted in the red signature color of the original Joshua that Bernard Moitessier made famous for being perhaps the fastest boat in the Golden Globe around the world alone, non-stop race back in 1968. I say “probably” the fastest as he decided, when he neared the end of the race, to drop out and just go around again. Many boats of the “Joshua” design were launched along the way and this one, Petronella, is particularly well kept and likely more fully fitted out with all sorts of modern equipment than Bernard’s Joshua.
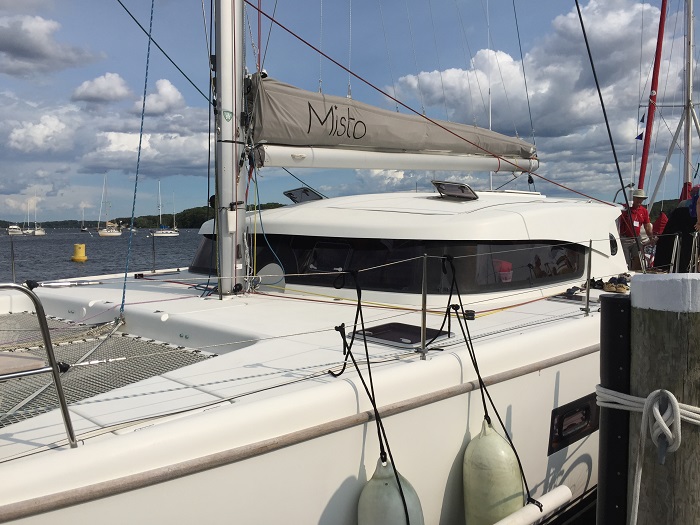
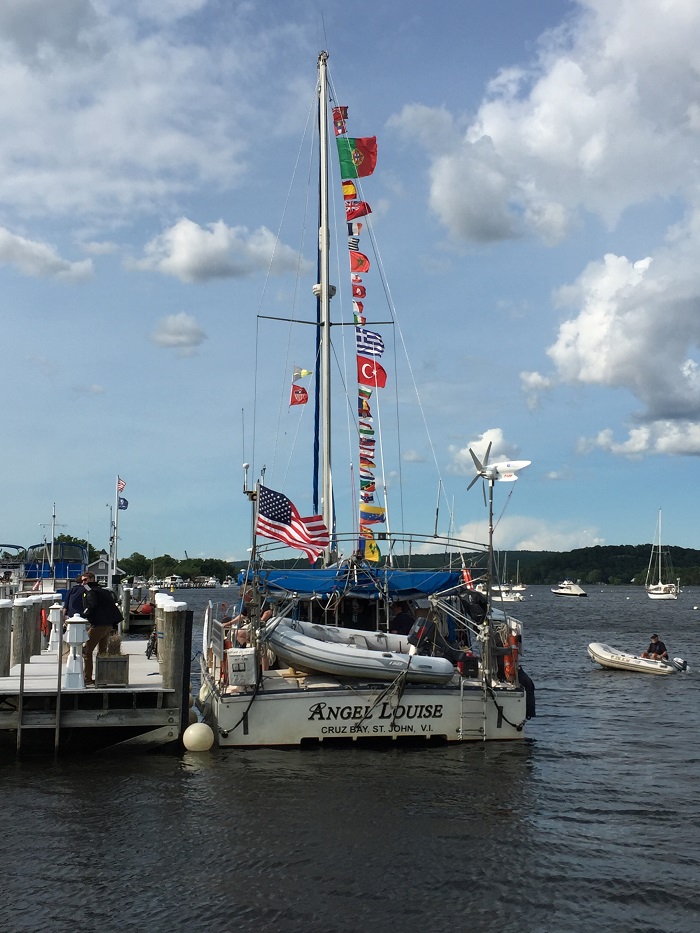
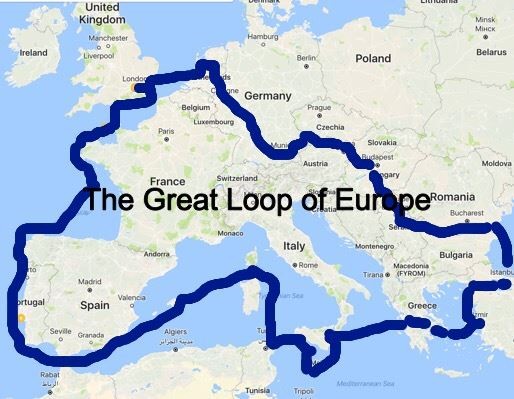
 This catamaran, Angel Louise, owned by the current president of SSCA, has a lot of blue water miles under her keel and some unique accomplishments having completed the “great loop” on the waterways of both the US and Western Europe.
  The
The 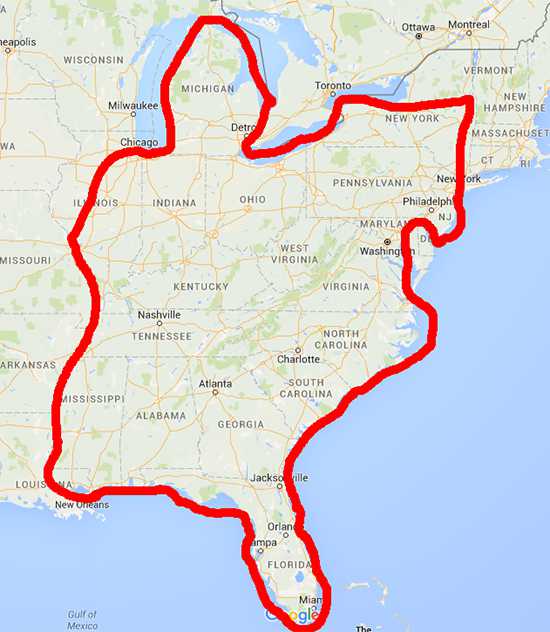 I had never heard of the western Europe loop. It’s too, is quite a trek, with a good deal of blue water sailing thrown in.
  With modern cruising boats growing in scale every year, I was thrilled to have this little gem, Entr’acte, on the dock for tours. Her owners have cruised far and wide, with thousands of blue water miles to show for their nearly 20 years aboard.
 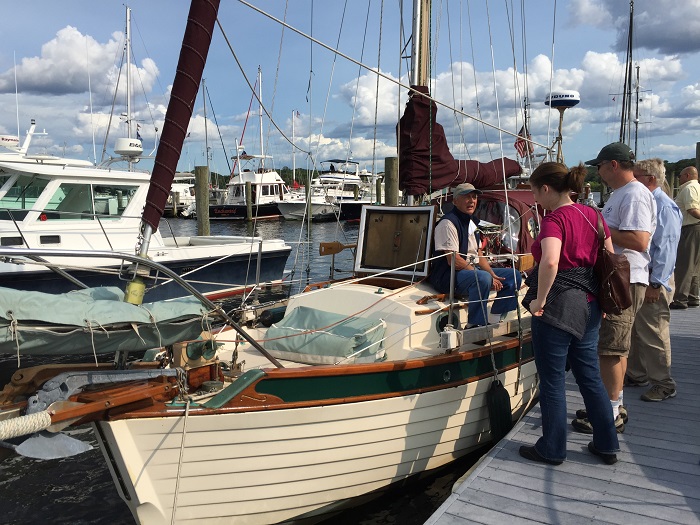 She’s beautifully fitted out for long distance cruising and there’s even an aft cabin for some privacy, something that is in short supply on a 25′ boat.
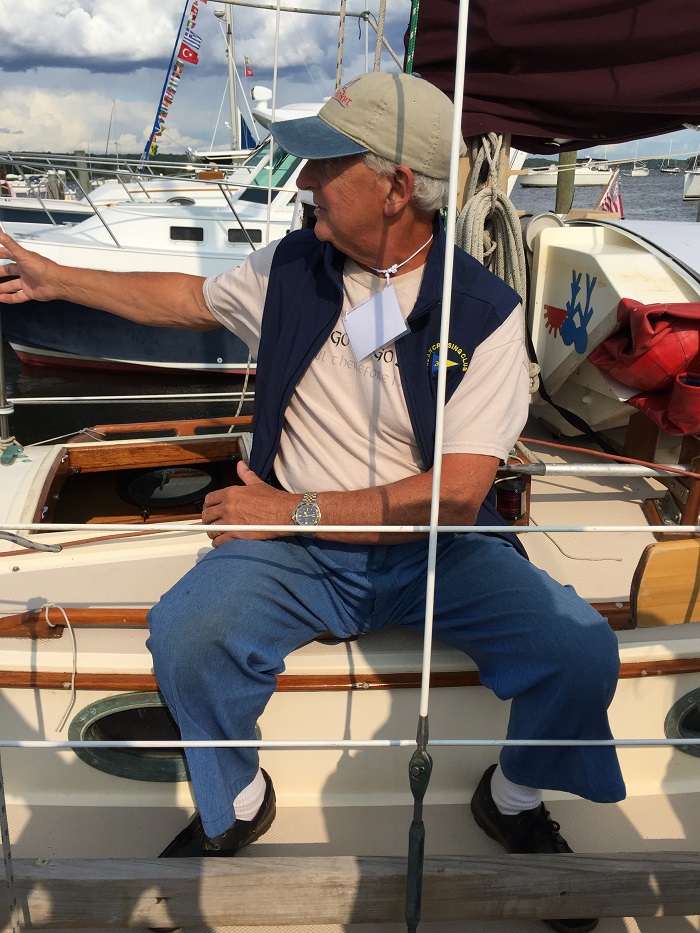
 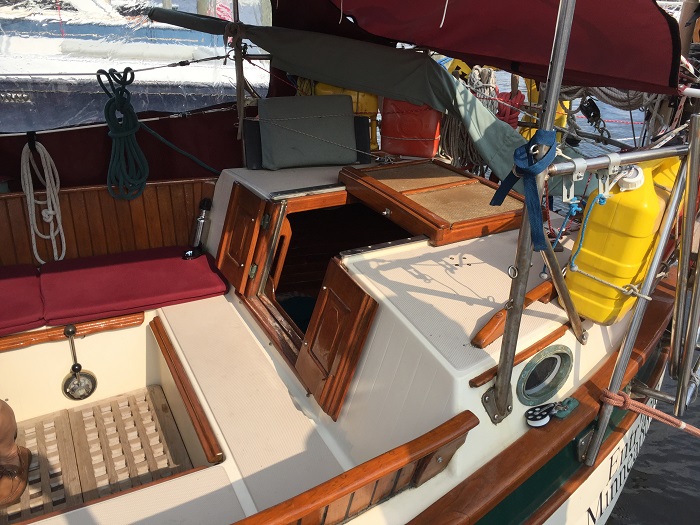 Co-owner Ed, looks like he’s enjoying all the attention and there was a great deal of interest in his charming and beautifully outfitted yacht indeed.
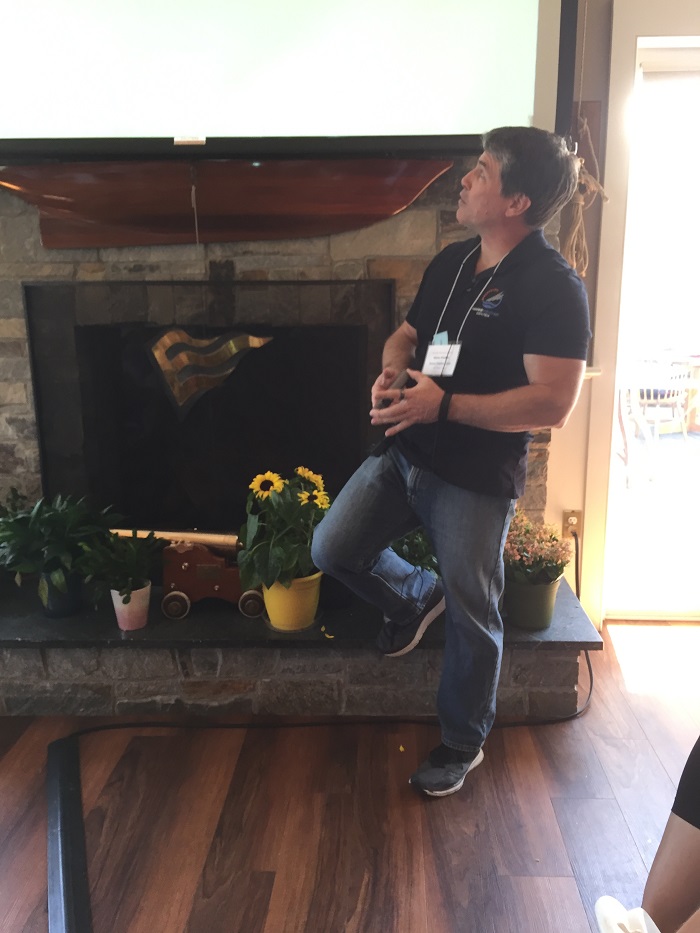
  As has been the case for several years now, weather router Chris Parker made the trip up from FL, presenting on both Saturday and Sunday. He was, as always, a great speaker, making the complex topic of weather understandable with careful explanations. I particularly liked his presentation, “how to think like a weather router” and was glad to have him with us again.
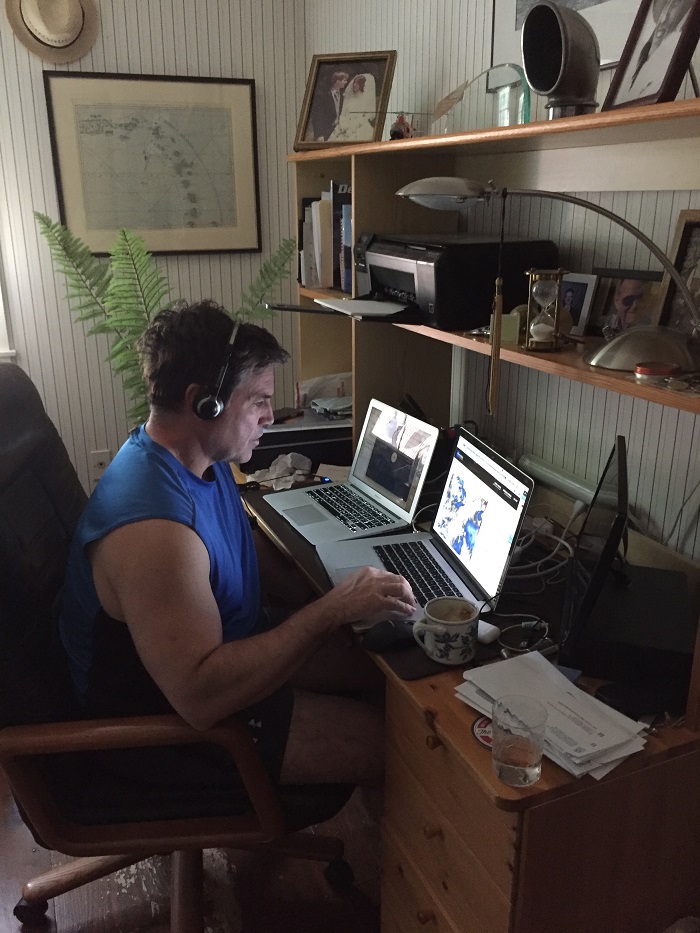
  And when I say “with us” that’s also because he stayed at our home and did his Monday morning broadcast from my home office. After hearing him on the radio so many times over the years, I was tickled to have him stay with us again. And, I “ain’t lyin”, as there’s proof, a photo of me and Brenda on our wedding day up on the shelf to prove that he was there.
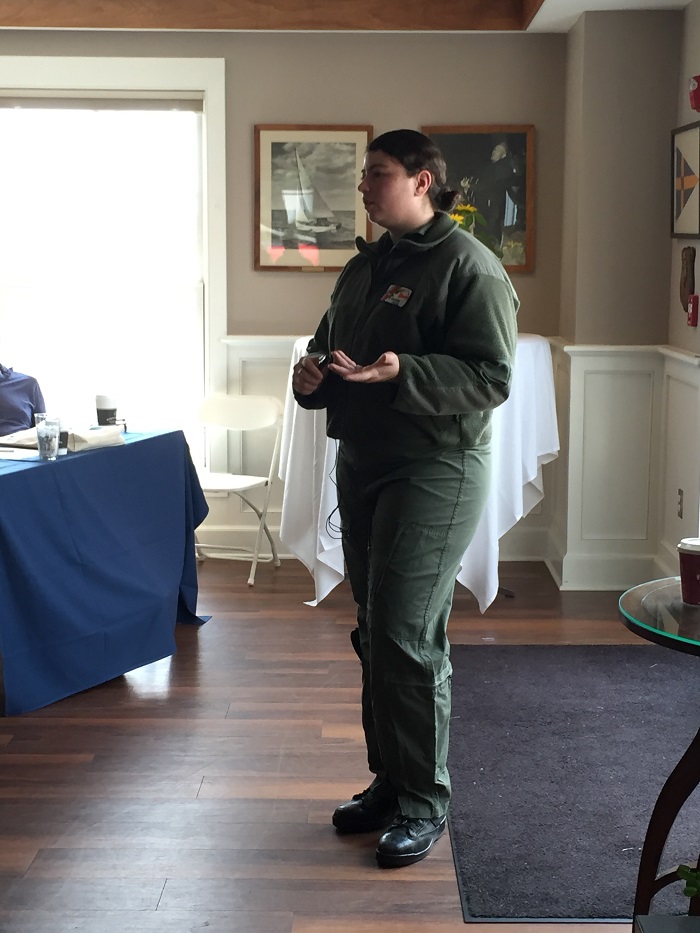
 We were also thrilled to have the USCG with us including a helicopter rescue pilot Lt, Kate Dacimo, who shared some fascinating stories of rescues that she has participated in.
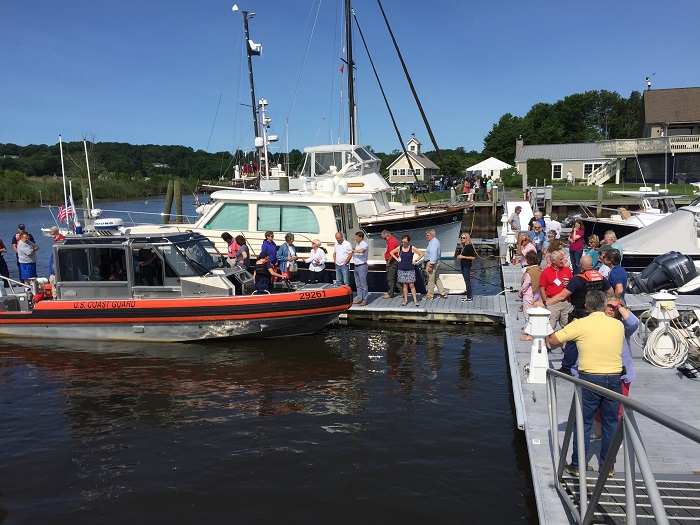
  We were also treated to a visit by a 29′ rescue boat and crew that offered tours. They seemed much less anxious about us boarding them than we are about them greeting us with “permission to come aboard”. And, we learned that they NEVER take off their boots.
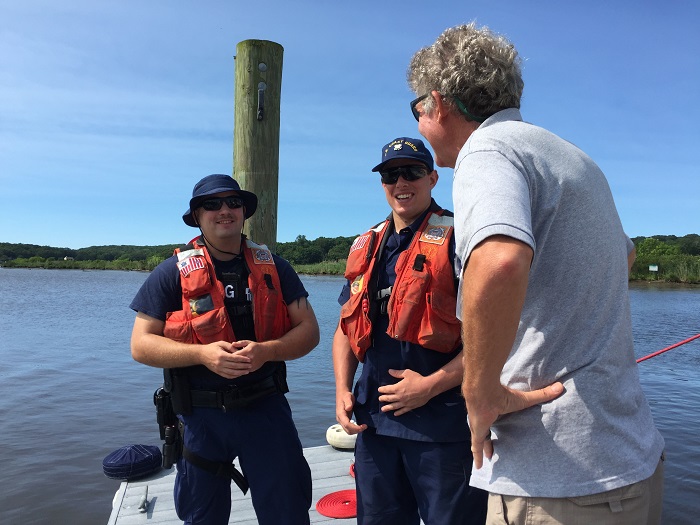
 It was great to hear about their experiences, first hand.
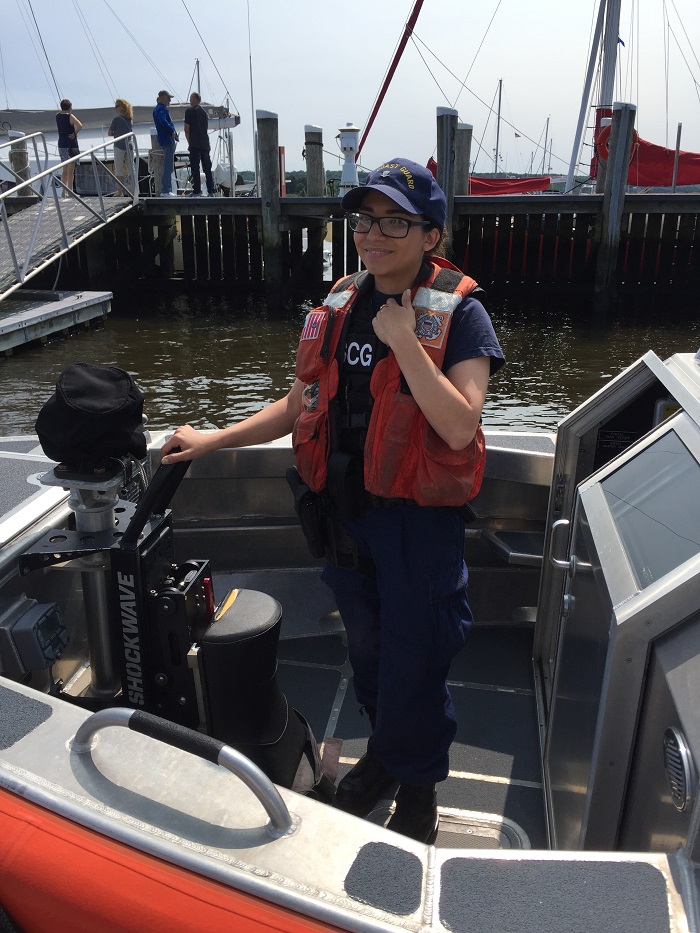
  I wonder how often the have to break out the gun that goes on that stand in the bow.
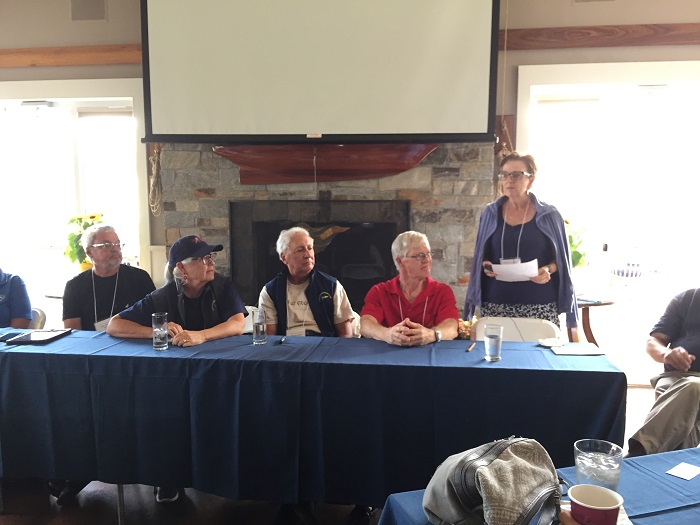
  We had plenty of sessions over the two days, and I won’t try to recap them all but there was lots of give and take with “experts” from the audience sharing their years of knowledge.
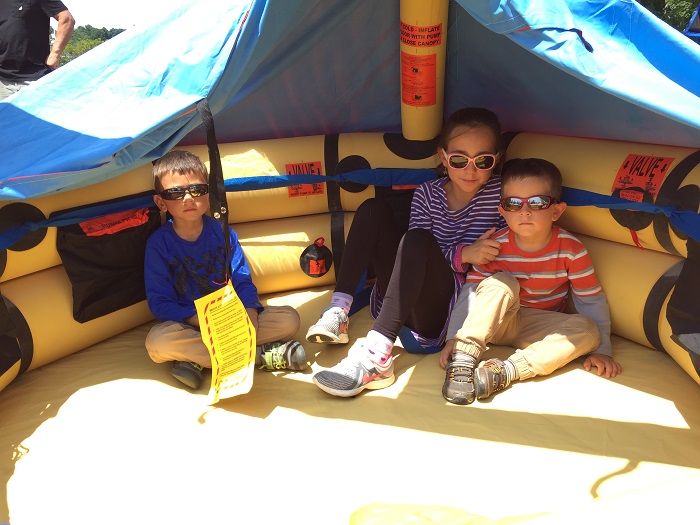
  We were even treated to a live Winslow life-raft deployment demo. One of the boats at our event came complete with their growing family who willingly volunteered to be “rescued”. It was so much fun to watch the three of them pull the cord and “pop” the raft on the lawn. Love the shades.
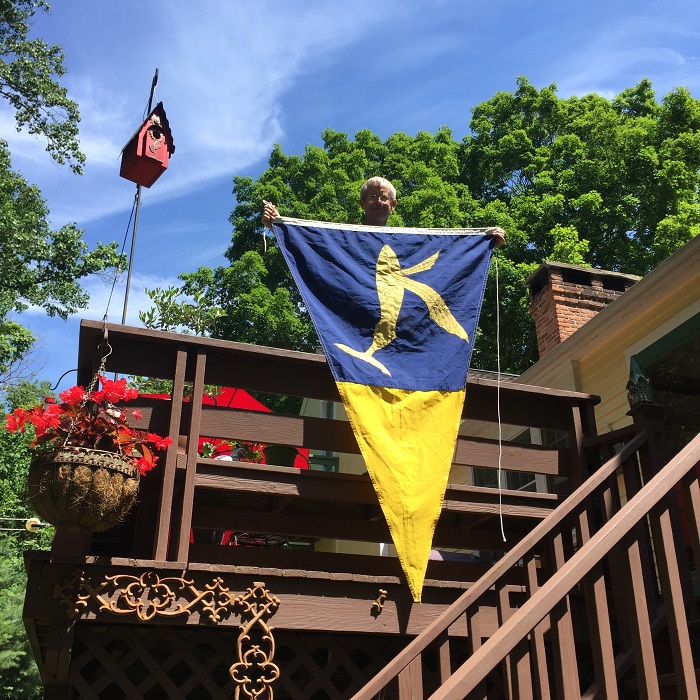
 While all three sponsoring associations were well represented, OCC wins the prize with the largest burgee. I had to stand on our deck for Brenda to properly photograph it. Yesterday I put it in the mail to it’s next stop, the OCC New England Cruise. As of the end of the season, the “great flag” will have been on display at nearly a dozen events with Essex just number two on the list.
 All and all, the weekend was a terrific success and I now find myself wondering what to do about next year as George and I are pretty pooped and don’t think that we really want to do the whole thing over again, all by ourselves. Wana run an event? We’ll tell you how it’s done.
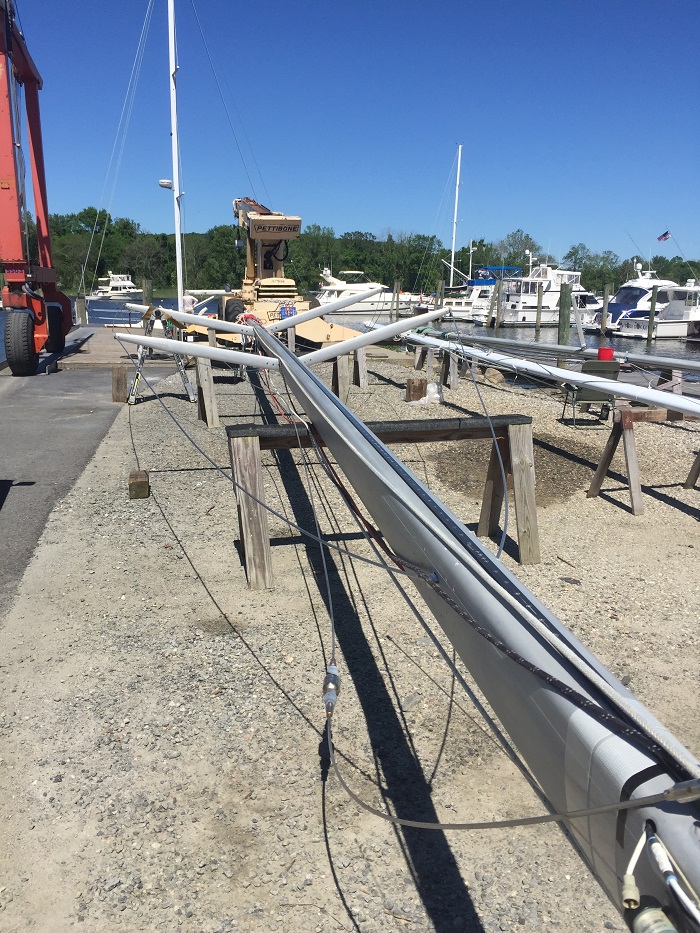
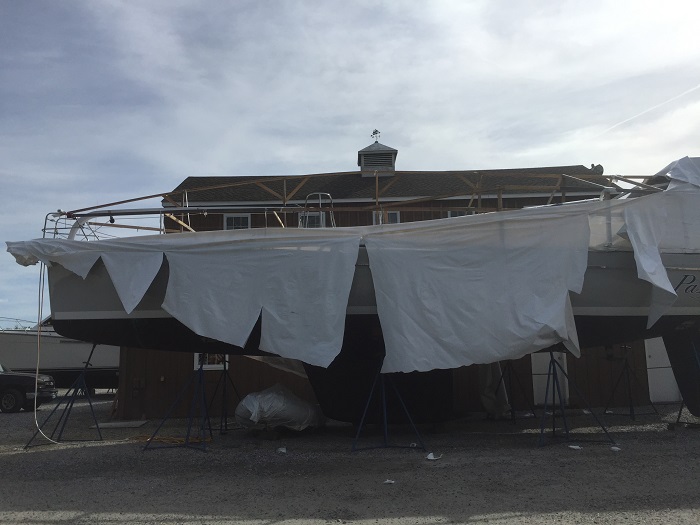 There have been so many projects and new “stuff” since she was last in the water. The mast and new standing rigging (last fall) is all set up and ready to step when she splashes. As the owner of the mast to the right from a J30 said to me, “that’s a mast and a half, you’ve got there.” I agree.
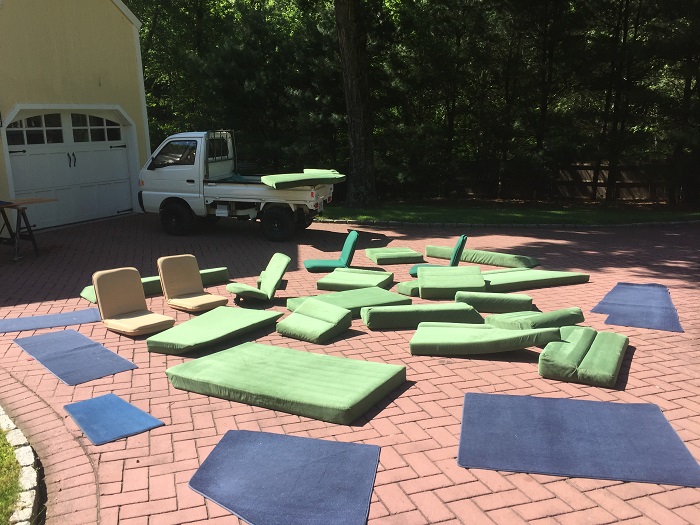
 Her cushions and area rugs are clean and ready. I was grossed out to see the nasty dirt that was sucked out of them and equally amazed with how bright and new they look.
 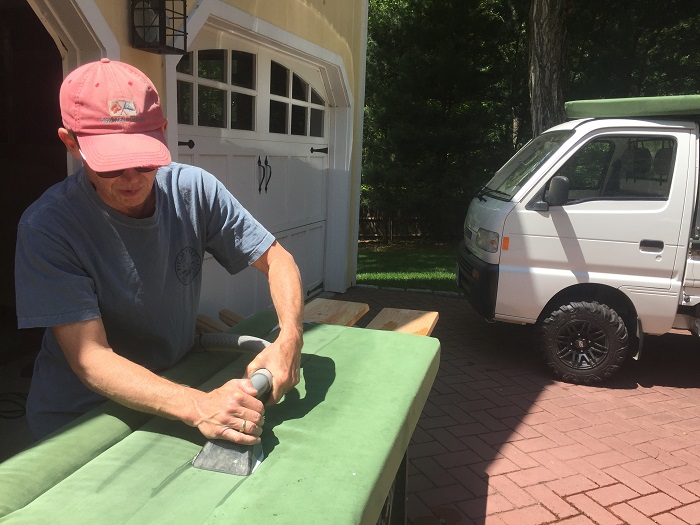 It took a surprising amount of time to do this seemingly simple job. That’s a lot of parts.
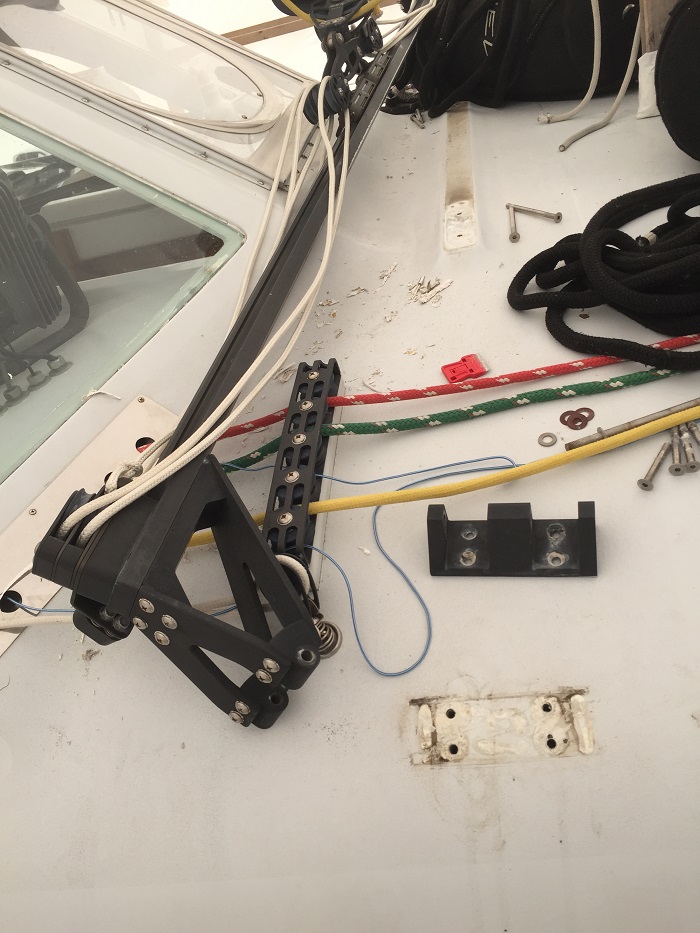
  The unbelievably frustrating and painful mast step fix is done and back in place. That’s if a lowly step can be beautiful, this one is. Well, it’s beautiful to me given the months of sweat that went into the effort of summoning the nerve to do it, removing the screws, cleaning up and refinishing and putting it back in place.
 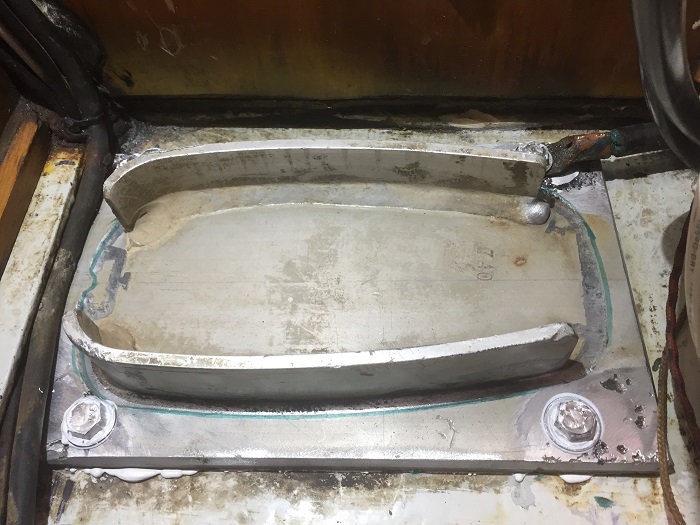 Look simple? Lest you forget, dear reader, this is what I started with.
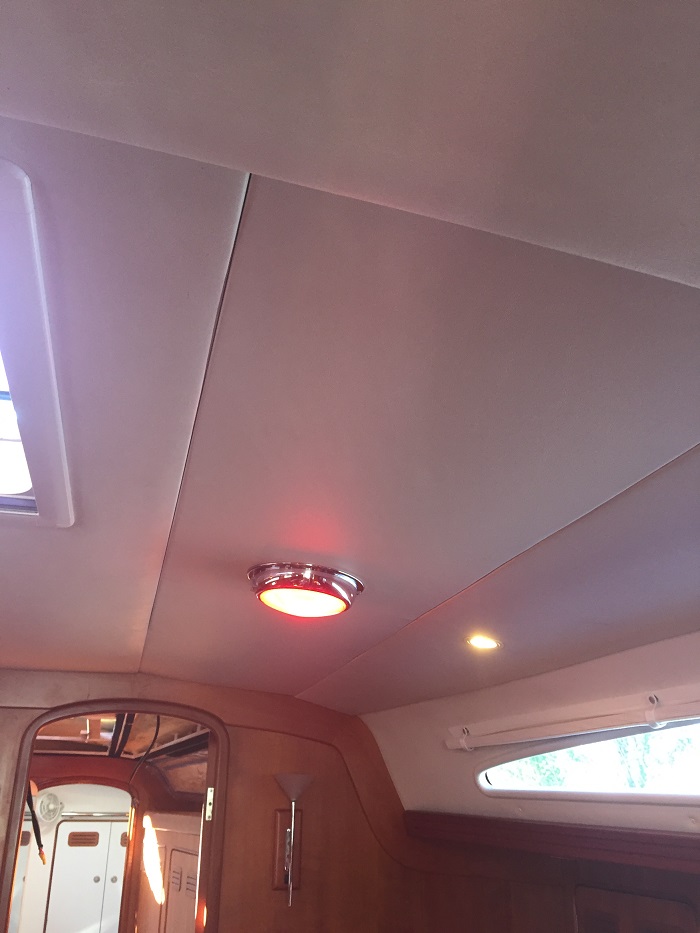
  All the old halogen and fluorescent fixtures are gone, panels recovered with new vinyl and fixtures replaced with LED lights and lovely LED white/red dome lighting. I expect that these lights will be somewhat brighter. That little detail should be a big hit with Brenda who has long suffered with poor lighting while attempting to do delicate hand work in the evenings. Below, two of the nearly 20 new lights.
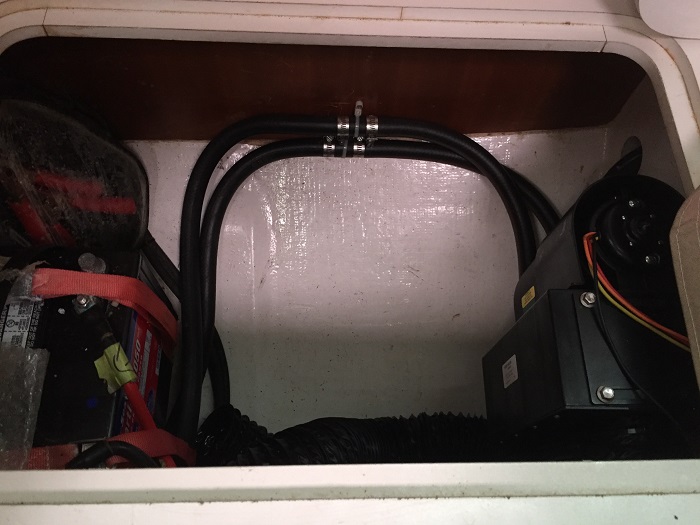
 We will be warm and toasty while we are under power, on those evening passages in the fall and while we are in Maine this summer, compliments of our new engine driven heater.
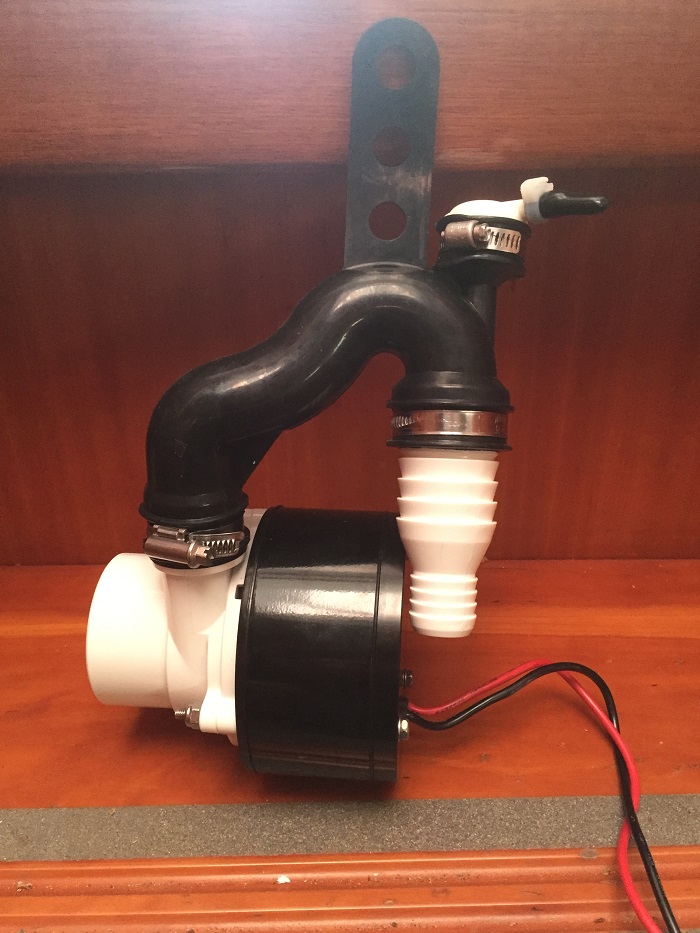
  Brenda will love her potty again with her shiny new evacuation pump, one of the three pumps that it takes to run her potty. Who would have guessed that a potty needs three motors?
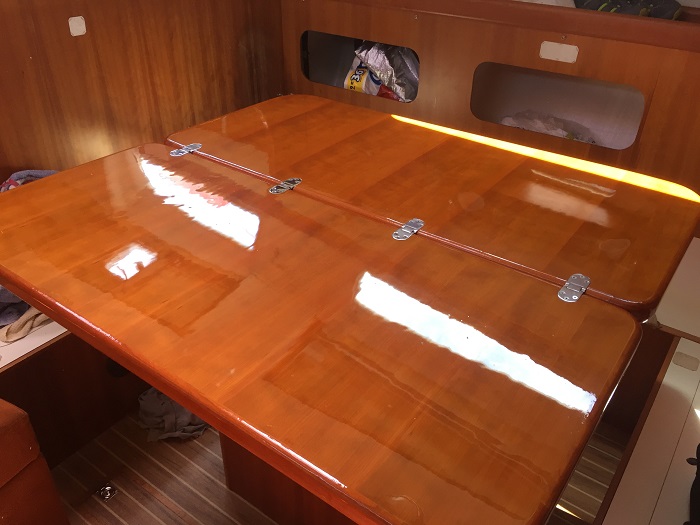
 Dining aboard will be just a bit more civilized with our newly varnished dining table.
 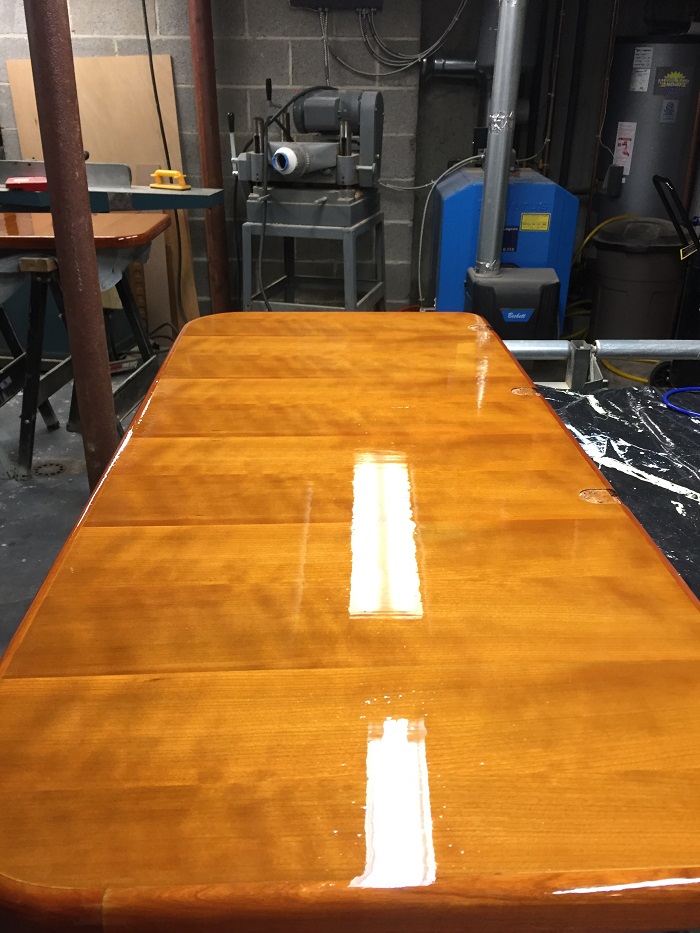 And there should be fewer, I hope none, drips below as I have pulled and re-bedded just about everything that went “drip in the night” and a few that didn’t, just to be sure.
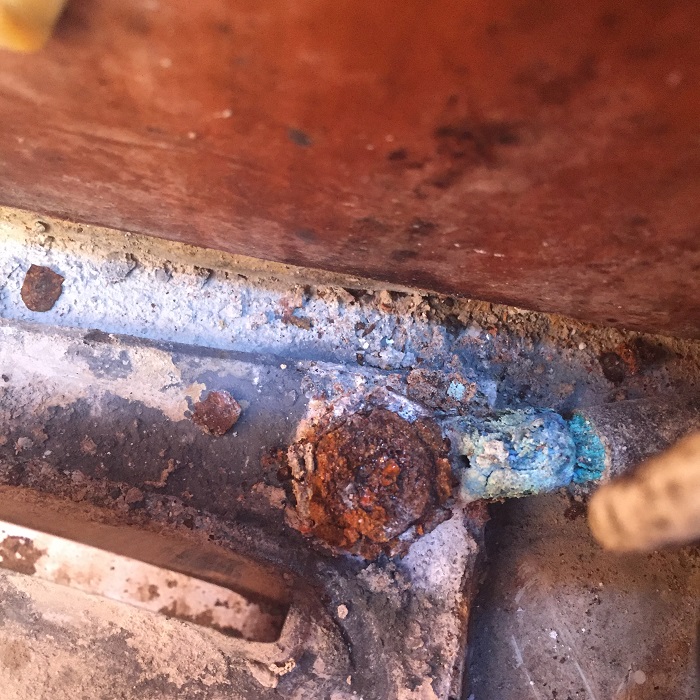
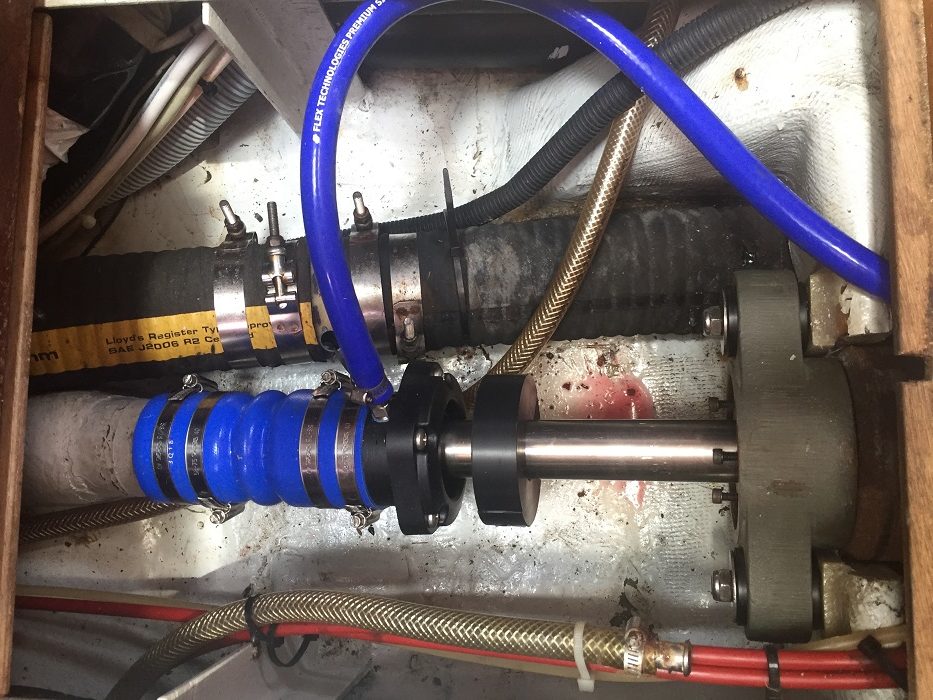
  And, speaking of drips, the newly installed drip-less prop shaft seal, all blue and shiny and newly “restored” CV joint, to the right. That CV joint was a big job, let me tell you. And that’s saying something as my contribution in getting it done was limited to writing a check, ditto for the seal.
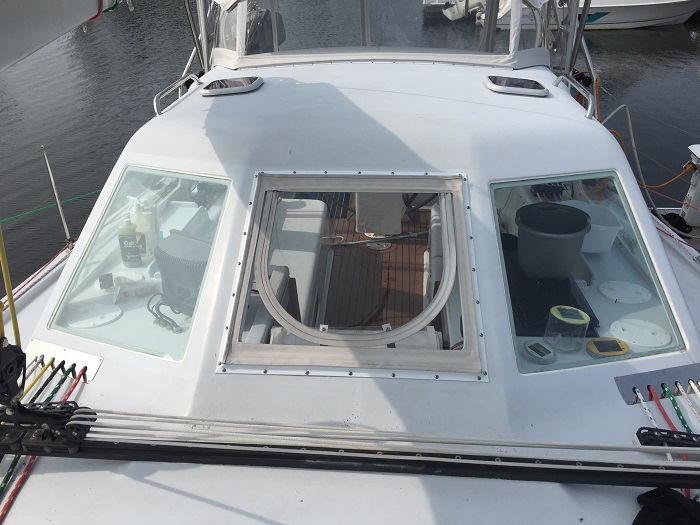
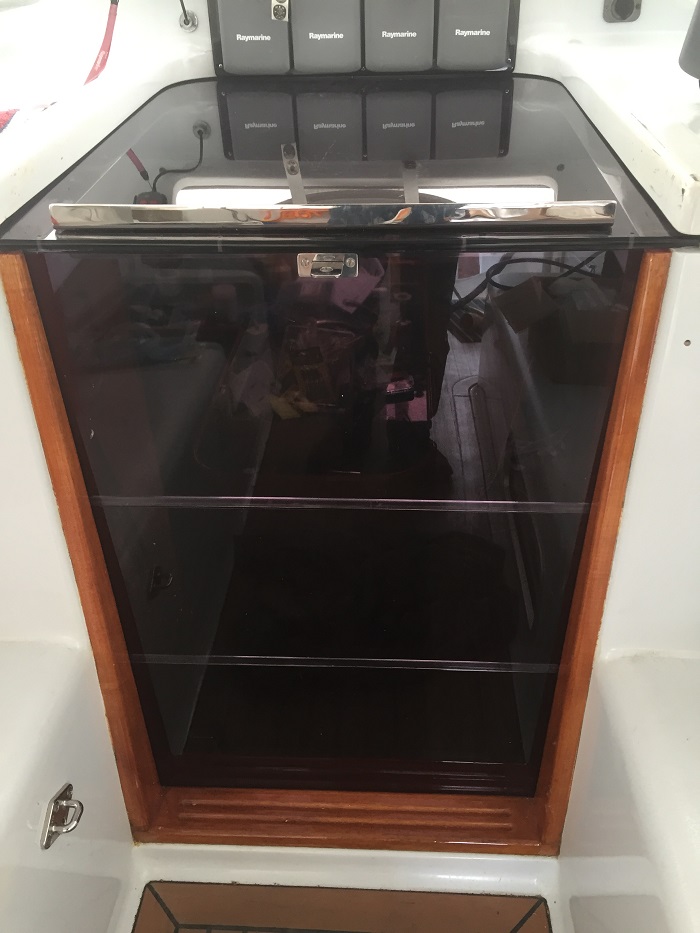
  I really tried to address every little detail to make Pandora ready to be her best, down to polishing the plexi hatch panels. If it’s possible to see beauty in a flat piece of plastic, these are worthy now.
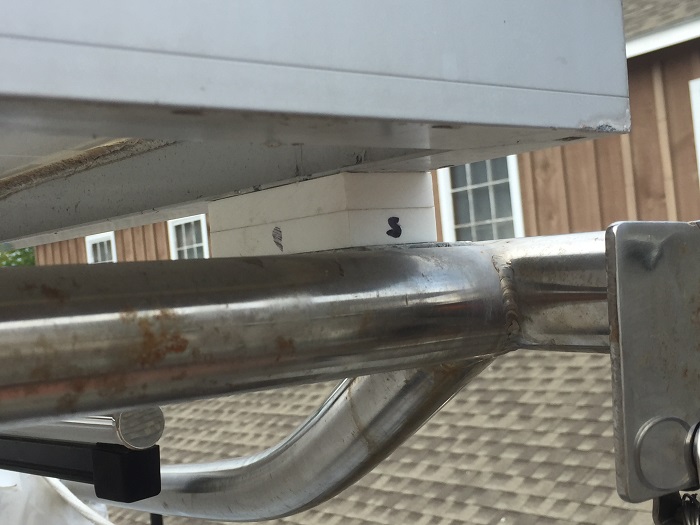
 And even the tiny details of putting plastic shims under the ends of the solar panels to be sure that they are perfectly level did not escape my attention. No more aft drooping solar panels for Pandora. Yes, I know, her stainless needs polishing. I’ll get to it soon, I promise.
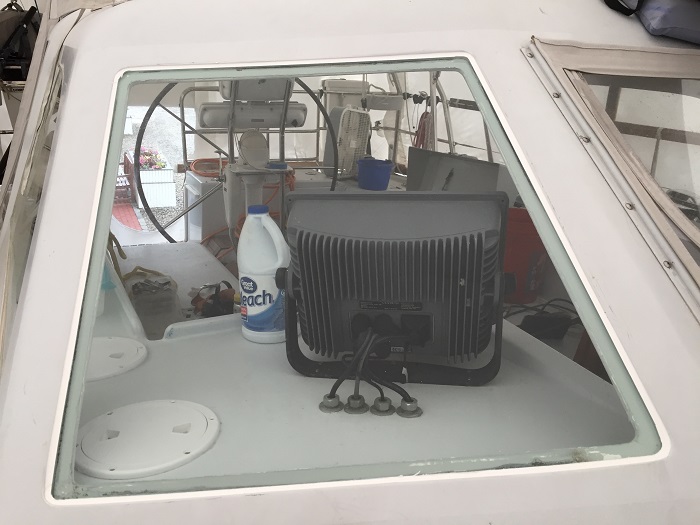
 And, of course, who could forget newly renewed caulk on the dodger windows. And that took several years for me to even build up the nerve to tackle. It wasn’t easy but less daunting than I had feared.
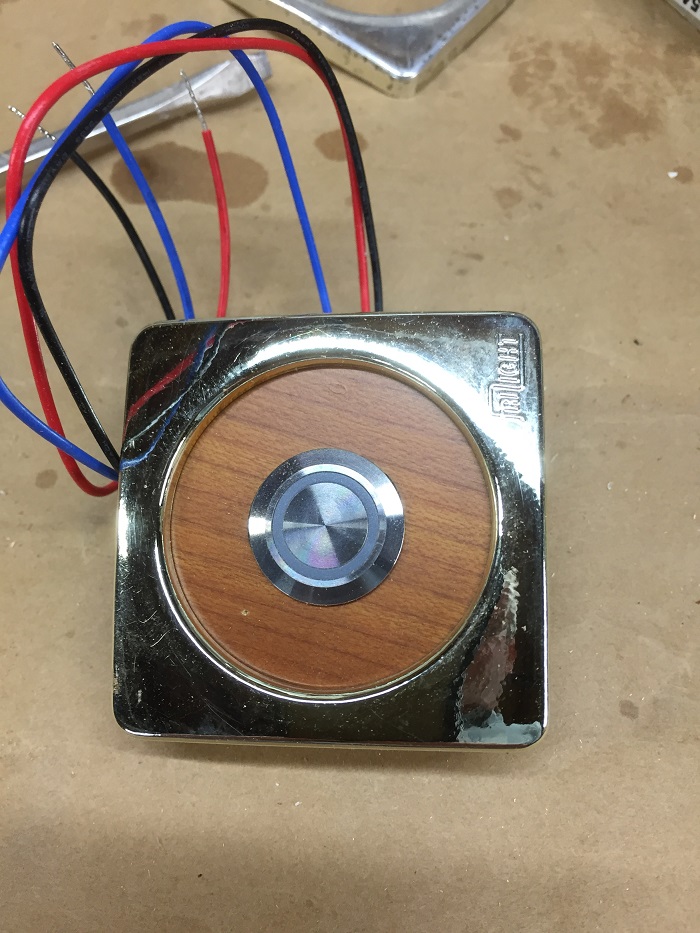
  And, I even found a way to re-use the old dimmer switch holders, the only way I was able to fit a “round peg (dimmer) into a square hole”, in the bulkhead. Pretty nifty, if you ask me. They took a lot longer to do than their humble looks, would suggest. And, they even have a lovely colored ring around the button, green, blue or orange, depending on which state the lights are in, on, off or dimmed. So, exciting? To me they are.
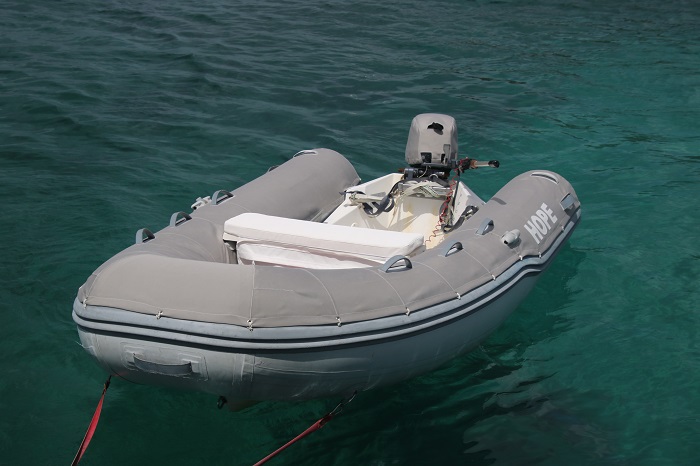
 New chaps, engine cover and seat, in matching grey, of course.
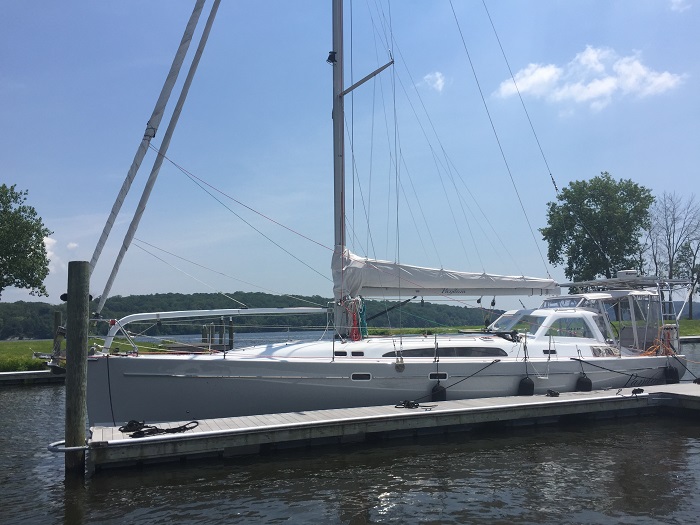
  And, speaking of matching, who can forget Pandora’s new “clothes”, a lovely grey paint job. If you follow this blog, you will recall that I really beat the “color thing” to death, with
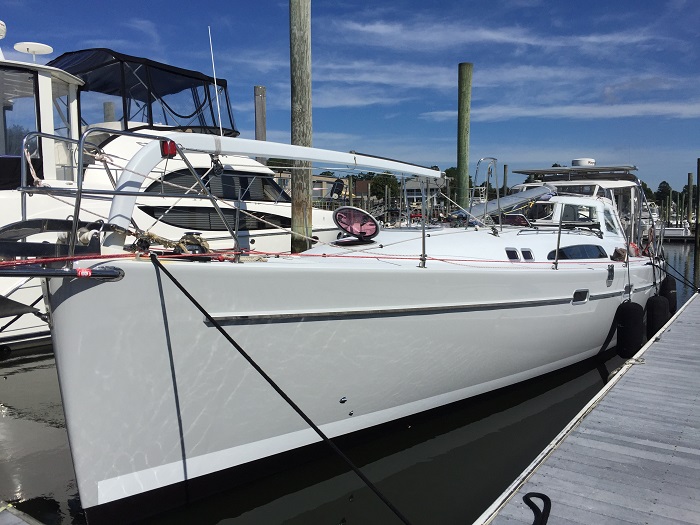 Oh, so many things to obsess about, my specialty.
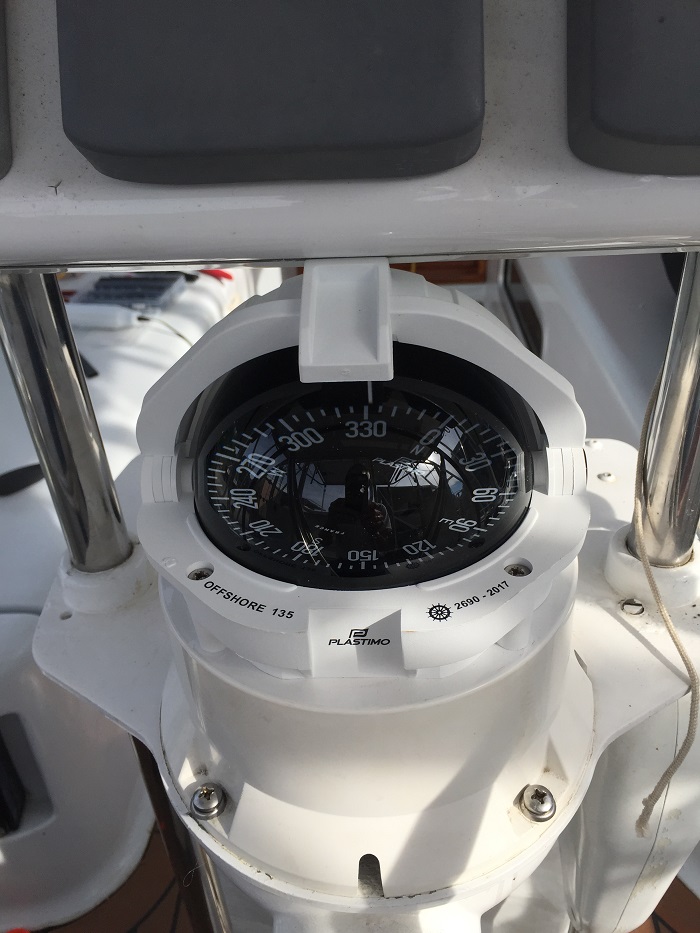 Alas, all is not lost as Pandora looks great. Isn’t she shiny? You can even see my little truck reflected in her so shiny paint.
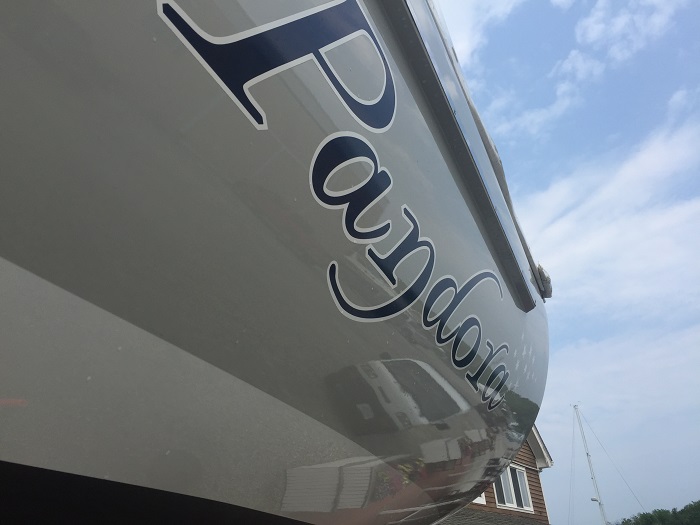 Ok, I’ve admitted it, I have done plenty of obsessing about getting Pandora just right” and with nearly a year to think about what needed to be done, there was ample time to obsess about every little thing. While “obsessing” perhaps overstates the point, I have also found myself wondering, for the past few months, no make that the past year, as Pandora’s “to do” list continued to grow, is when does spring commissioning becomes a refit.