


Heading south. Leg one, nearly done!
As I write this it’s Tuesday morning and we are broad reaching down the upper Chesapeake from Chesapeake City toward Annapolis at better than 8kts where we spent yesterday enjoying the charms of this beautiful colonial town. Here’s the view as we make our way south. It’s a cool day with a nice breeze out of the north.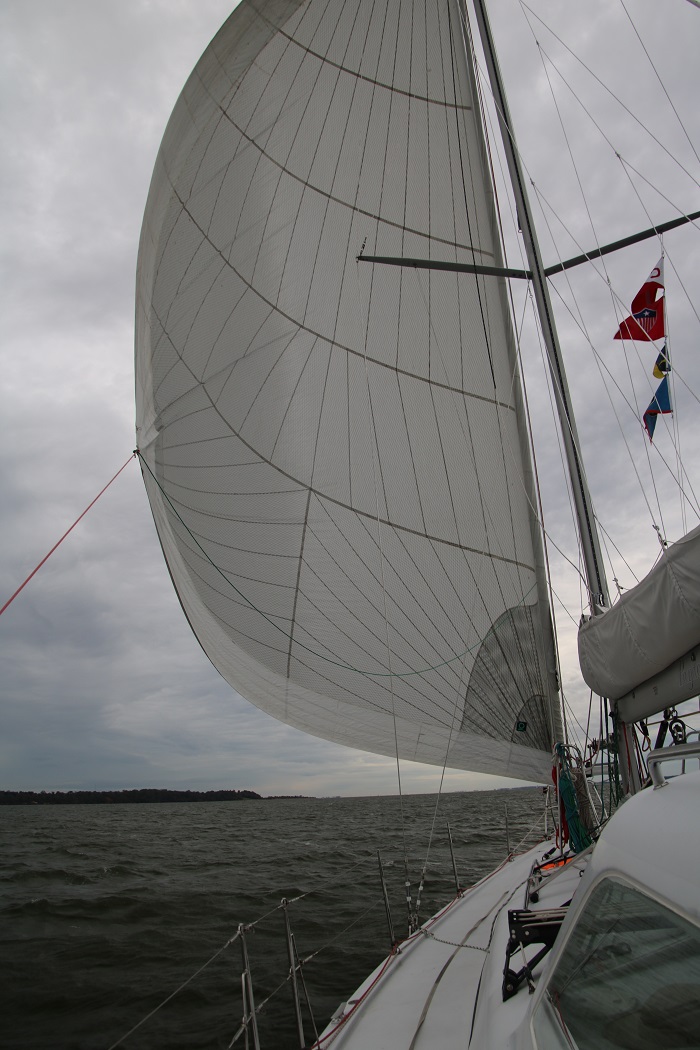 Today we are on the final leg of our delivery from the Essex Yacht Club where she was on the dock for nearly a week as we packed her with provisions for our winter season aboard. Of course, my little truck, better known as “Pandora’s box truck” did the heavy lifting to the club.
  We cast off Pandora’s lines at the Essex Yacht Club on Saturday morning at 04:00 and picked our way down the river in the pitch dark. On board are my crew including Jim, who has sailed with me from the Caribbean along with Shawn, who works for Chris Parker the weather router. Shawn wanted to get some offshore experience and Chris asked if I could bring him along. A fourth, Steve joined us to get some offshore experience as well, Steve has been sailing for years but has not spent a lot of time in blue water.
So, off we went in the cold and dark. Cold enough to risk frost, the first of the season, I was warned. Time to head south for sure.
Everyone arrived on Friday and after a short night, getting up so early, we headed toward Long Island Sound and Annapolis. Some years ago Brenda and I decided to purchase a set of good quality audio headsets to keep on board and allow us to communicate from helm to bow in a normal speaking voice. They sure proved their worth on Saturday morning as we picked our way out of the river in the dark. As I piloted, Jim stood up on the bow with a powerful flashlight, calling out marks along the way. The headsets were great as we could easily hear each other in a normal speaking voice. It made a stressful run in the dark much simpler.
So finally, Pandora was on her way to Annapolis, my first big trip since heading north from Antigua in the Spring of 2018. It’s been a long road with many projects completed over the last 18 months including a new paint job along with other projects and upgrades too numerous to mention. Although, if you follow this blog you’ve heard about all of them in excruciating detail by now.
And that would include plenty of whining about the “headliner from Hell”, a project that it seemed would never end. Happily, the job was finally completed and turned out well, beautifully actually, if a few months late. Chad, the canvas guy, ultimately did a beautiful job and I am really happy with how it turned out. The problem is that he took on too much work and the guys he hired to help weren’t able to produce the quality he expected and so he ended up way, way, behind. Delayed or not, he ultimately did a great job and everything looks great. I’m happy now.
As is so often the case, as the deadline for our departure approached I decided to tackle yet another job with precious little time to spare before leaving. This time, to install a Hydrovane wind vane, which will steer the boat by wind only, something that I have wanted to do for many years. Getting it installed in time for departure was a tough as I didn’t even order the unit, shipped from England, until a little less than two weeks prior to shoving off. While it only took one week to get to me, which was amazing, I only had less than a week to do the install.
Installing the unit was pretty straight forward over three days but involved drilling more than few holes in Pandora’s transom, something that I positively had to get right. There was a lot of head scratching, measuring twice and drilling once, well actually measuring many, many times but it turned out very well.
There remain a few details to work out with regards to how to best stow the dink when underway as the unit is now sticking out on the transom. Not sure exactly how to resolve that but I expect I will find a way. I was able to try the unit on the run down for a while and after fiddling with the boat balance it worked quite well. Unfortunately, I didn’t take pictures of it steering happily with a rooster tail spraying up as it sliced through the water at close to 10kts and I’ll have to remember to take some photos when I use it again. It’s an impressive sight and pretty neat to see it steer to the apparent wind for hours at a time, using no electricity at all. As my electric autopilot is very energy hungry, that’s going to be good for my batteries on passage.
We spent much of the first 24 hours of our run motorsailing as it was critical that we keep our speed up and make it far enough south before the wind shifted to the south and directly against us. While the wind was behind us at about 15kts for much of Saturday the apparent wind speed is only half that and not nearly enough to keep our speed up enough to make it to our waypoint by the time of the expected wind shift from north to south, anticipated to be around midnight Saturday.
With more favorable winds, we would have set a course directly for Cape May at the mouth of the Delaware River but because of the expected adverse winds, we instead headed to a waypoint about 50 miles offshore and east of the Delaware river. The idea was to head south and as the wind began to shift, adjust our course an follow it around, ending up on a reach to the river mouth up the river to the C&D canal with a south wind behind us.
This approach, suggested by Chris Parker, would allow us to move faster and be more comfortable, even if the distance is a bit farther. Happily, it worked and the strong southerlies didn’t actually kick in until around 04:00 Sunday, about three hours later than expected, giving us the opportunity to make our waypoint and enjoy some fast if bumpy sailing on the final leg to the river.
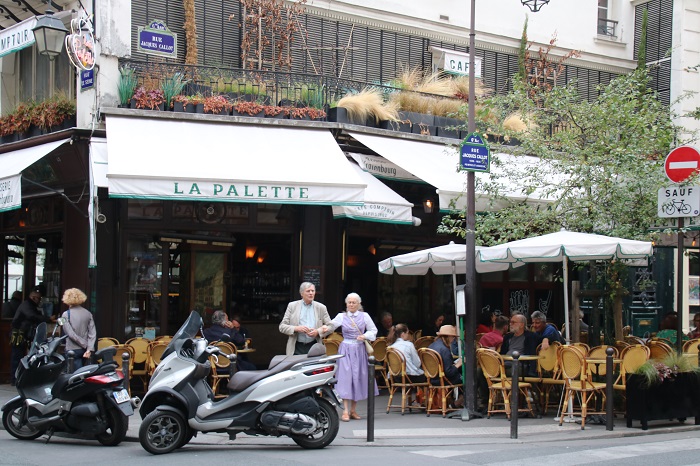
We anchored on Sunday night on the DL just north of the Canal entrance and then headed into the Canal and Chesapeake City on Monday morning. With an expected wind shift back to the north on Tuesday we decided to wait a day and enjoy the quaint colonial town before continuing south to Annapolis. Main Street has some really lovely old buildings. 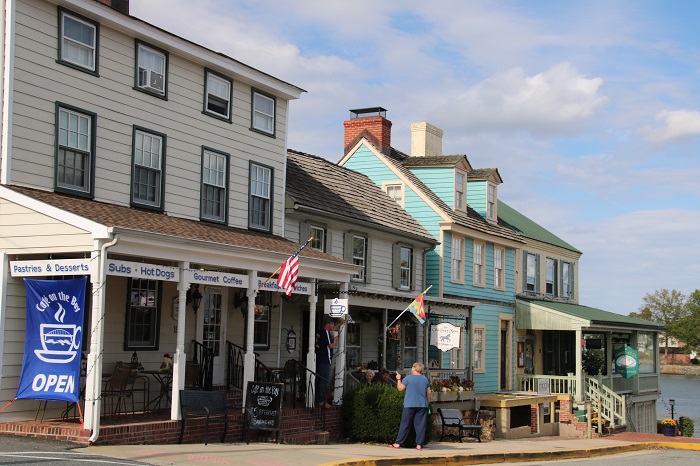 The view from the town green of the harbor shows how quaint a spot it is, with plenty of space to anchor.
 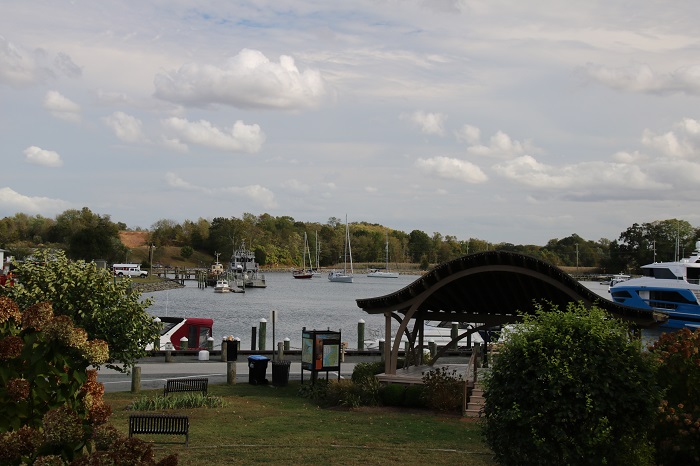 Pandora riding comfortably in this tiny harbor.
 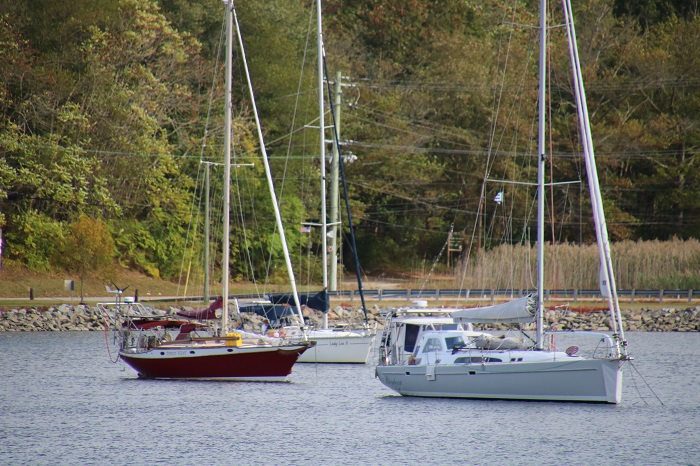 The bridge that towers over the village is a dramatic contrast to the colonial era homes. I’ll bet there was plenty of controversy when that bridge was proposed. On the one hand, it made the town much more accessible so perhaps it was welcomed.
 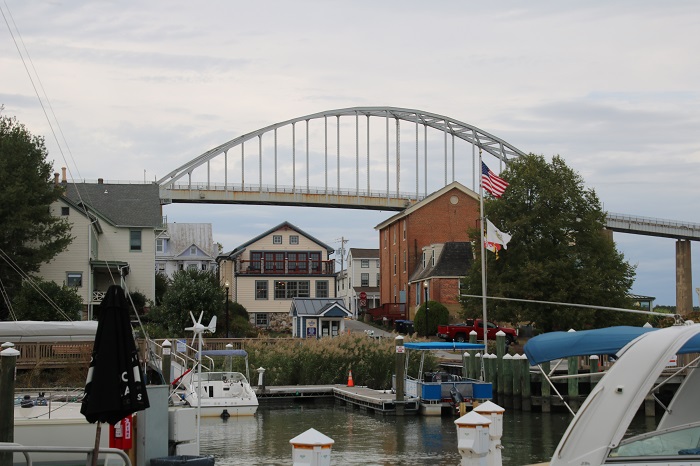 With a few more hours of sailing in front of us, it’s a lovely day to be on the water and Pandora is happily moving south to our final destination, Annapolis.
I’ll be in town for much of the week, giving a talk at the Annapolis Boat Show on Thursday morning and enjoying the boat show and visits with friends. Brenda arrives on Friday and after that, we will head to Baltimore to see our son and his family before heading back to CT.
When we leave I’ll put Pandora in a friend’s slip close to downtown Annapolis for almost two weeks before I return to bring her to Hampton to prepare for the run to Antigua and the Salty Dawg Rally.
Other than that, noting much going on.
I can’t wait to see Brenda.
 On the port side, it’s fine.
 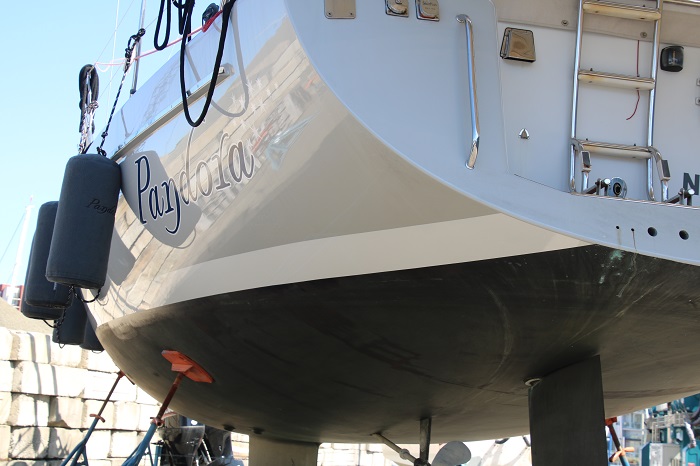 Anyway, I had the boat launched, correct or not, as I didn’t have time to leave her for another week. I don’t know what will happen, but I still owe a small amount on the original job which can probably get it fixed elsewhere if required.
 I can’t recall if we had a credit card as it was over 30 years ago and we hadn’t even had kids then. Anyway, we were mortified and expected that we’d be in the kitchen doing dishes to work off our debt. However, they released us and we sent a check. Dick and I had dinner there and this time I had no problem paying my bill.
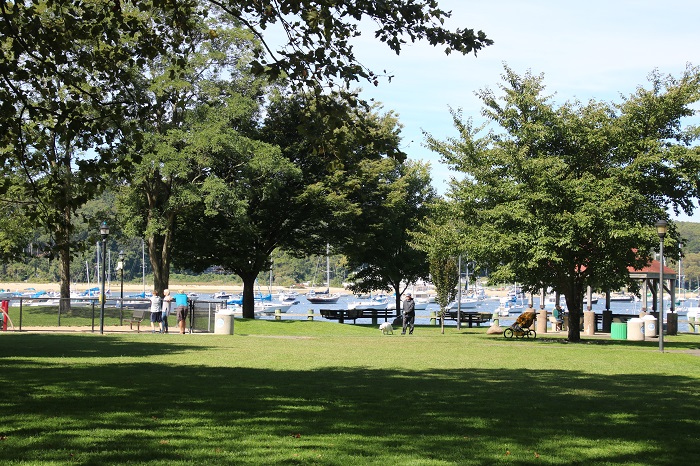 We also had a very nice visit to the Northport Yacht Club and a beautiful sunset.
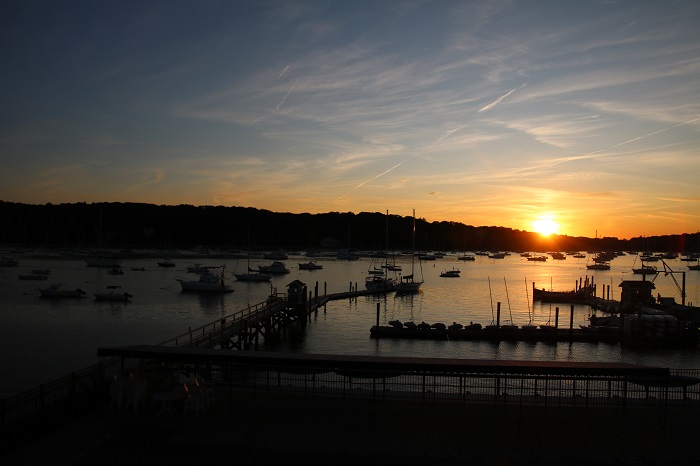 The next day we headed over to Oyster Bay, another spot that I haven’t visited for more years than I can count. It’s a beautiful harbor lined with huge homes.
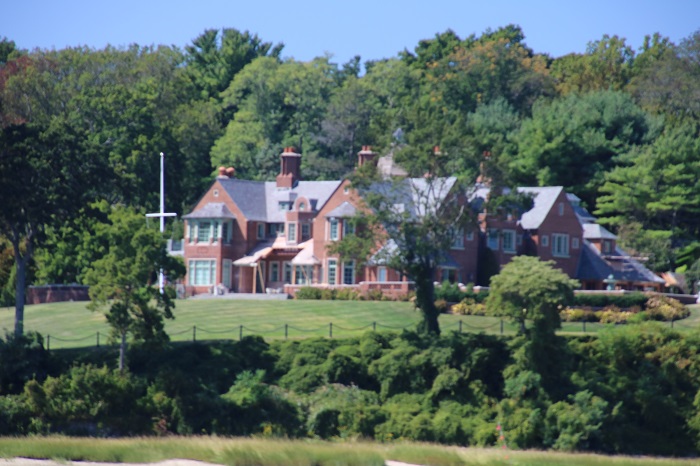 While there are a lot of docks on the harbor, there has been a moratorium on new dock construction due to the establishment of a nature conservancy that took place before Joel moved in. In spite of his best efforts for years, he was not able to get the dock approved.
 My brother Bill, who lives in PA recently purchased a runabout and brought it to Essex earlier this week. We spent a few hours running around on the river which was great fun. In particular, we headed to Selden creek, a favorite spot of mine, as we have been visiting the spot since the 80s. The only boat we haven’t visited on is the current Pandora as she’s a bit too long to fit in the narrow creek.
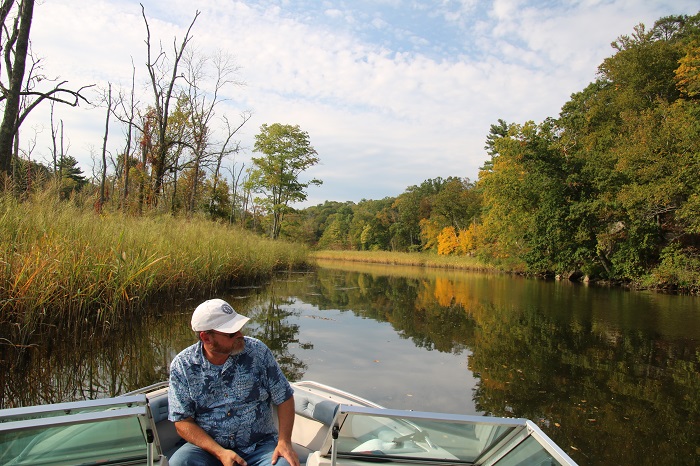 I can’t believe that summer is nearly over and it’s time to begin the migration south to warmer climes.
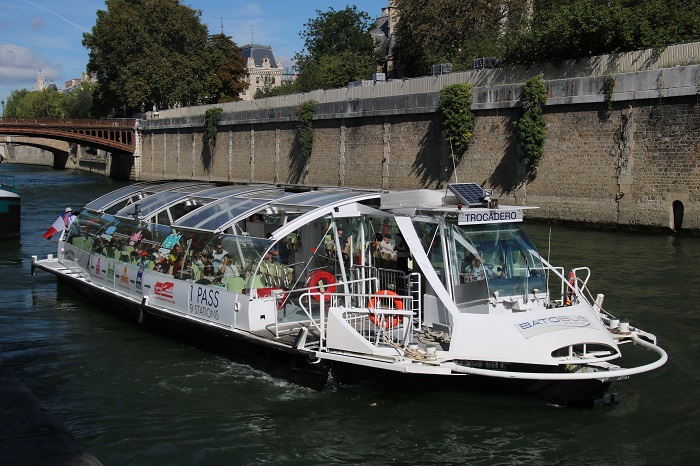 However, their design is clearly dictated by function and as passengers have to see everything there’s glass on the sides and top for maximum viewing suggesting more of a floating greenhouse than boat.
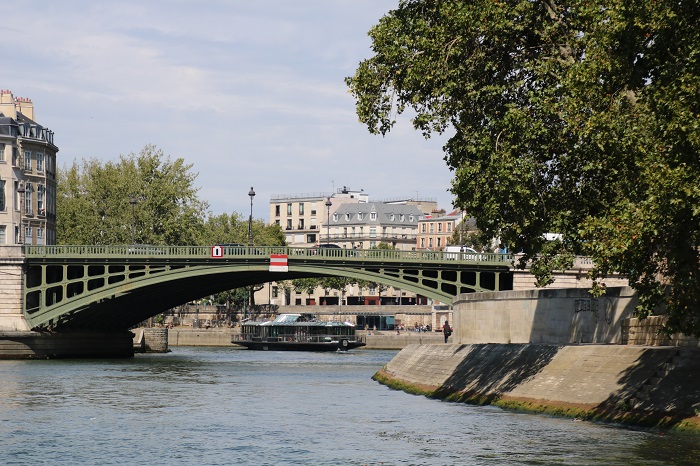 Tour boats aside, loads of lovely boats, or should I say houseboats, some private homes and many serving as sort of B&B mini hotels rented out to tourists. In some areas they were moored three deep.
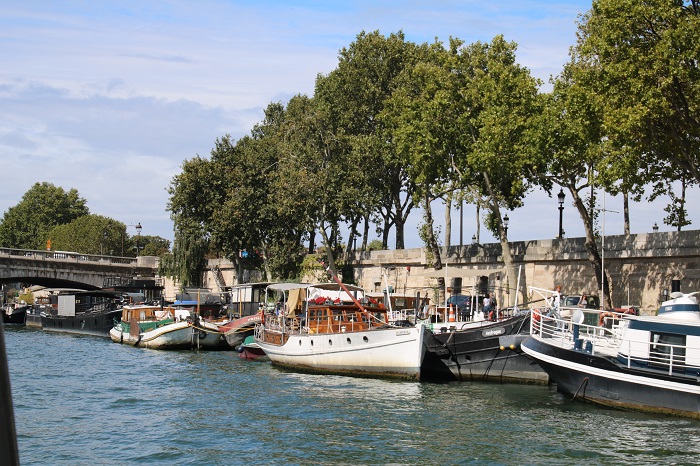 Often quite colorful.
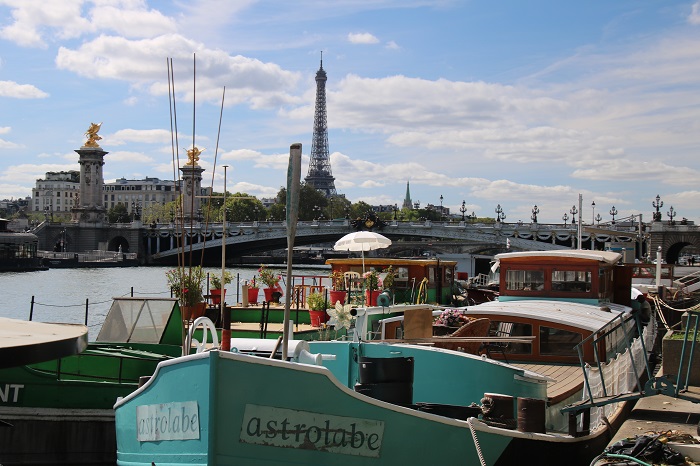 Loved this blue one. My favorite color.
 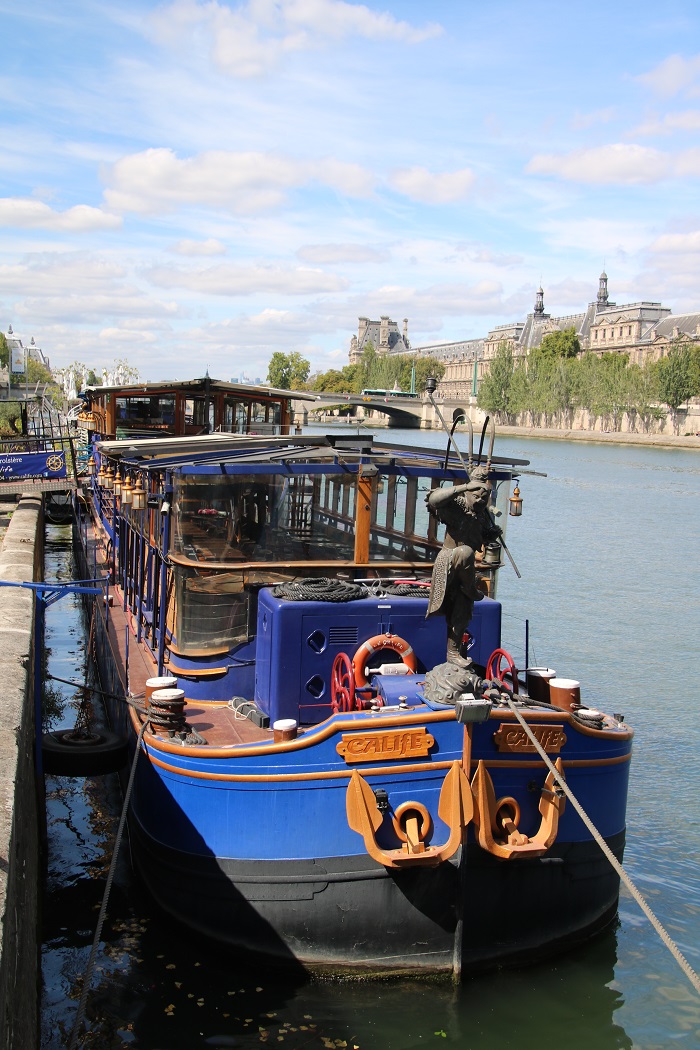 Wonderful details.
  Interesting dinks including this one welded from steel.
 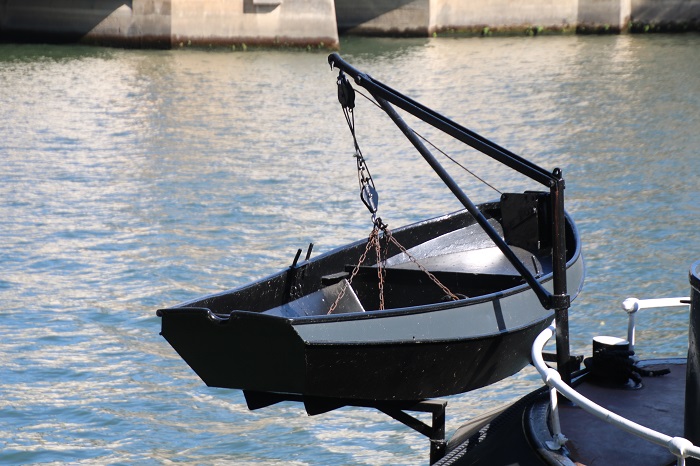 Beautiful lines but she could use a bit of paint.
 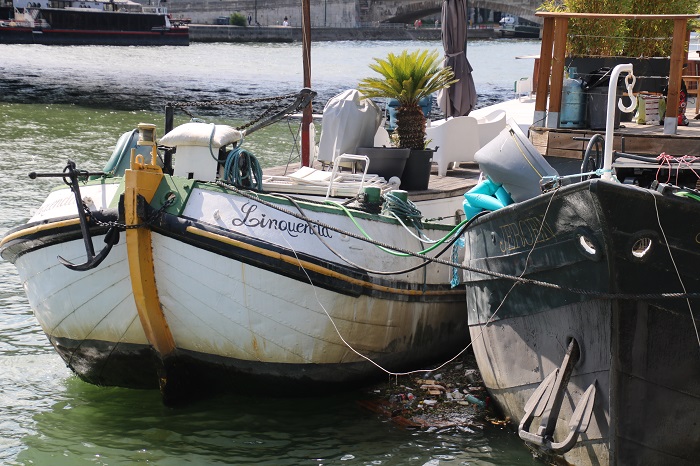 What a great spot to tie up. Many were moored in locations that offered with a great view of the Eiffel tower, like this one.
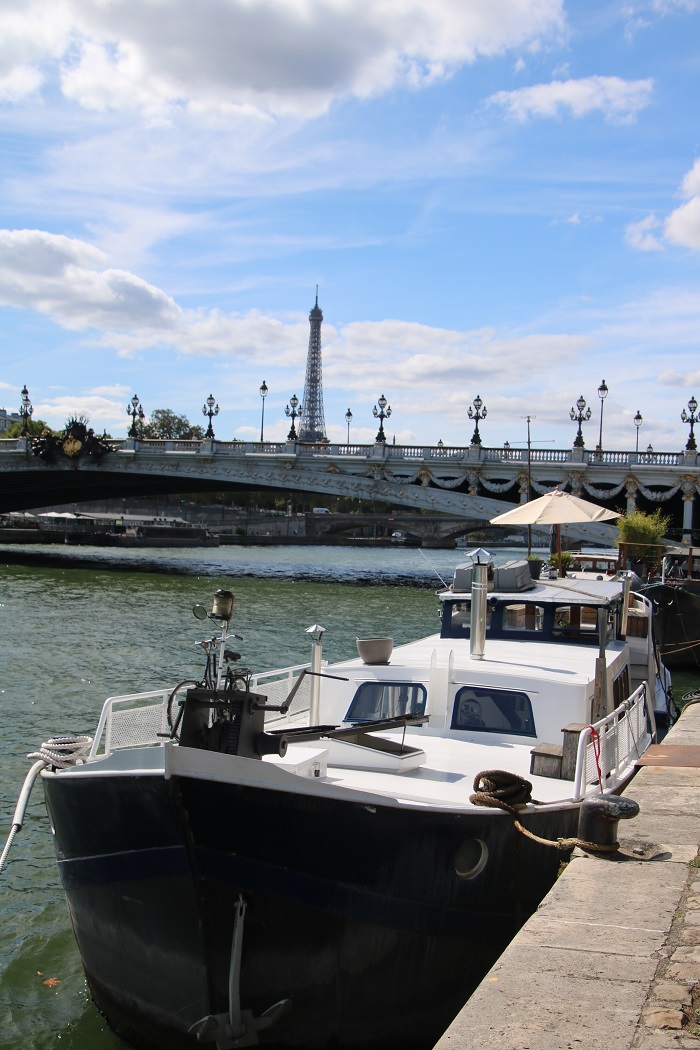 This houseboat featured another landmark from France although now in NY Harbor.
 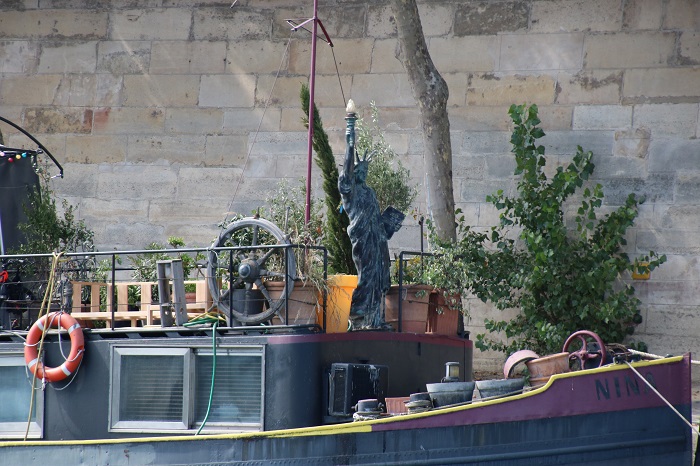 There was an active police presence and it seemed that they were always going full tilt and leaving a big wake. This was one of their more sedate moments.
 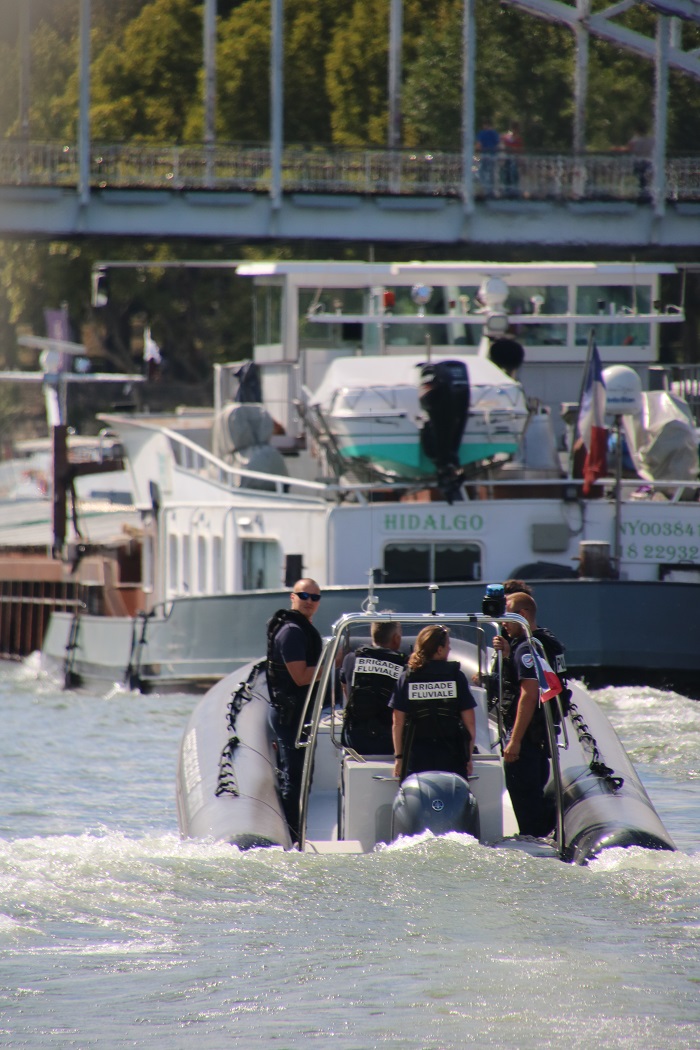 You can get all the way from the English Channel to the north and the Med to the south via the extensive canal system. This is the entrance to a canal that heads all the way up to The English Channel. A good part of this particular stretch of the canal is fully underground beneath city streets. I saw some ventilation grates along road medians. I wonder if they are lit? I guess there must be some sort of canal traffic control as I doubt that there are any passing lanes.
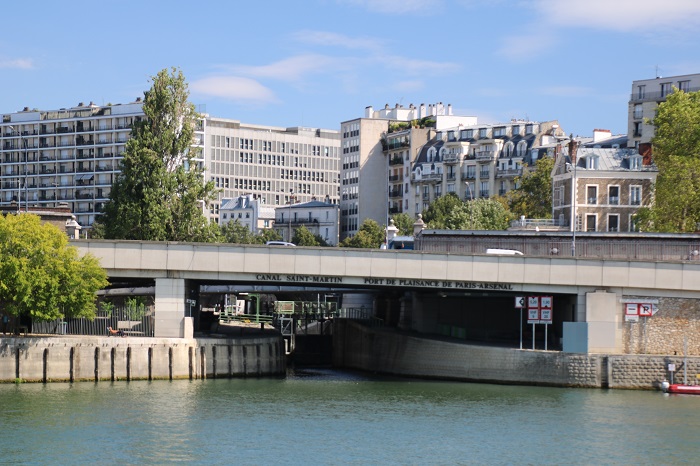 There is a huge amount of commercial traffic.
 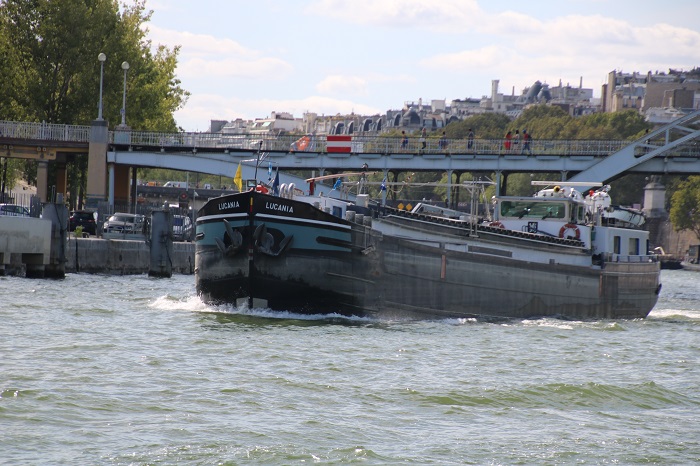 And the barges, all low enough to fit under the city bridges, often sport a vehicle and crane to help the crew get around, two in this case. His and hers? His and other his?
 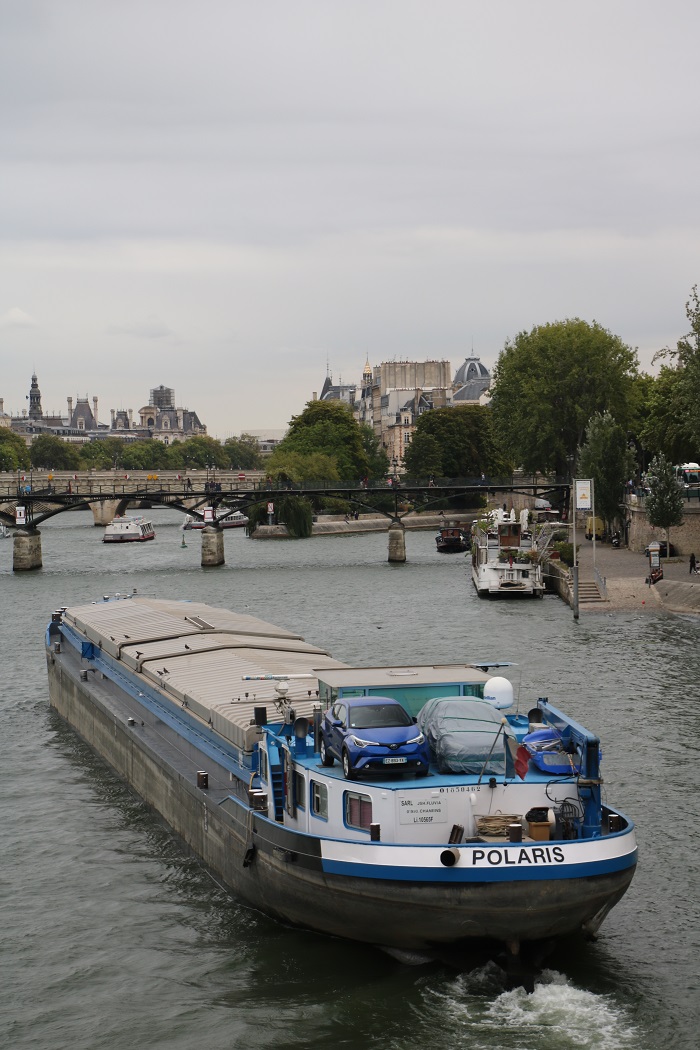 This one was on the back of a houseboat and it even has a cover to protect it from the elements. Not sure how they’d get it on shore though.
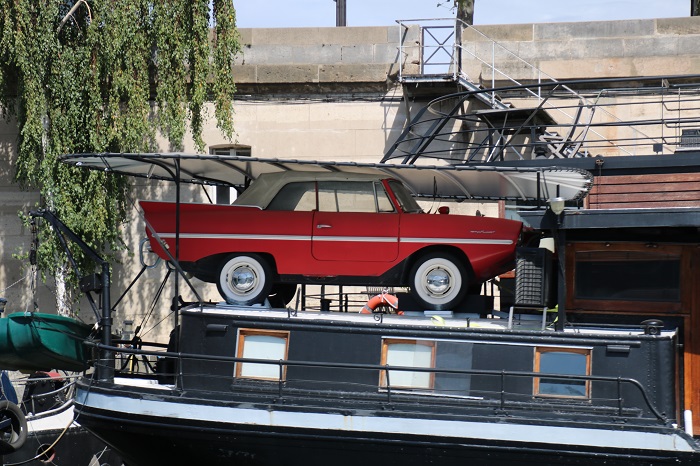 This upscale tour boat had particularly beautiful lines. Love the stern.
  The views along the river were spectacular and that makes sense as when the city was built, water was the simplest way to get around.
 And speaking of getting around. This beautiful runabout featured two passengers in period clothing and a film crew. Wonder what movie they were filming or was it just a sophisticated selfie stick. “Frank, FRANK, put that stupid thing away. We ALREADY have enough pictures! And, WHO is that creep in the back of the boat anyway?”
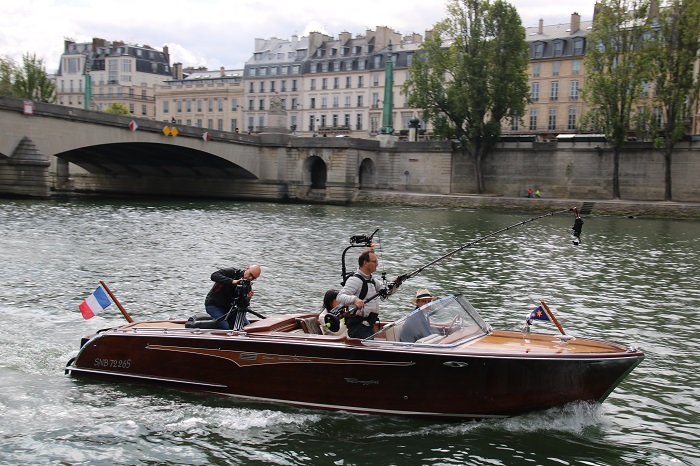 And, where there is water there are bridges.
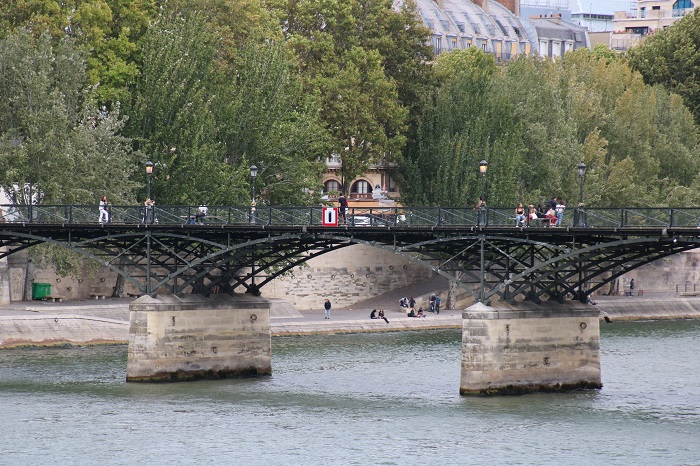 Each more spectacular than the last.
 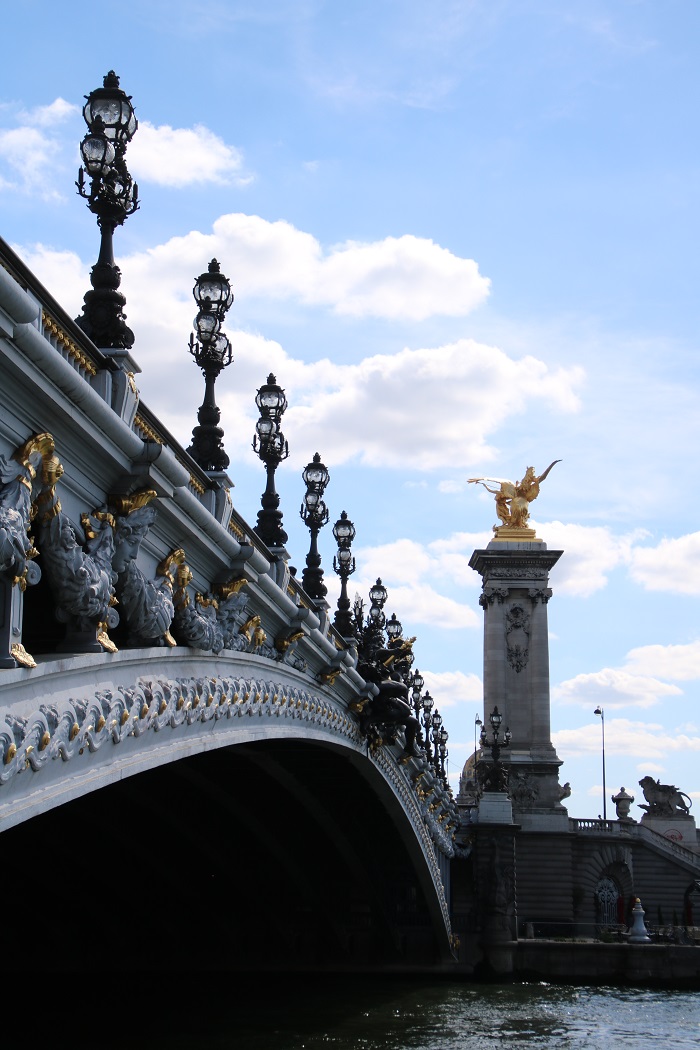 And, some really nice fountains.
 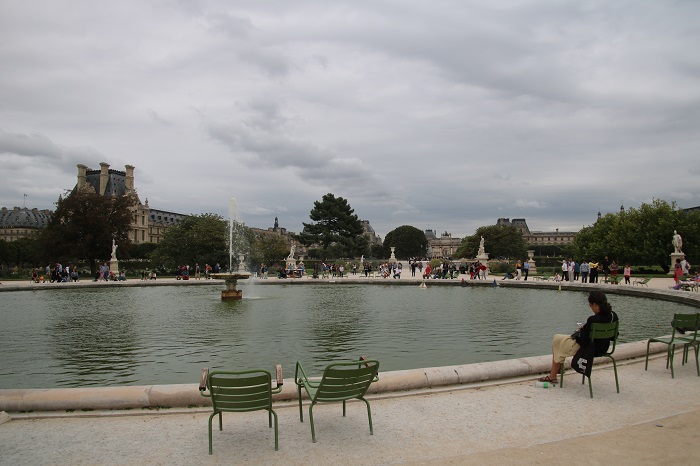 Complete with fleets of small boats.
 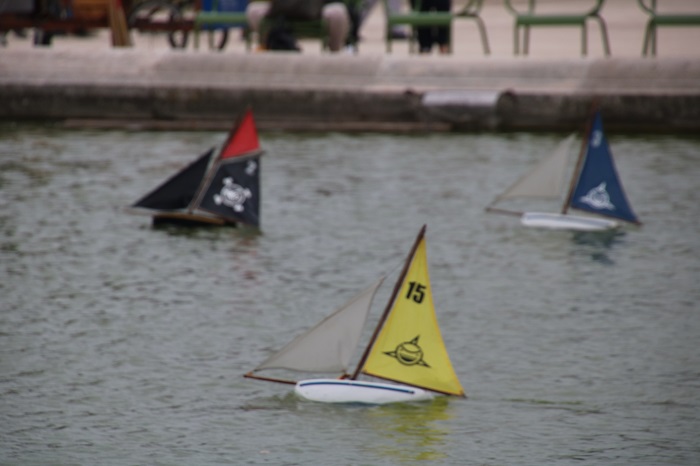 And this guy nearby feeding pigeons. Obviously someone they knew and loved.
 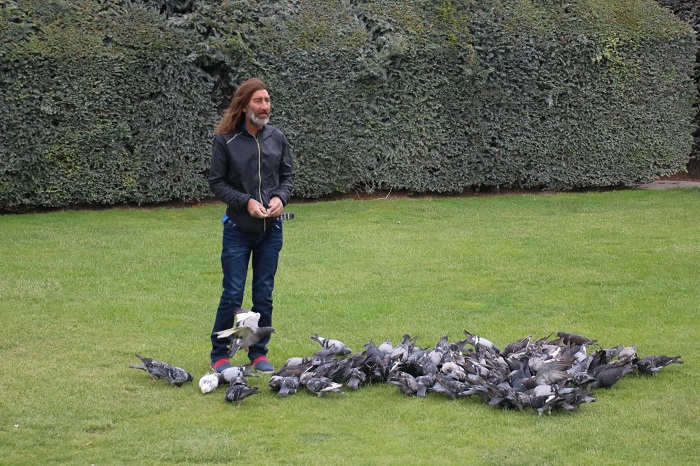 And speaking of love, a custom in Paris is to purchase a lock, put your name, and that of your lover on it and “lock” your love to something. Some places are so packed…
 You can’t believe so much love, I guess.
 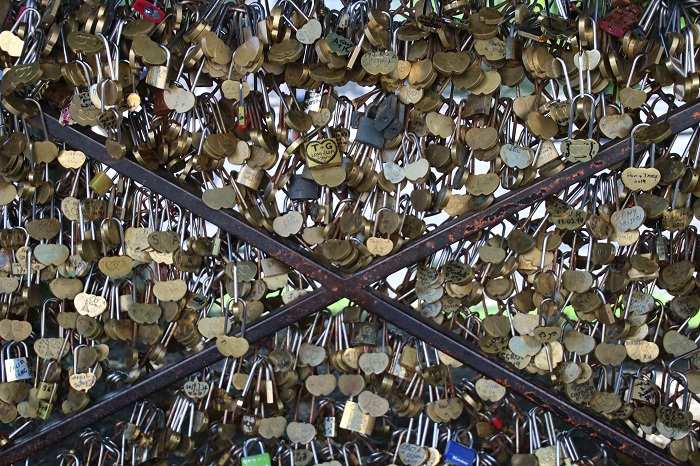 And speaking of love. The whole idea of the trip to France was brought up by Melody, our son’s partner, as they were invited to a wedding and asked us if we’d like to come along. Oh boy, was Brenda on that idea. I was the official photographer of Chris and Melody outside the church where the wedding was held. We lurked outside waiting for the crowd to let out.
 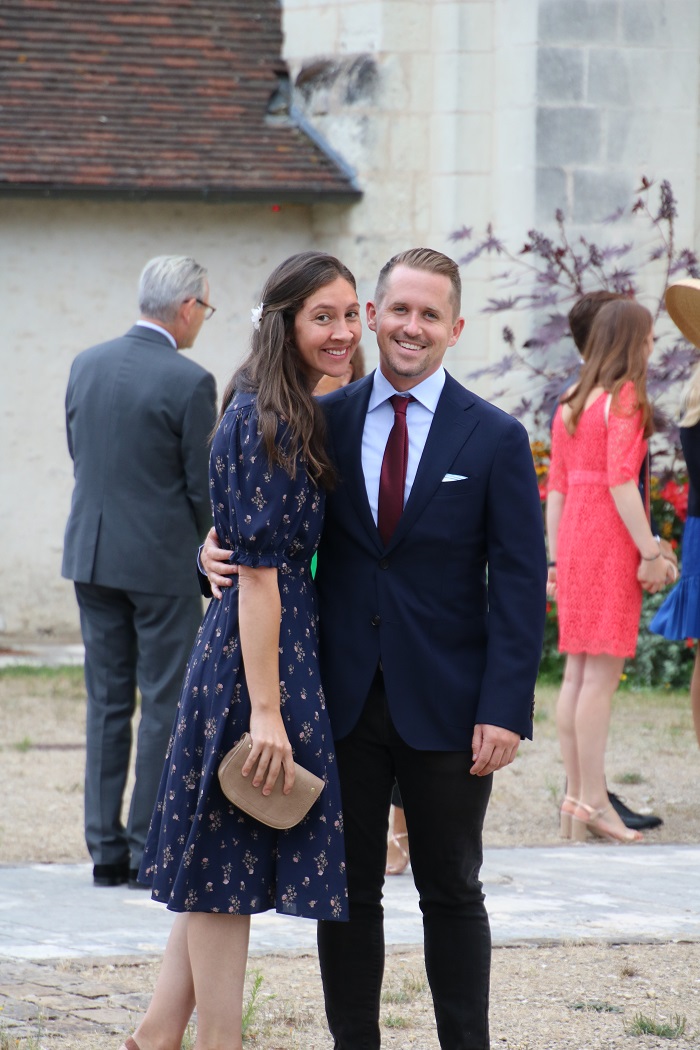 The reception, we learned, was in, no kidding, a castle with a real live mote. It was the family home of the bride’s grandmother who was too infirm to join in the party but watched from an upstairs window.
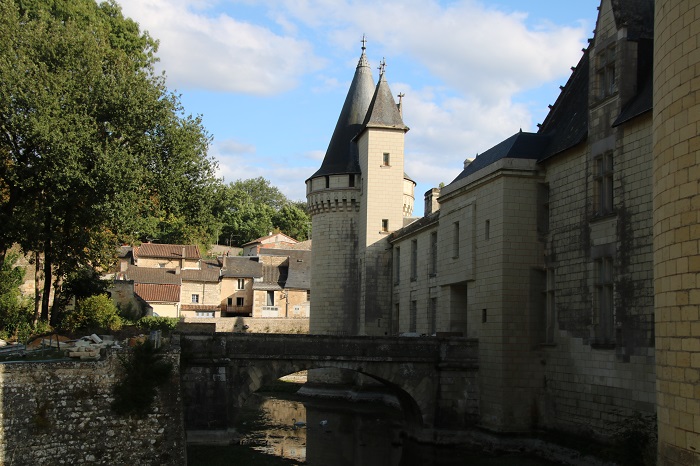 We finished up our trip with a few more days in Paris and spent time in many cafes, actually more than one each day. So much food to sample.
 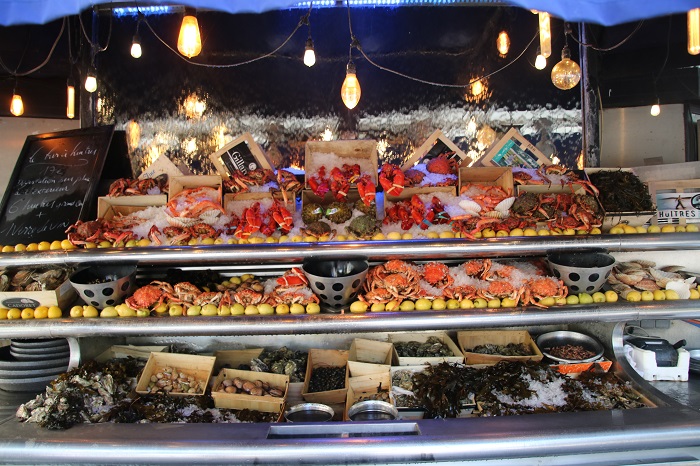 Actually, so much food everywhere and beautifully displayed.
 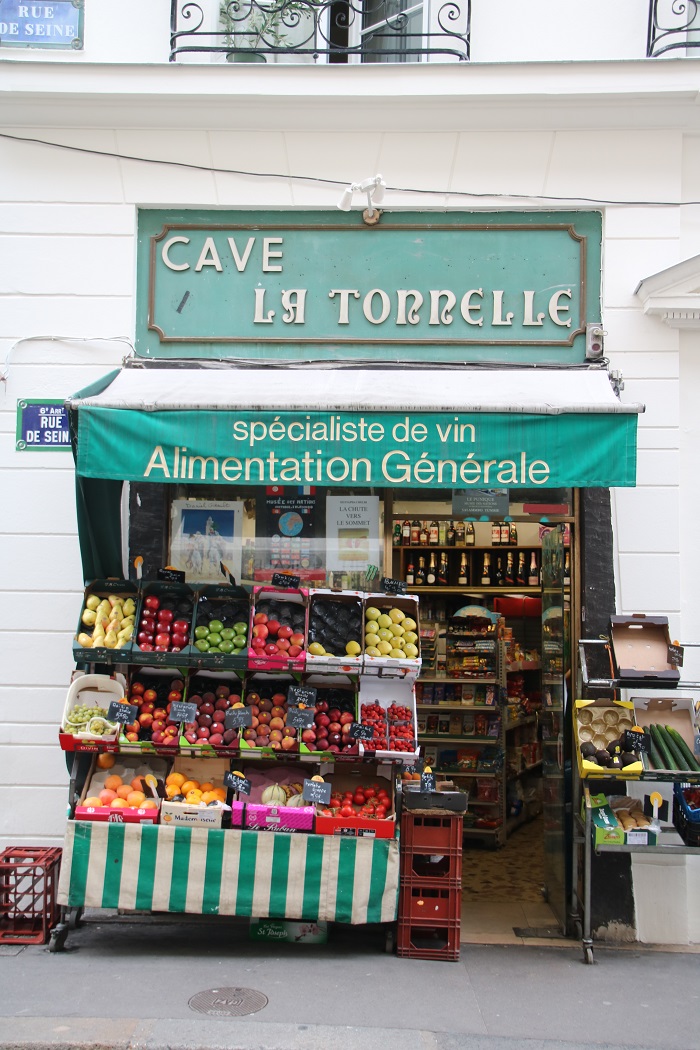 Places to eat aboard.
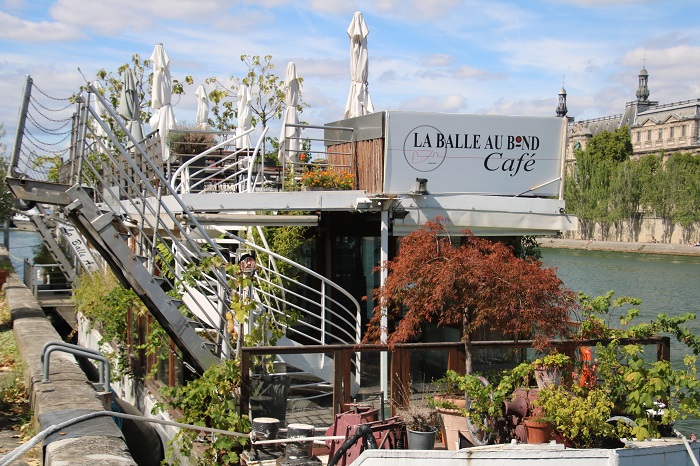
 So did we. Loved the hat on the chef who served us. Our last dinner together in Paris before heading home Note the list to starboard in this photo. The waiter too it seems. After all that wine, and it’s cheaper than soda so why not, I had a bit of a list as well.
 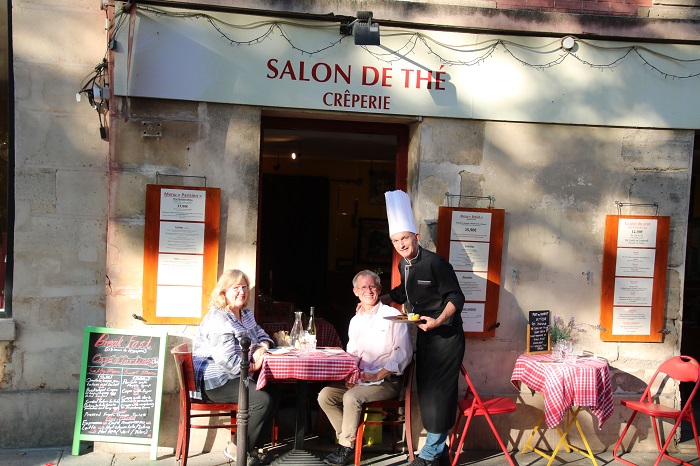 Yes, in Paris wine costs about the same, sometimes less than soda so why not have wine? And there are so many types to try we had a tough time deciding which to have.
 While she looks pretty big in that photo, she looks positively diminutive in this one, next to the big cat.
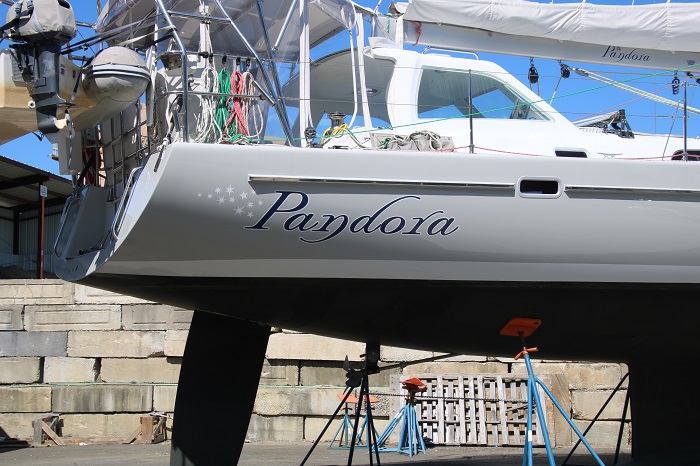
  I was told to leave Pandora in a slip near the lift and she was out of the water before I even called the next morning. Here she is on the hard. I sure hope that they put more supports under her and also add chains to keep them from slipping out.
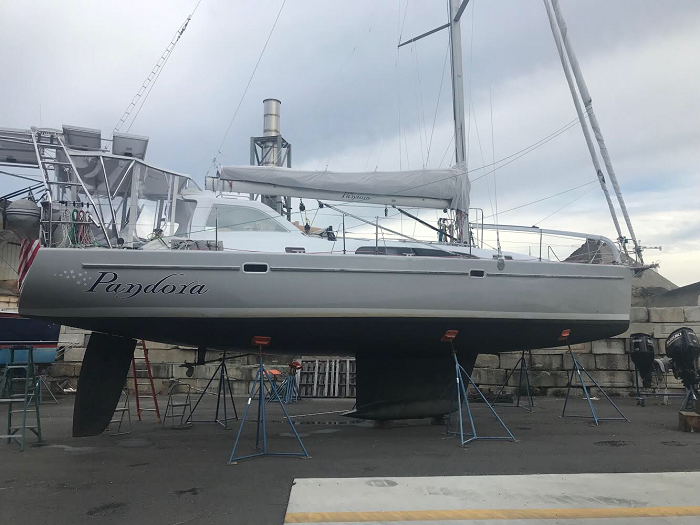
 After nearly two years, I can’t believe that it’s nearly time to head to Antigua again. Let’s hope that there isn’t some sort of catastrophic hurricane that gets in the way.
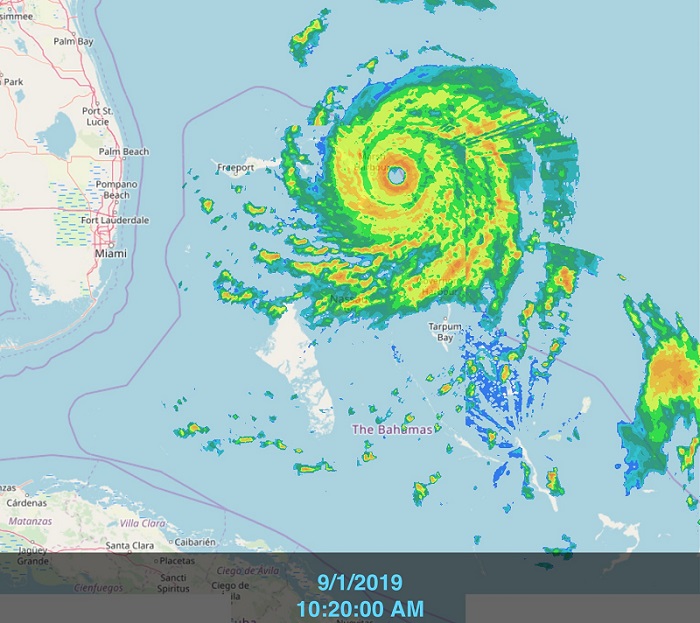 While Pandora is in good shape to make the run to Antigua and crew is in place, I sure hope that nothing happens in the next two months to change the rules like Dorian is doing in the Bahamas as I write this post.
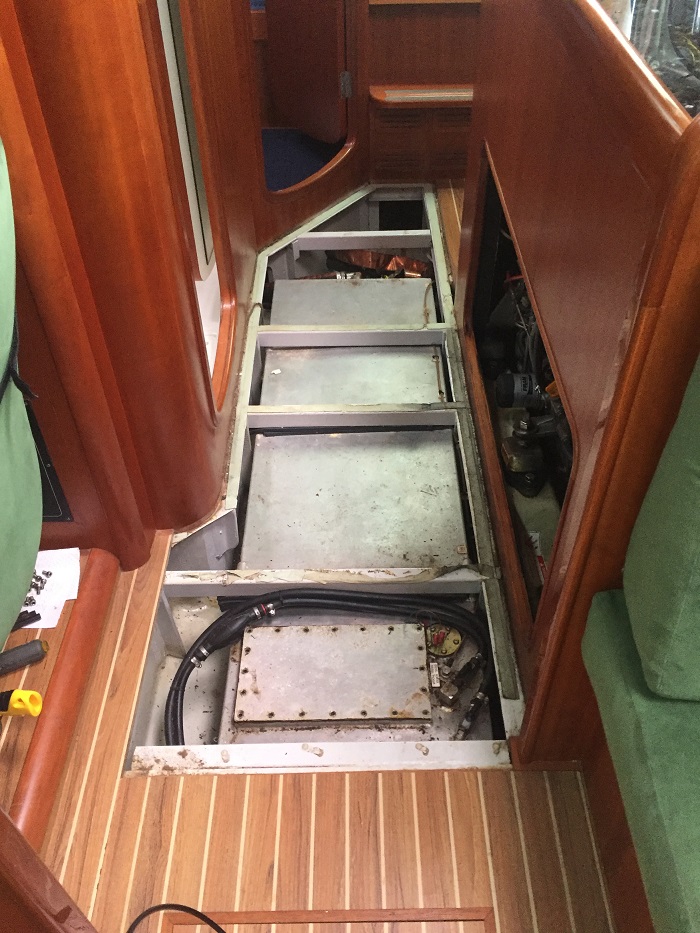 So, out came the tank. Removing it took several hours but it wasn’t all that difficult and all the hoses came off fairly easily, lubricated by fuel, I guess.
 There was a nasty corroded spot on the bottom of the tank, located directly over the mess of fuel and crud on the hull. It seems that someone had left a stainless screw under the tank when the boat was built and after 12 years electrolysis did it’s work and “ate” a hole in the aluminum tank. Stainless screws, being a “noble metal” always wins over aluminum which is less noble and easily corroded. Something as simple as a dropped screw in 2007, when Pandora was built, was all that it took.
 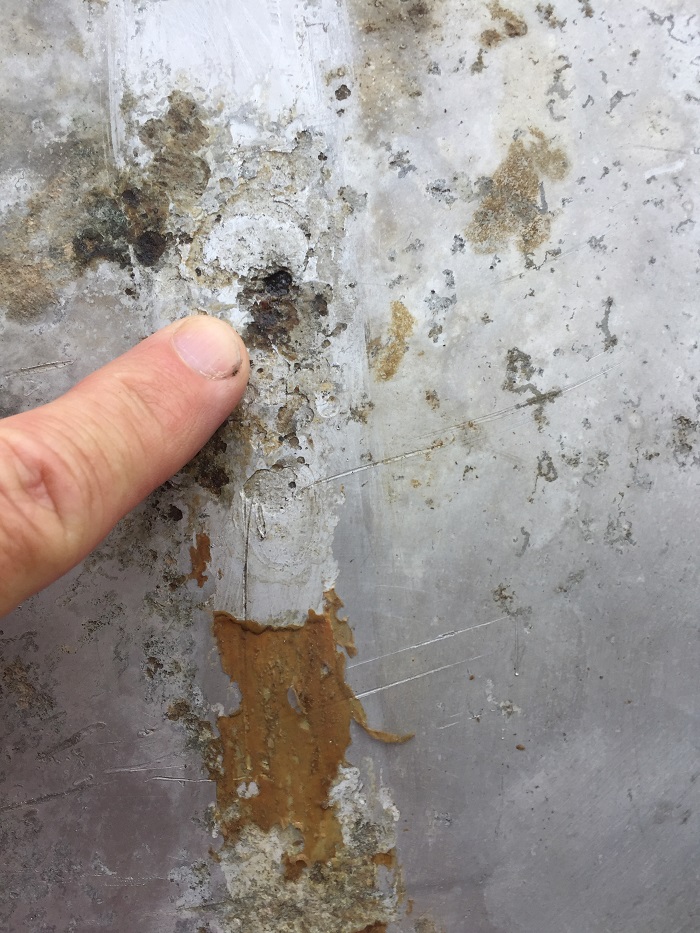 That combined with the fact that the tank was resting directly on the hull itself caused the problem. The proper installation of the tank would be to have it resting on neoprene strips or something else to isolate it from direct contact with the fiberglass hull. This way it would have been isolated from any abrasion, salt or errant fastenings that might be left under the tank.
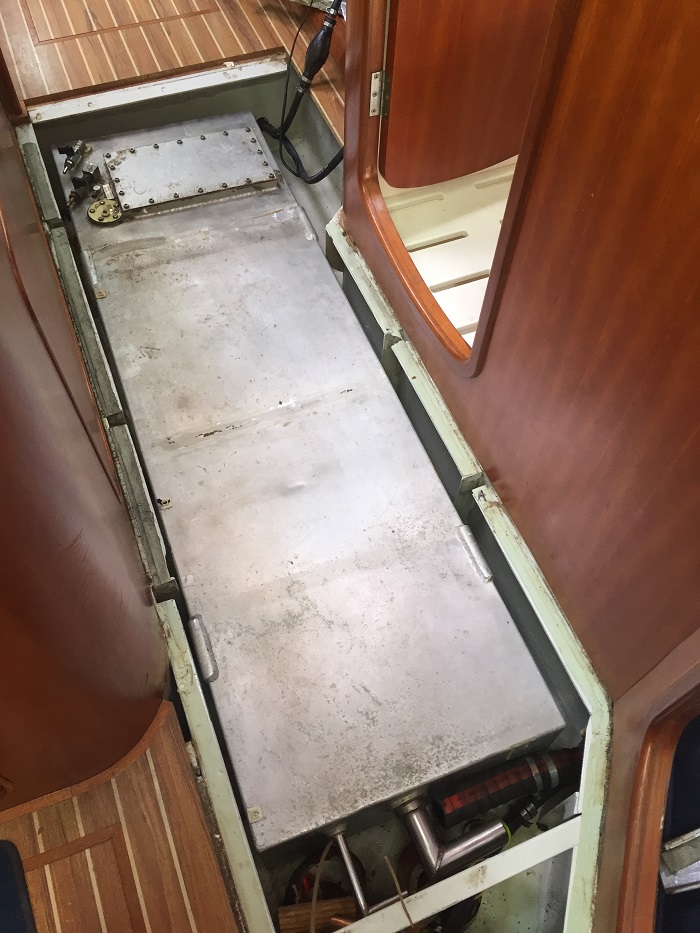 After putting all the hoses back in place, I reinstalled the floor braces, fiberglass “I” beams across the tank. These are pressed down on additional neoprene gaskets to ensure that the tank was not going to move around in rough conditions.
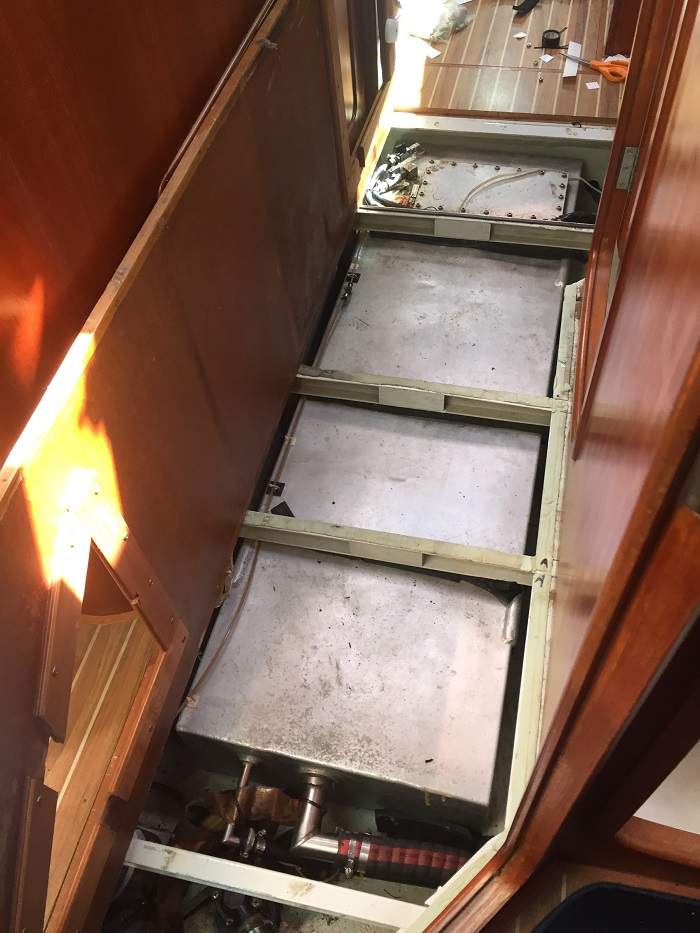 After putting the cabin sole back in place, I siphoned all the fuel back into the tank, less the 7 gallons, mixed with nasty bilge water, that I took from the bilge and voila, good as new. Actually, I am hoping better than new.