
It’s been a very long winter, for me anyway, having to wear closed toe shoes for months now. Can you imagine? Well, it’s getting warmer now and happily, yesterday was a first of the season and Brenda and I were able to sit outside on the deck. What a welcome change. Things are looking up even if it wasn’t warm enough for sandals. Even the hummingbirds have returned from their winter in the tropics.
After months of tearing things apart on Pandora I am happy to say that I am now beginning to put things back together, bit by bit.
I finished the installation of the cabin heater and was pleased to find that I had done everything right after it was checked by the mechanic at the marina. He also pressure tested the engine and found that the source of the anti-freeze leak was limited to a single loose hose clamp. I had feared the worse, perhaps a bad water pump.
As I have mentioned before, the basic plumbing for an auxiliary heater was installed when the boat was built but I was a bit unclear as to whether it was installed on the boats’ cooling system in the correct way. Fortunately, it was.
Here’s a shot of the system in place. It looks pretty tidy but getting it there was a bit of a knuckle buster given the tight confines. To keep fluid flow even, they recommend that I make the bends in the cooling hoses as gentle as possible. There’s the heater itself, on the right. And, the starter battery on the left. I wonder if it’s time to replace that too?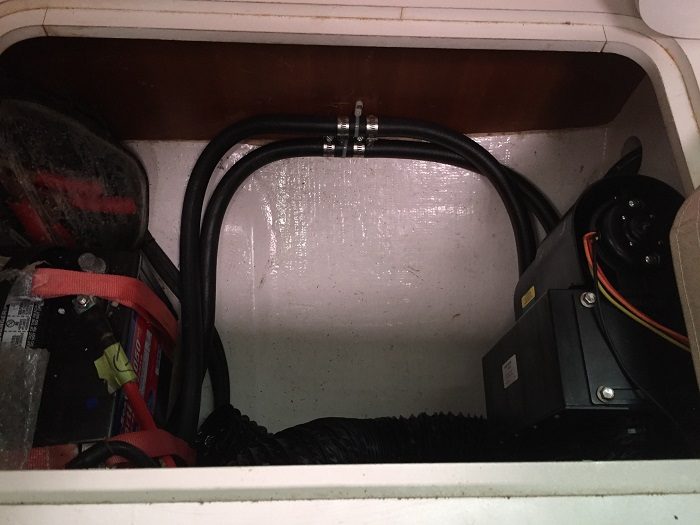 This is the switch to control the heater fan. There are three fan speeds and two vents. It’s located on the front of the settee in the main salon so it will offer easy access. I hope that it won’t be “easy breaking” as well. I am hopeful that the cushion, right above it, will keep it out of harm’s way. That’s also the vent, right below it. It can be opened and rotated to direct the, hopefully, hot air.
 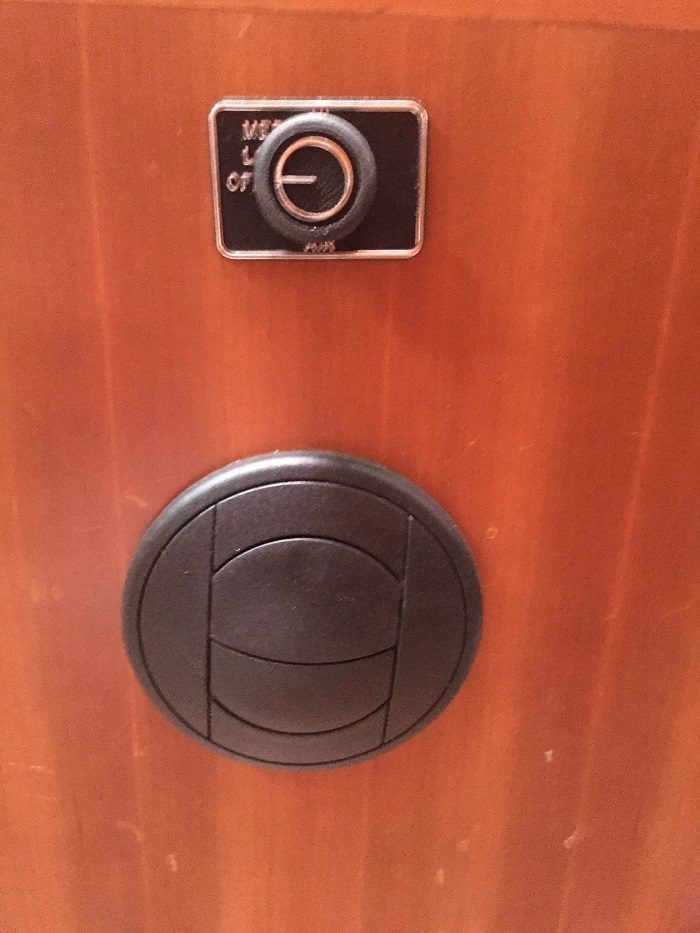 As I have mentioned in prior posts, a lot of the overhead panels were badly damaged from dripping water coming from badly bedded fittings on deck. The granny bars, near the mast were particularly bad offenders. Here’s quite a stack of panels that needed recovering, about a dozen.
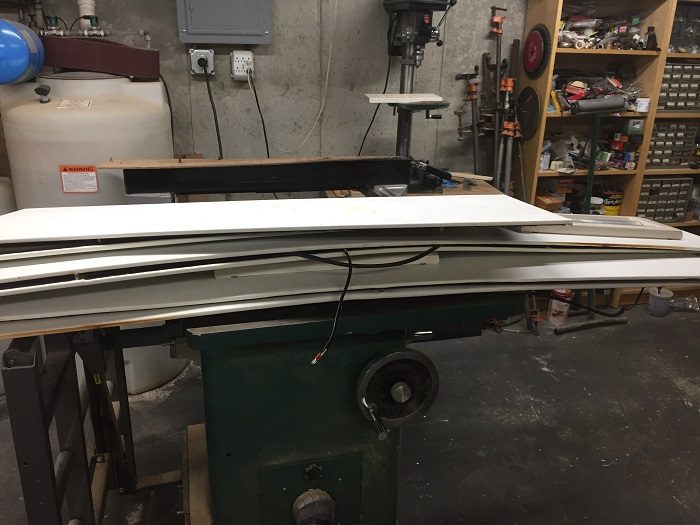 The vinyl on each panel was held in place by hundreds of staples, something like 500 per panel, many rusted beyond hope. I had to pry each one loose with a screwdriver and then pull it out with a pair of pliers. Talk about repetitive motion injury.
I ended up with some blisters after two days tedious prying and pulling. There were staples literally every half inch in the velcro and many more under that holding the vinyl. This was one of the better panels. 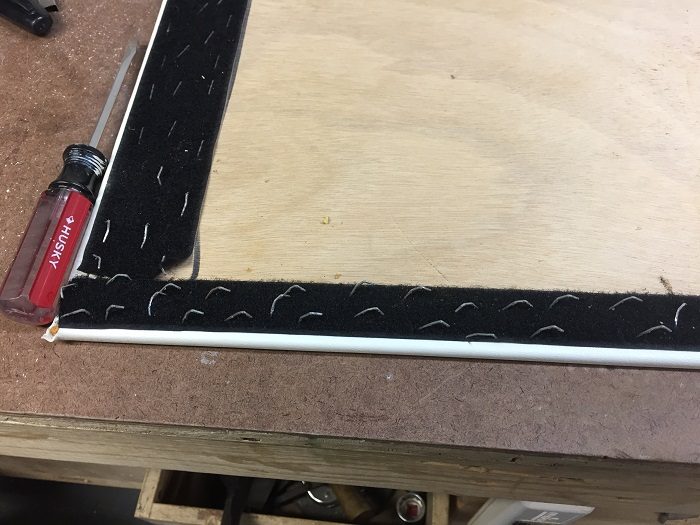 Others were so badly rusted that the velcro just pulled off. Of course, that left a mess of bent rusted staples behind. Many of the panels are scored to allow them to bend to follow the curves of the ceiling. In many cases, they were cracked so I had to reinforce them with even more staples, stainless steel now.
  All of the panels are cleaned up now and out for recovering. I was going to recover them myself at the canvas shop but Chad decided that he didn’t have room for me to spread out and is going to handle this himself. Oh boy, this process is going to get even more expensive. Let’s hope he can finish them fast, really fast.
After he’s done I’ll take them to Pandora and decide how to affix the new LED lighting fixtures. Oh yeah, I had to remove all of the puck lights from the panels. Not a great move so now I get to add even more new lighting to the list of purchases. I hope it’s not too obvious that the new ones don’t match the others. I am hoping that if I put the new fixtures in the forward cabin that will minimize the difference.
The main reason that these panels were damaged was because of leaking from deck fittings, the traveler and granny bars, as I have mentioned previously. I was fearful that the traveler would prove to be a challenge to remove and fortunately, it came off fairly easily. It was alarming to see what it looked like when I was in the thick of it. 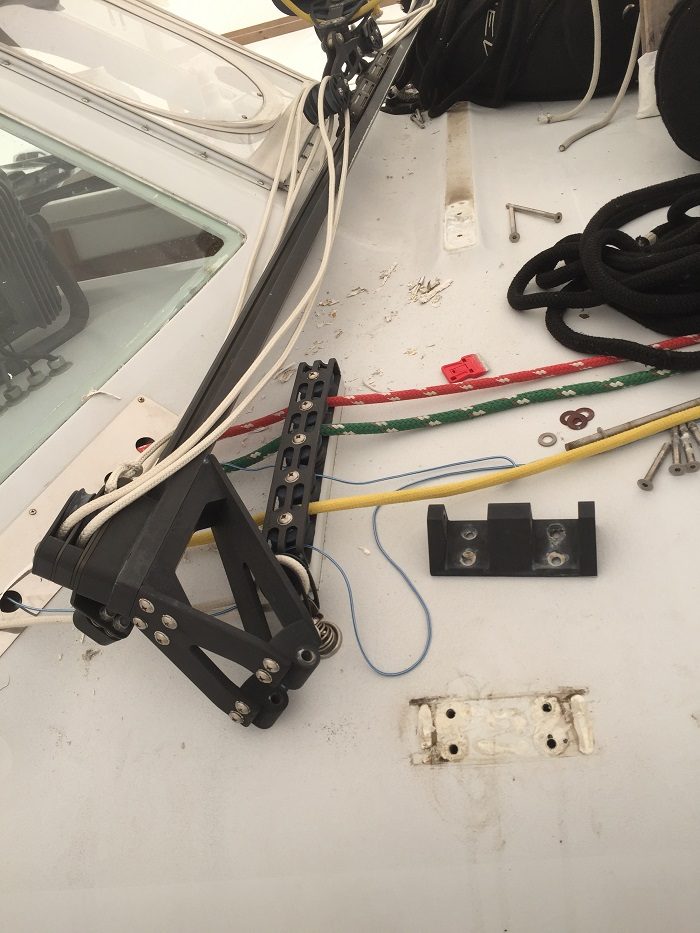 I was also surprised with how little bedding compound there was under each fitting. Also, the traveler is held on by a dozen fastenings. That nasty leak over the galley should be gone, for now anyway.
All better now. 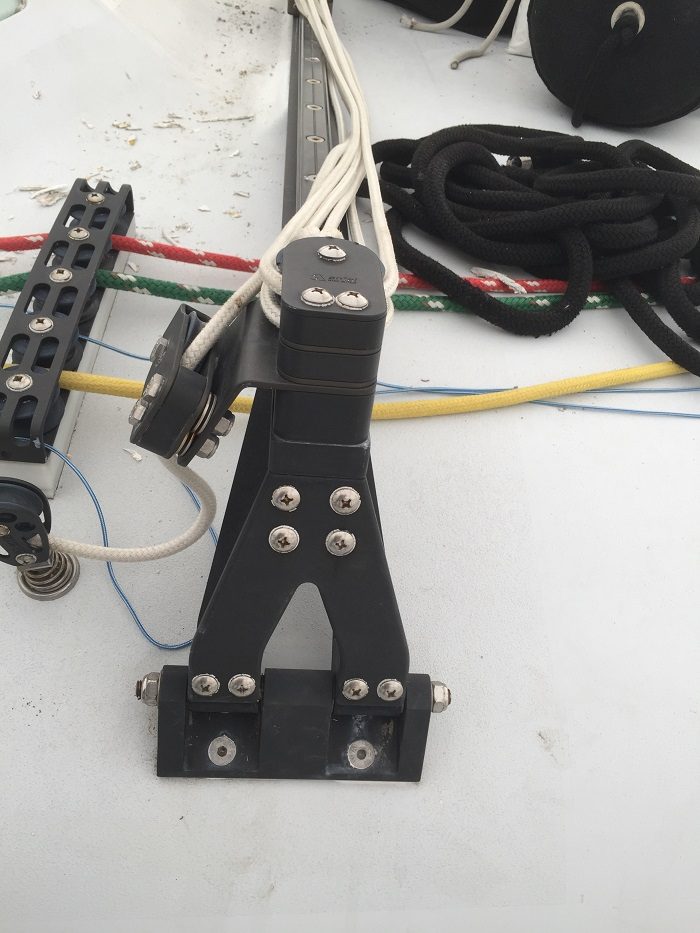 The list is still long and winding but at least I am moving forward instead of two steps back.
Oh yeah, remember that mast step problem? The corroded bolt heads? Oh, how I wish I had never started that project and left well enough alone. I really don’t think that the corrosion was particularly problematic and now I am weeks into messing with them and still can’t get them out. Yesterday I tried using a much larger $18 extra hard drill bit to just remove the head of the bolt. No luck, the bit bound in the hole that I had already drilled broke off after less than a minute. I’ll bet that I have trashed nearly $100 in bits so far.
Next step, a grinder or some other type of cutter. Details to come, I guess. This is a great example of where hiring it out might have actually saved money. It would surely have saved anxiety.
I think that I now know that they may be fastened from the underside of the mast step with nuts and washers. Unfortunately, to get at that would mean pulling up the floor in the forward cabin, a big job to say the least. I had hoped that they were lag bolts.
Now, I’ll need to determine next steps and purchased a nifty video scope that will allow me to look through a small hole and see what it looks like on the underside of the step. I fear that I will find bolts and washers, not doubt, nasty and corroded. If so, how to get them out?
I purchased this nifty video scope on Amazon from one of the Chinese sellers for a remarkable $35.99 and free shipping. The instructions were obviously written by someone who’s first language wasn’t English. I expect that they just loaded the Chinese instructions into Google Translate, Chinese in, garbage out.
Fortunately, the iPhone app worked immediately. I couldn’t believe it was that easy.
The instructions, such as they are, included this enlightening segment…
“Note 1: if not necessary, we do not advise our customers to change the original WiFi SSID and WiFi password for stabler using experience. if you forgot the modified password, pls use a clip to press the resent hole and restart the endoscope and re-join its WiFi. When connected well, the blue wifi signal LED will flick, if not, it means it failed in connection, please charge wifi box through DC5v 2A portable battery or computer USB, or the box battery will be burned.”
Burned! Yikes! That did not sound promising at all.
Alas, it worked so the instructions, such as they are, weren’t needed. And, no battery burning at all or should I say, so far.
But wait, there’s more. It even illuminates what you are trying to look at with a very bright but dim-able LED. Note: I did not come complete with a gold fishy. I guess that means it’s waterproof too.
Believe me, you need one of these too. 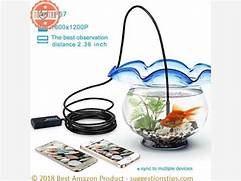 And it even came with some nifty attachments, including one that looks around corners. Wouldn’t it be fun to drill into an adjacent hotel room wall with this?
 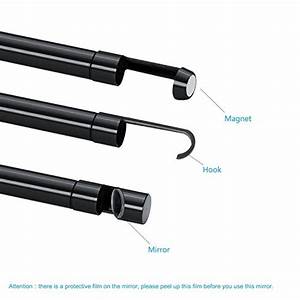 So, this afternoon I will “scope” out the mast step situation and see what I have to do to get those bolts out. Wish me luck.
Well, there’s still plenty to do and it’s nice to see at least a glimmer of light as I begin to put it all back to together.
I sure hope that isn’t the headlight of a train racing toward me. No, I’m hoping that it’s just the light on the end of my new nifty scope.
One response to “Finally, putting it back together.”