It’s been very busy lately as we finish up on getting ready to move to CT. Fortunately, I have been able to squeeze a few visits to Pandora in along with everything else.
Happily, the watermaker is finished with the electrical connections all that is left prior to testing the system to be sure that it works. For those that were concerned about my covering up the documentation numbers, fear not, I put them in below the old ones. Not to worry.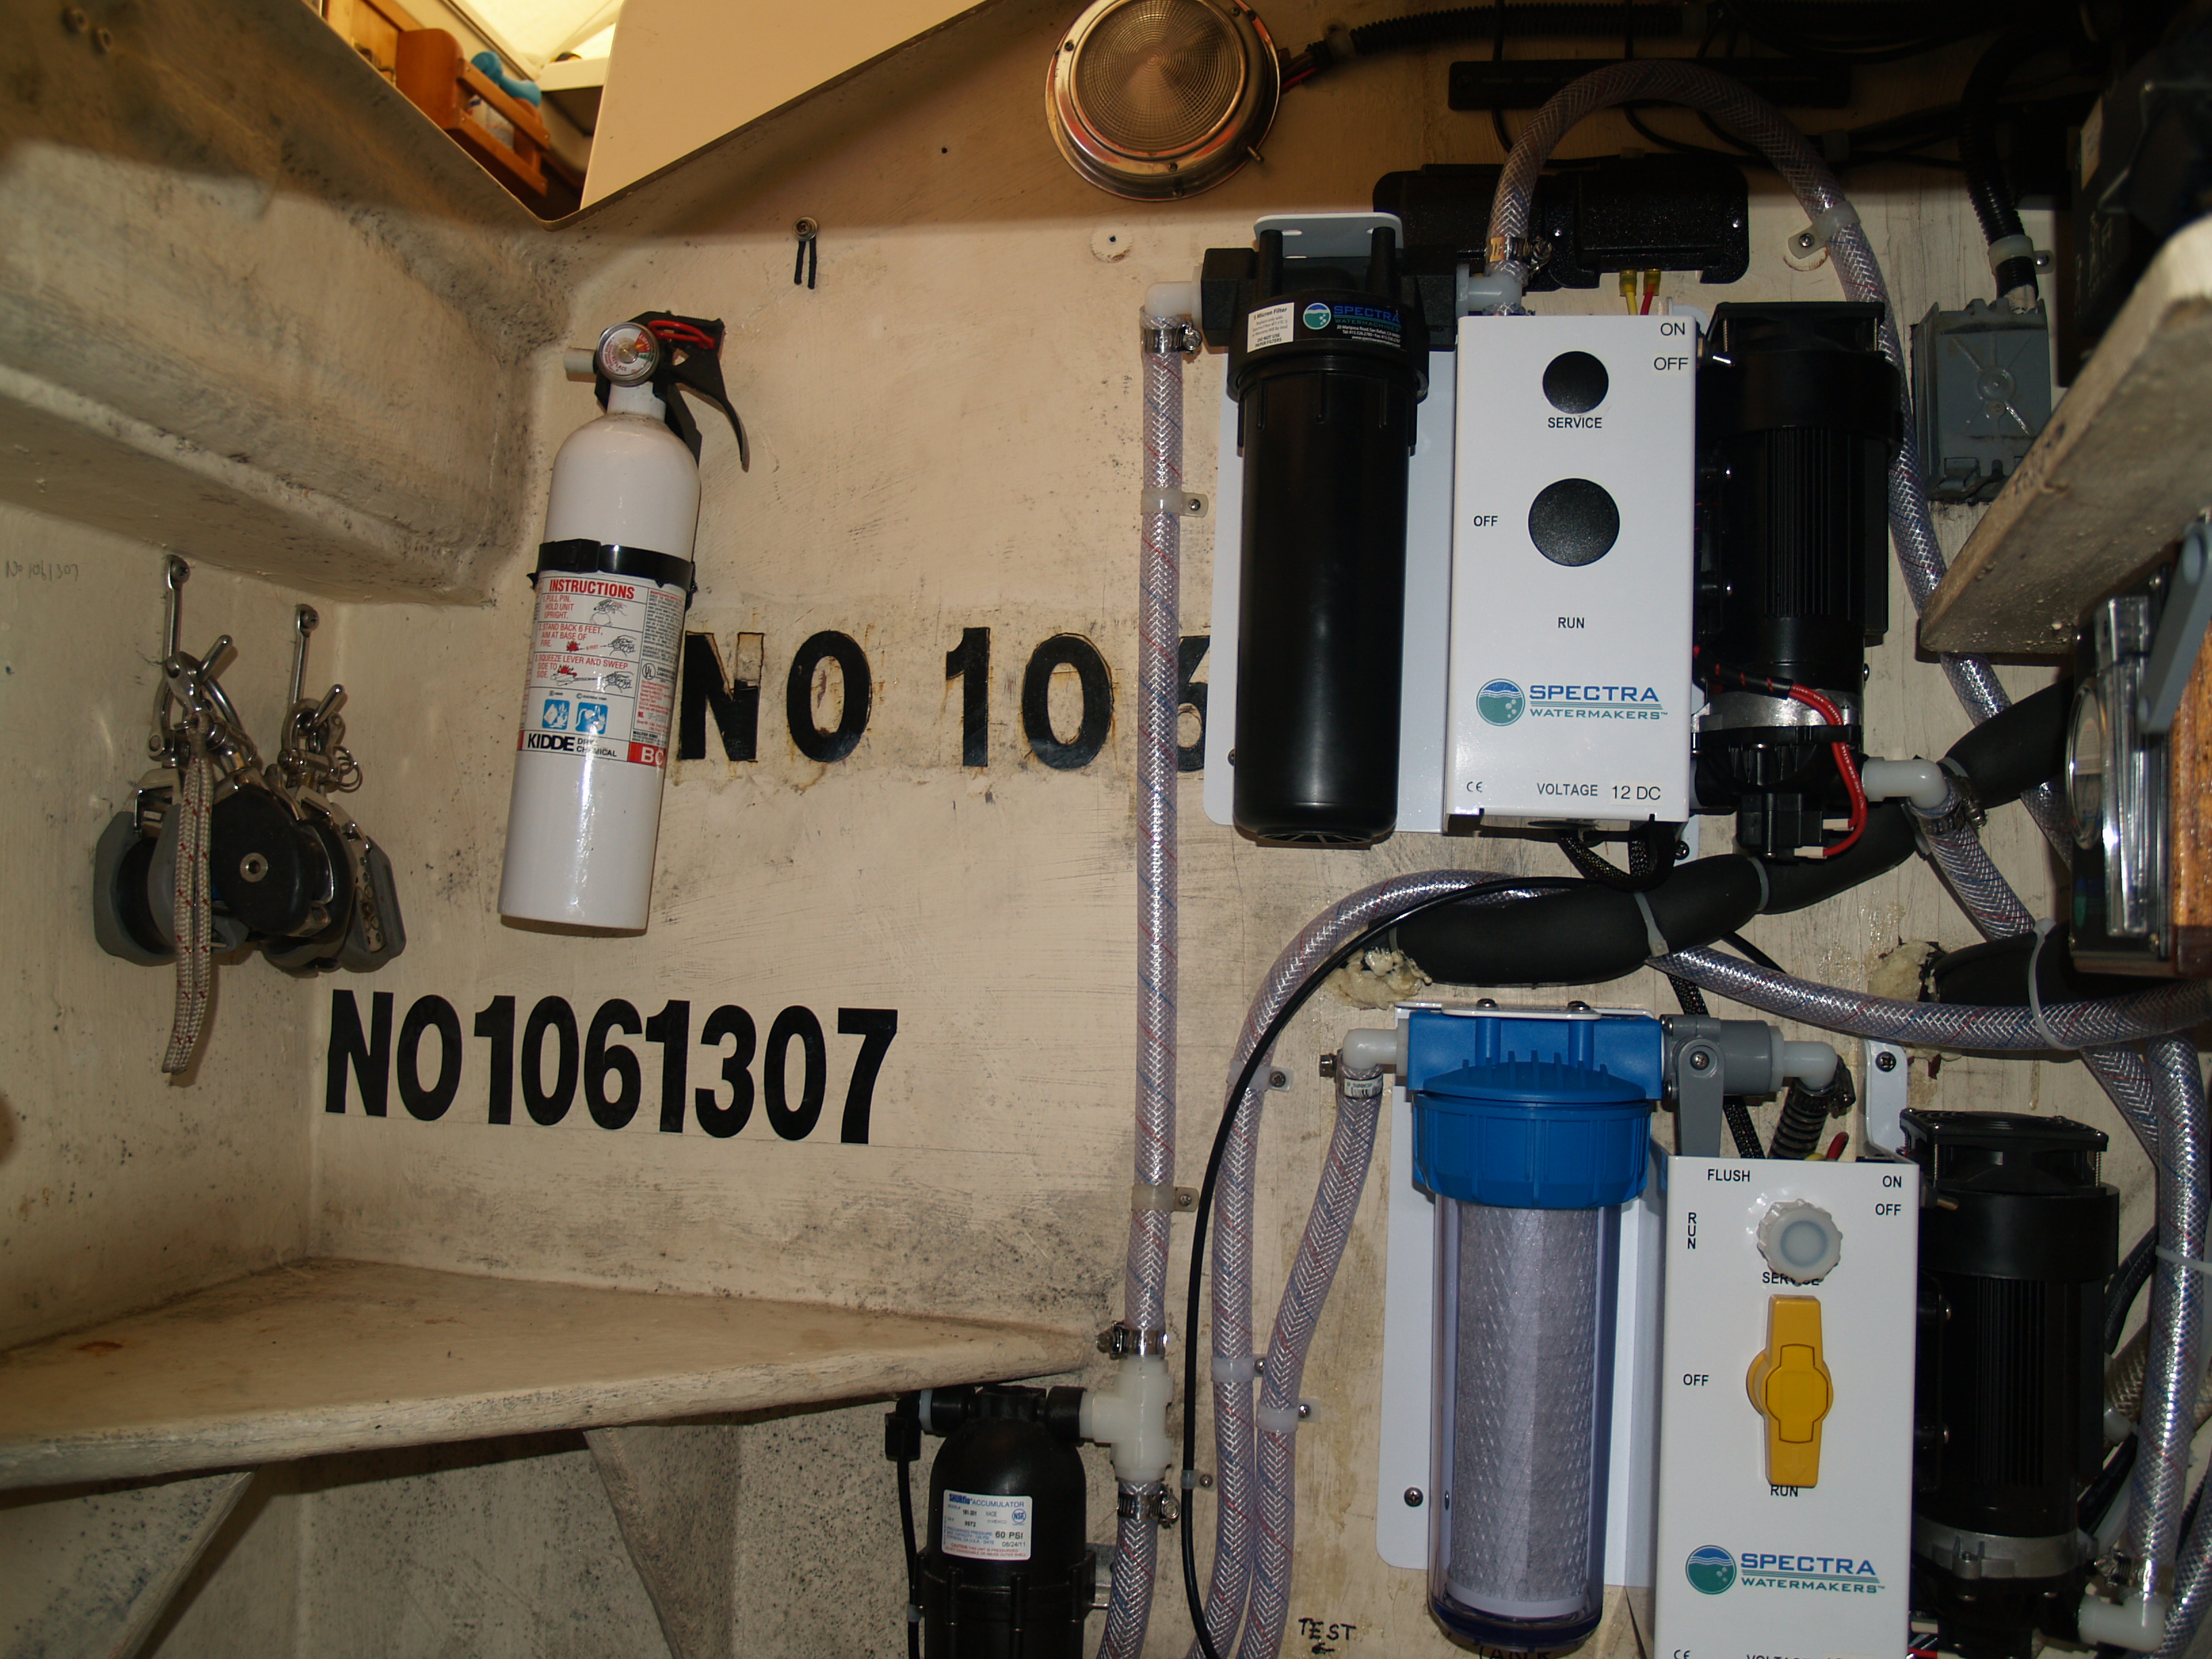 Because there are two water tanks aboard Pandora, I had to set up a diverter valve to allow me to switch to the port or starboard tank. Note the great sign above the valve. Only the best sineage for Pandora.
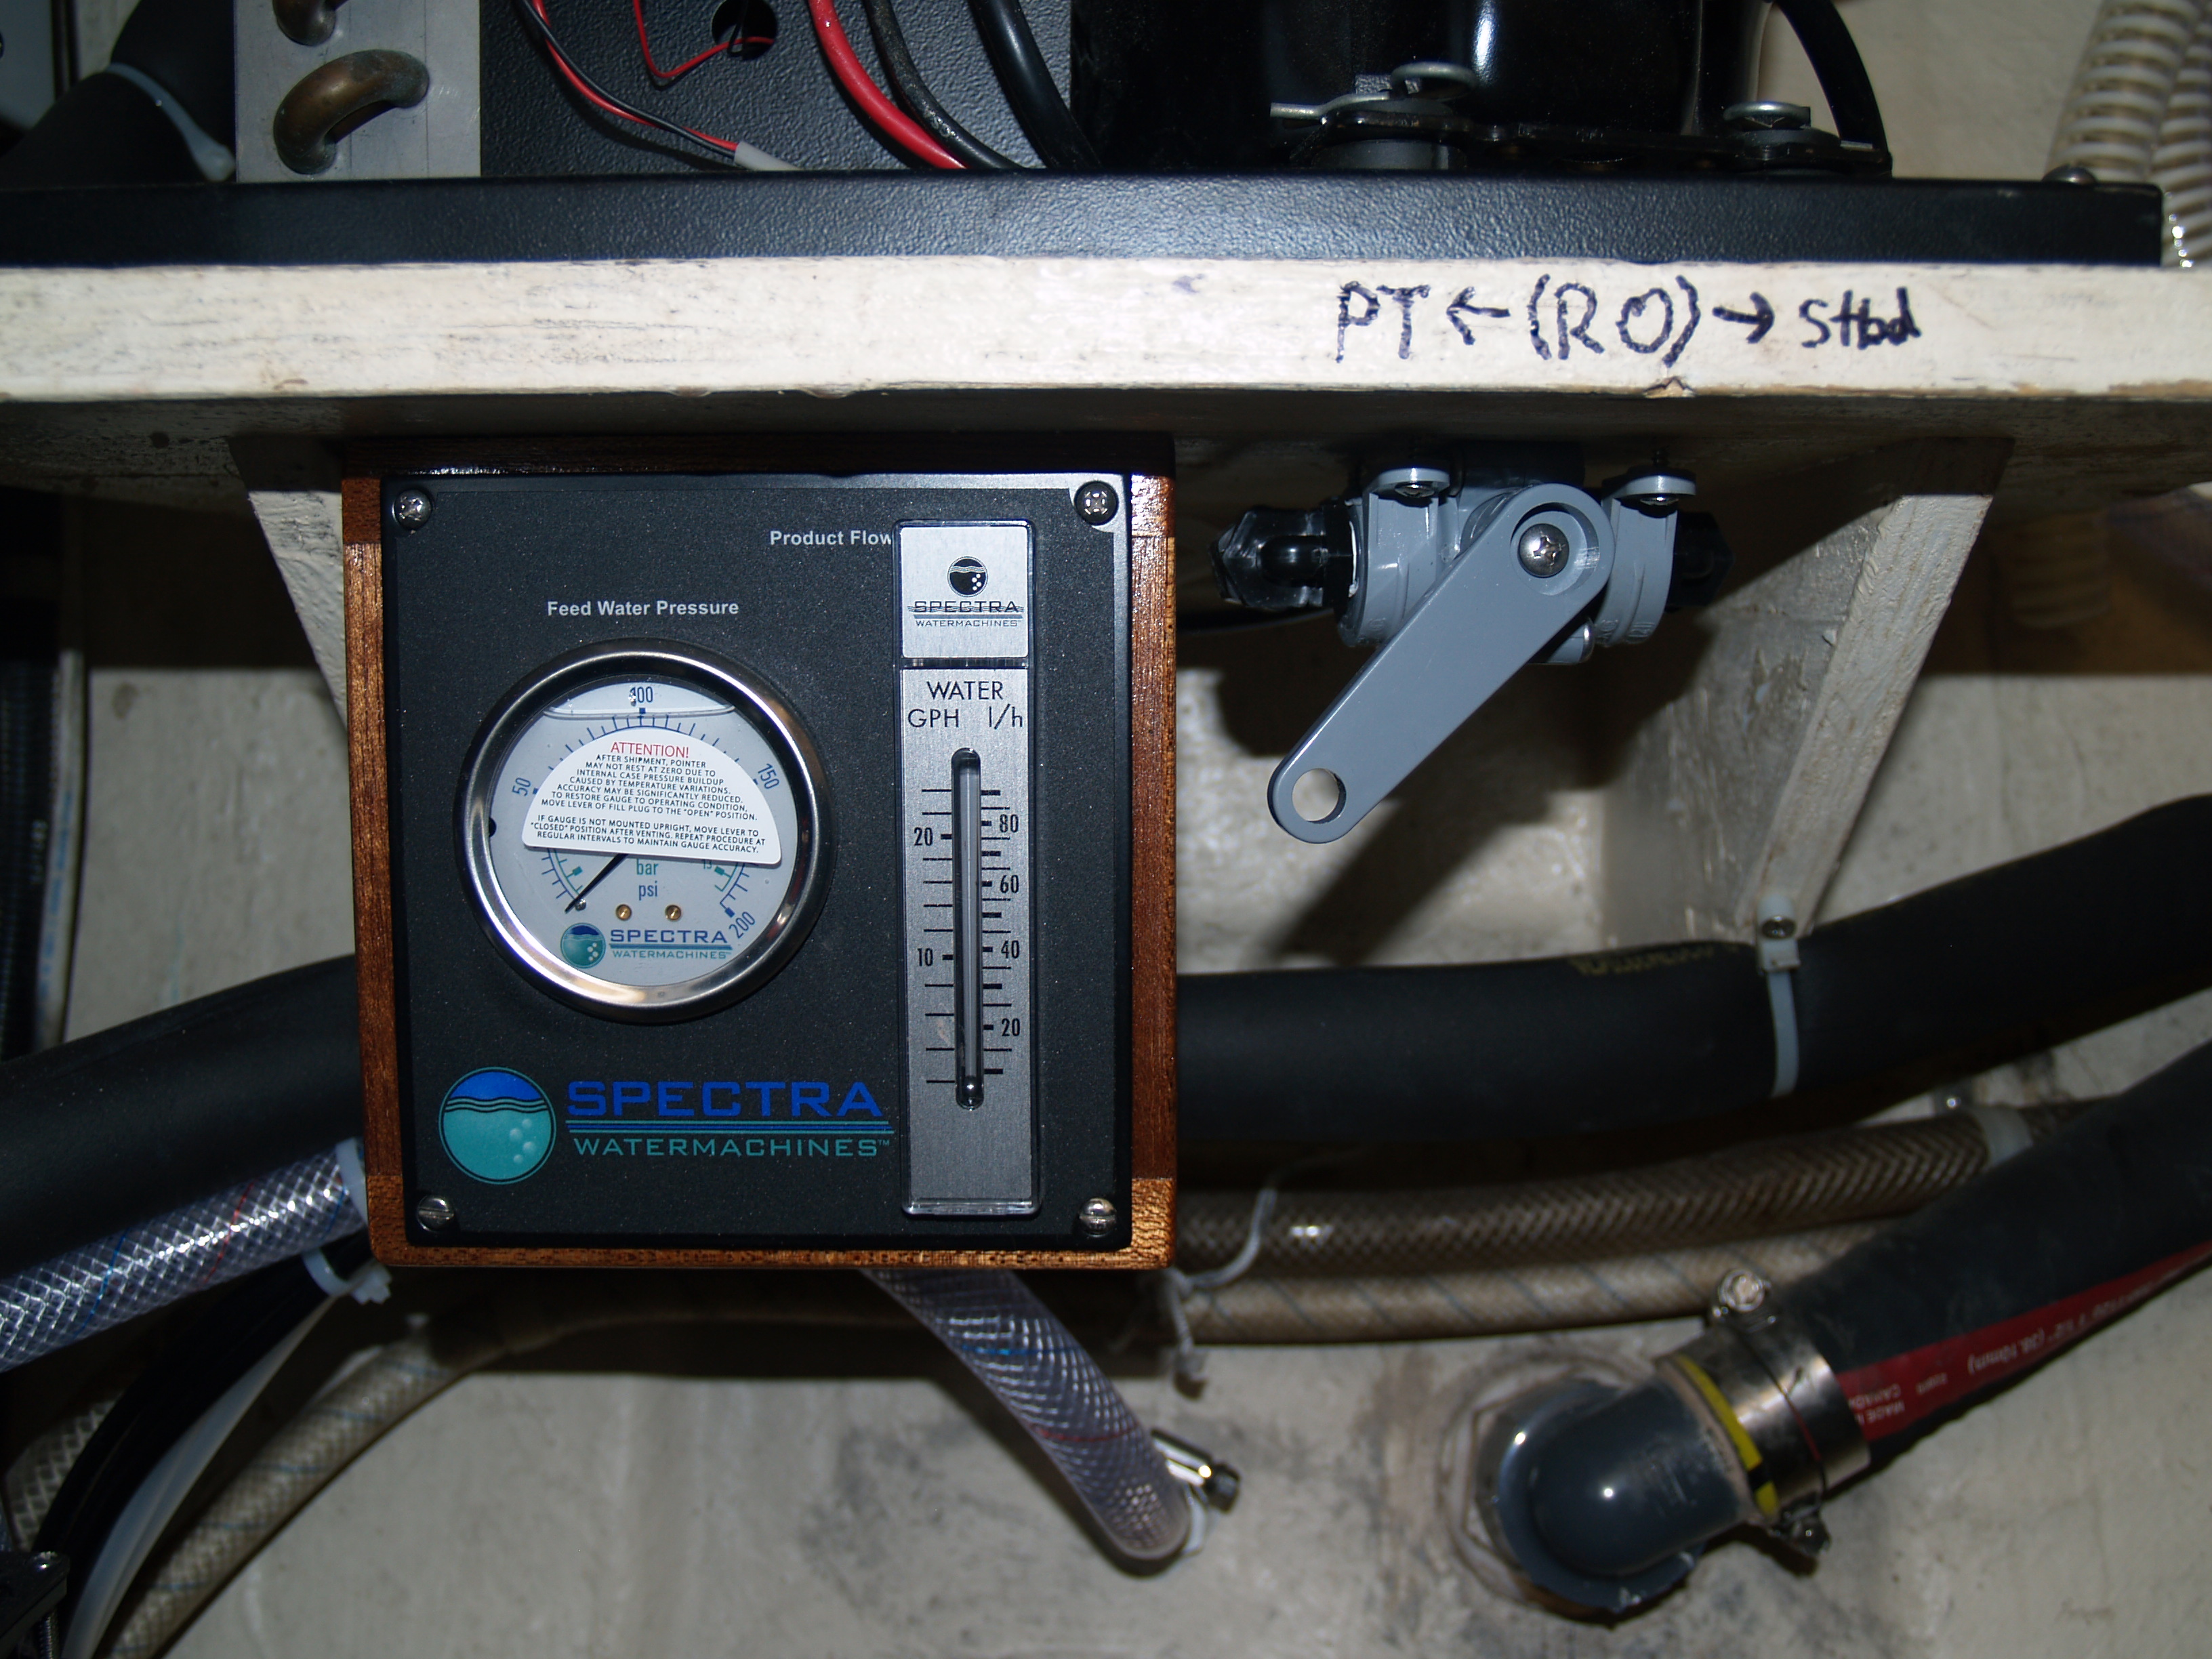 The gauge to the left is the system pressure and to the right is a flow meter on product water going into the tanks.
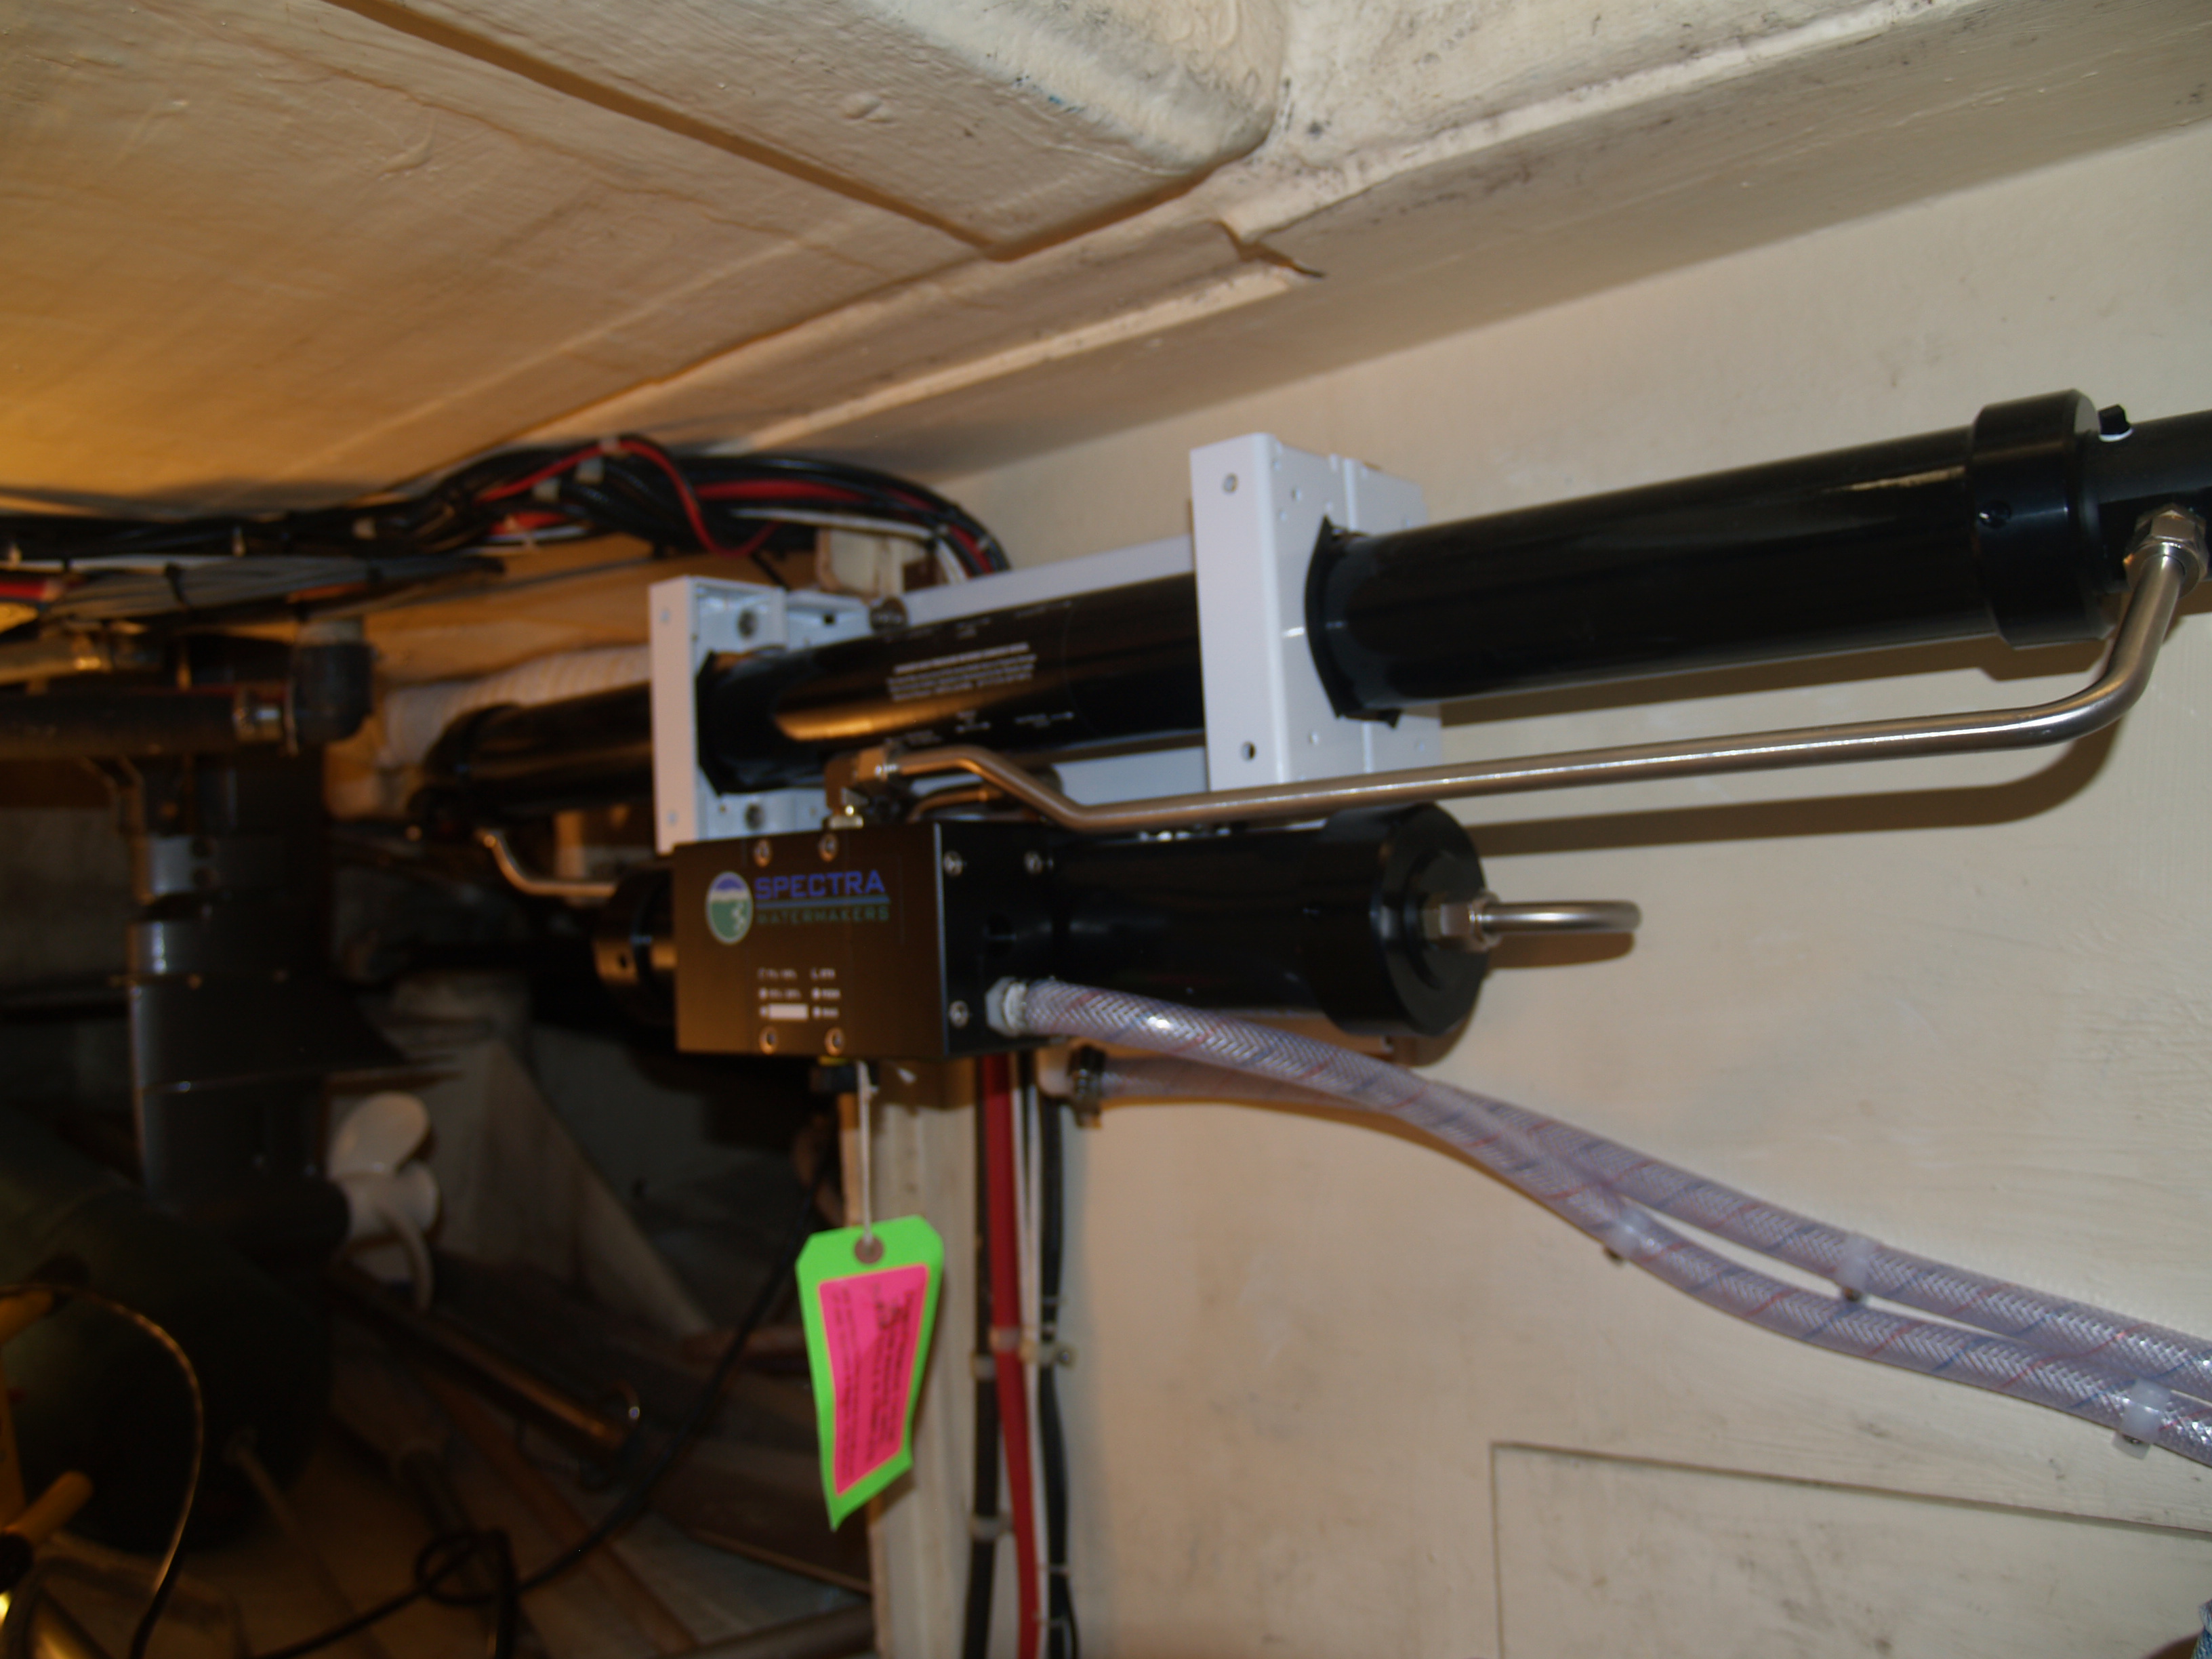
 I was pleased with the nicely ordered and run hoses and the placement of the components. Can you say anal? Anal’s good on a boat. This is the actual membrane and pump that separate the salt from the product water. This system works under very high pressure.
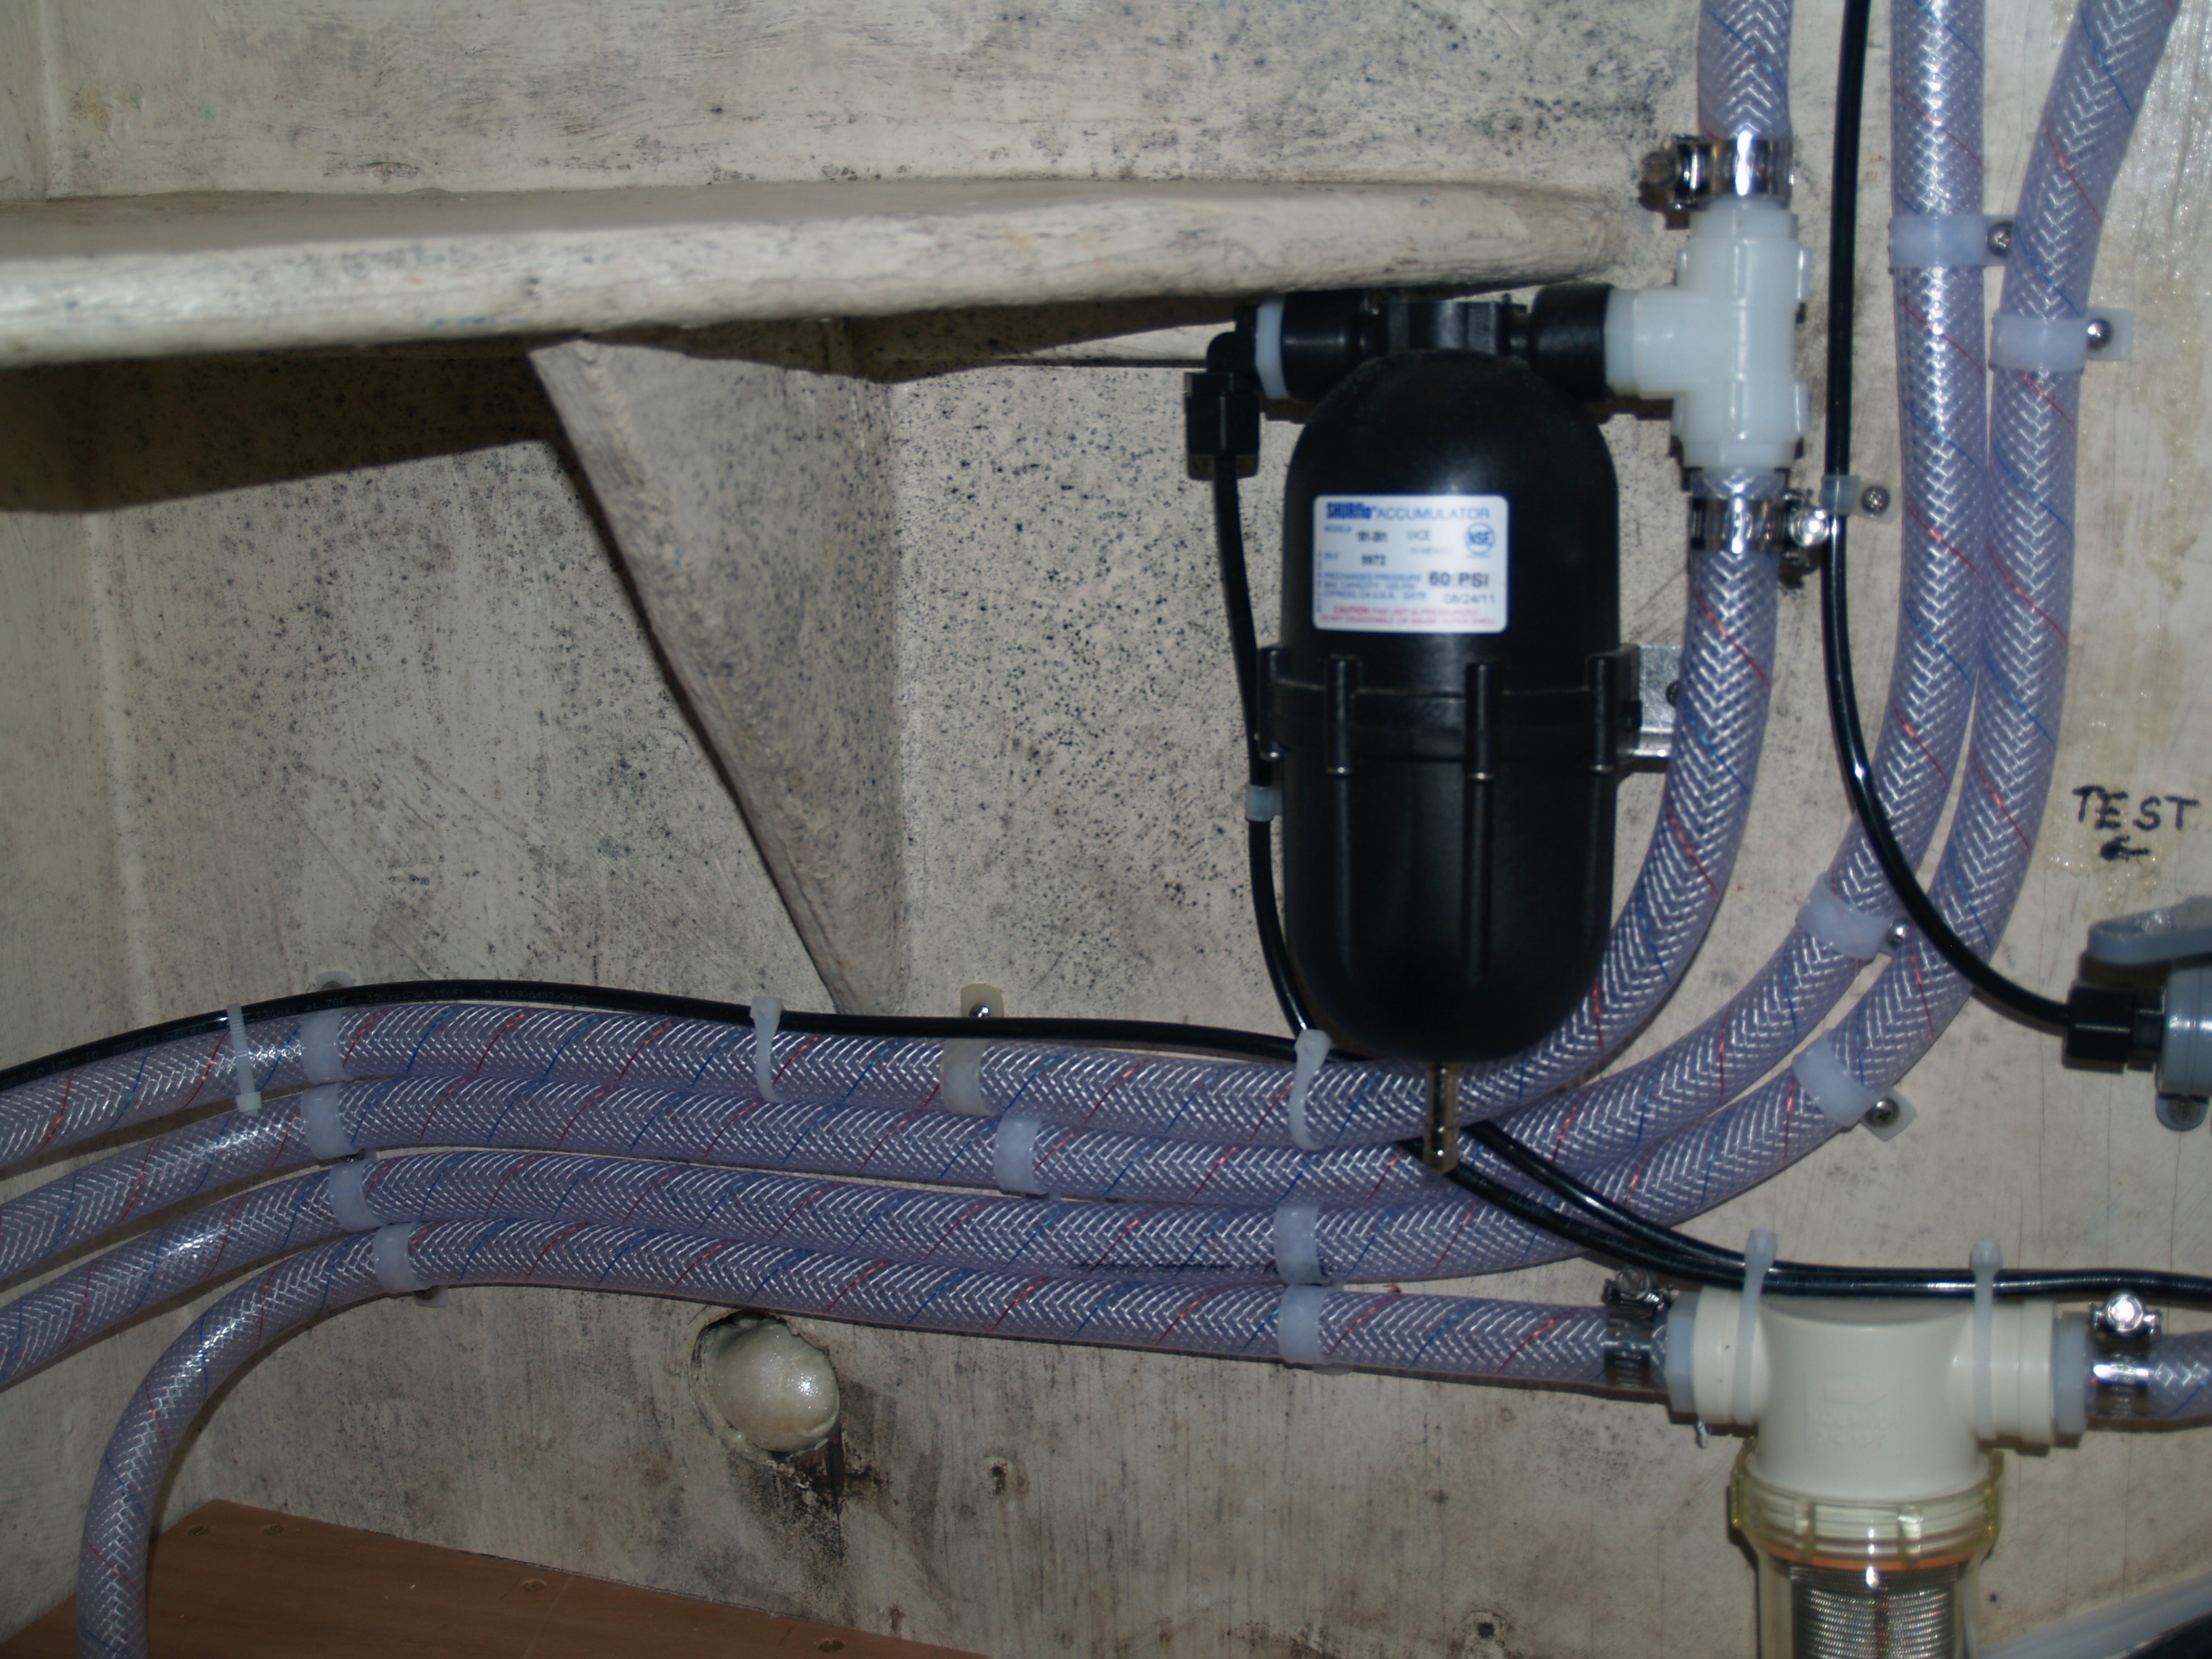
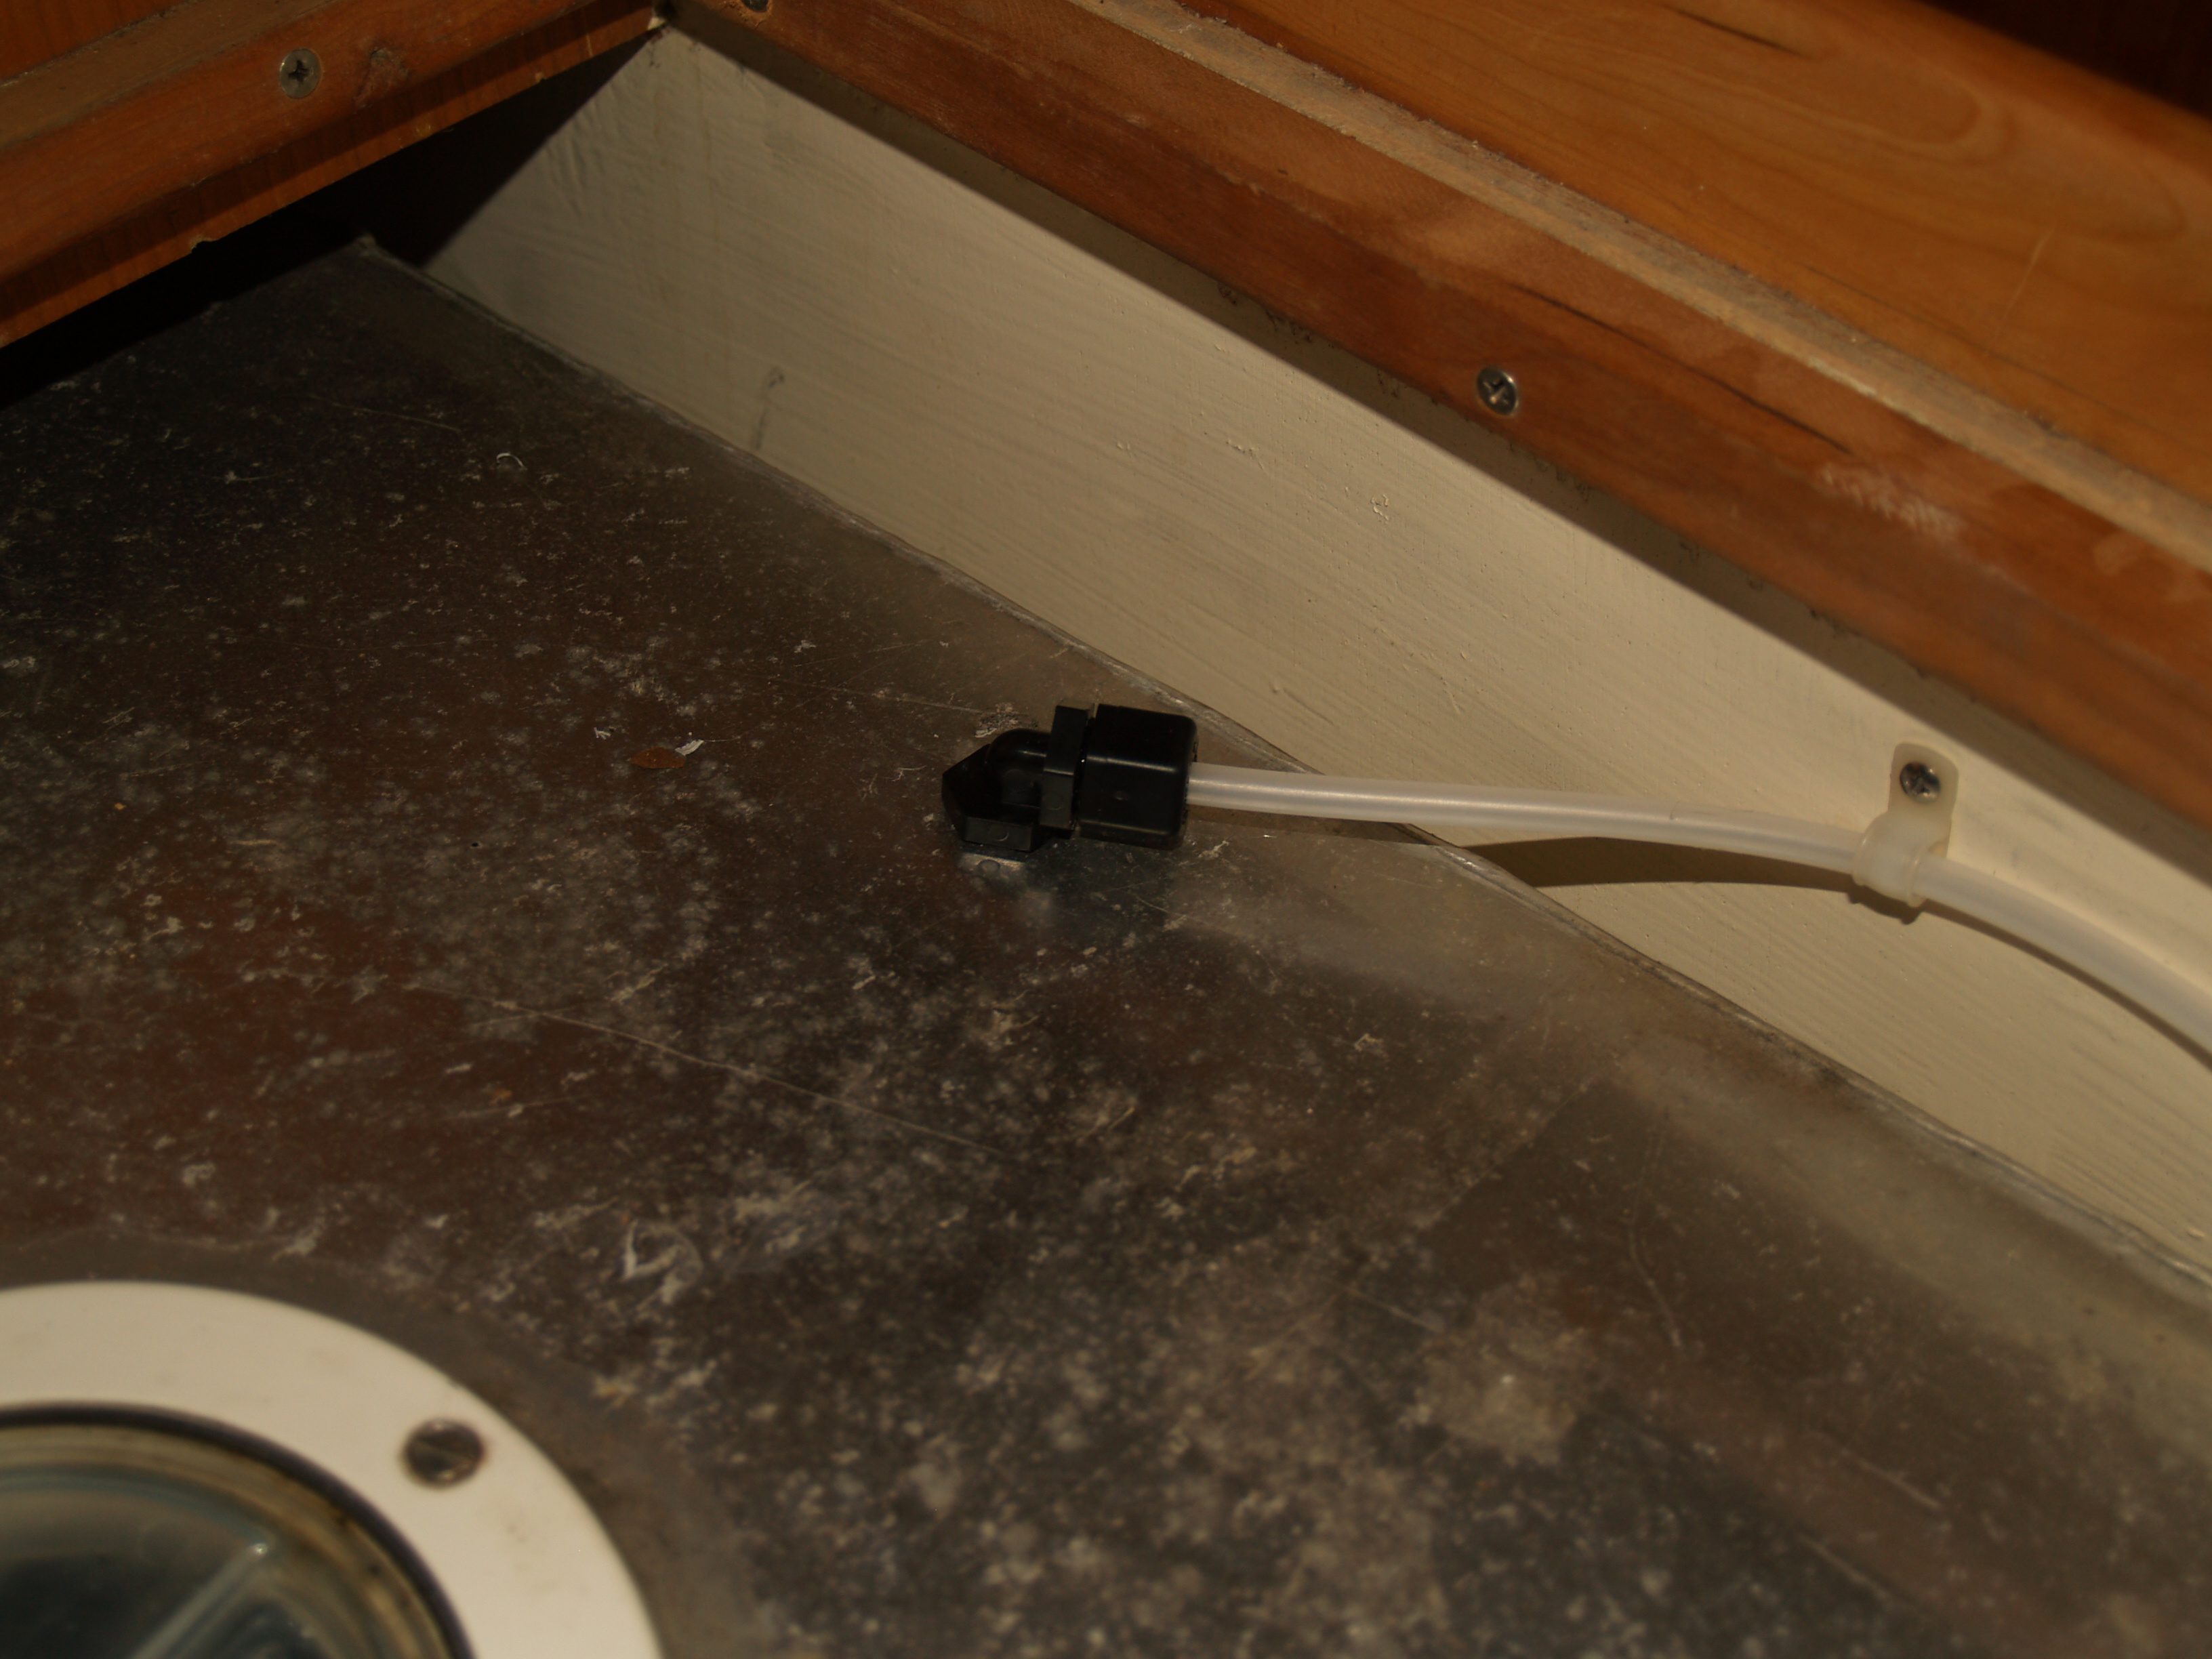
Don’t say it. Don’t! You are thinking that it is a bit much to take pictures of EVERY LITTLE THING that I do. Well, now that that’s out in the open, this is the neat fitting that routes water into the water tank. As you can imagine, it took much more work to open up access to the water tanks and run the hoses than it did to drill and put the fitting in place.
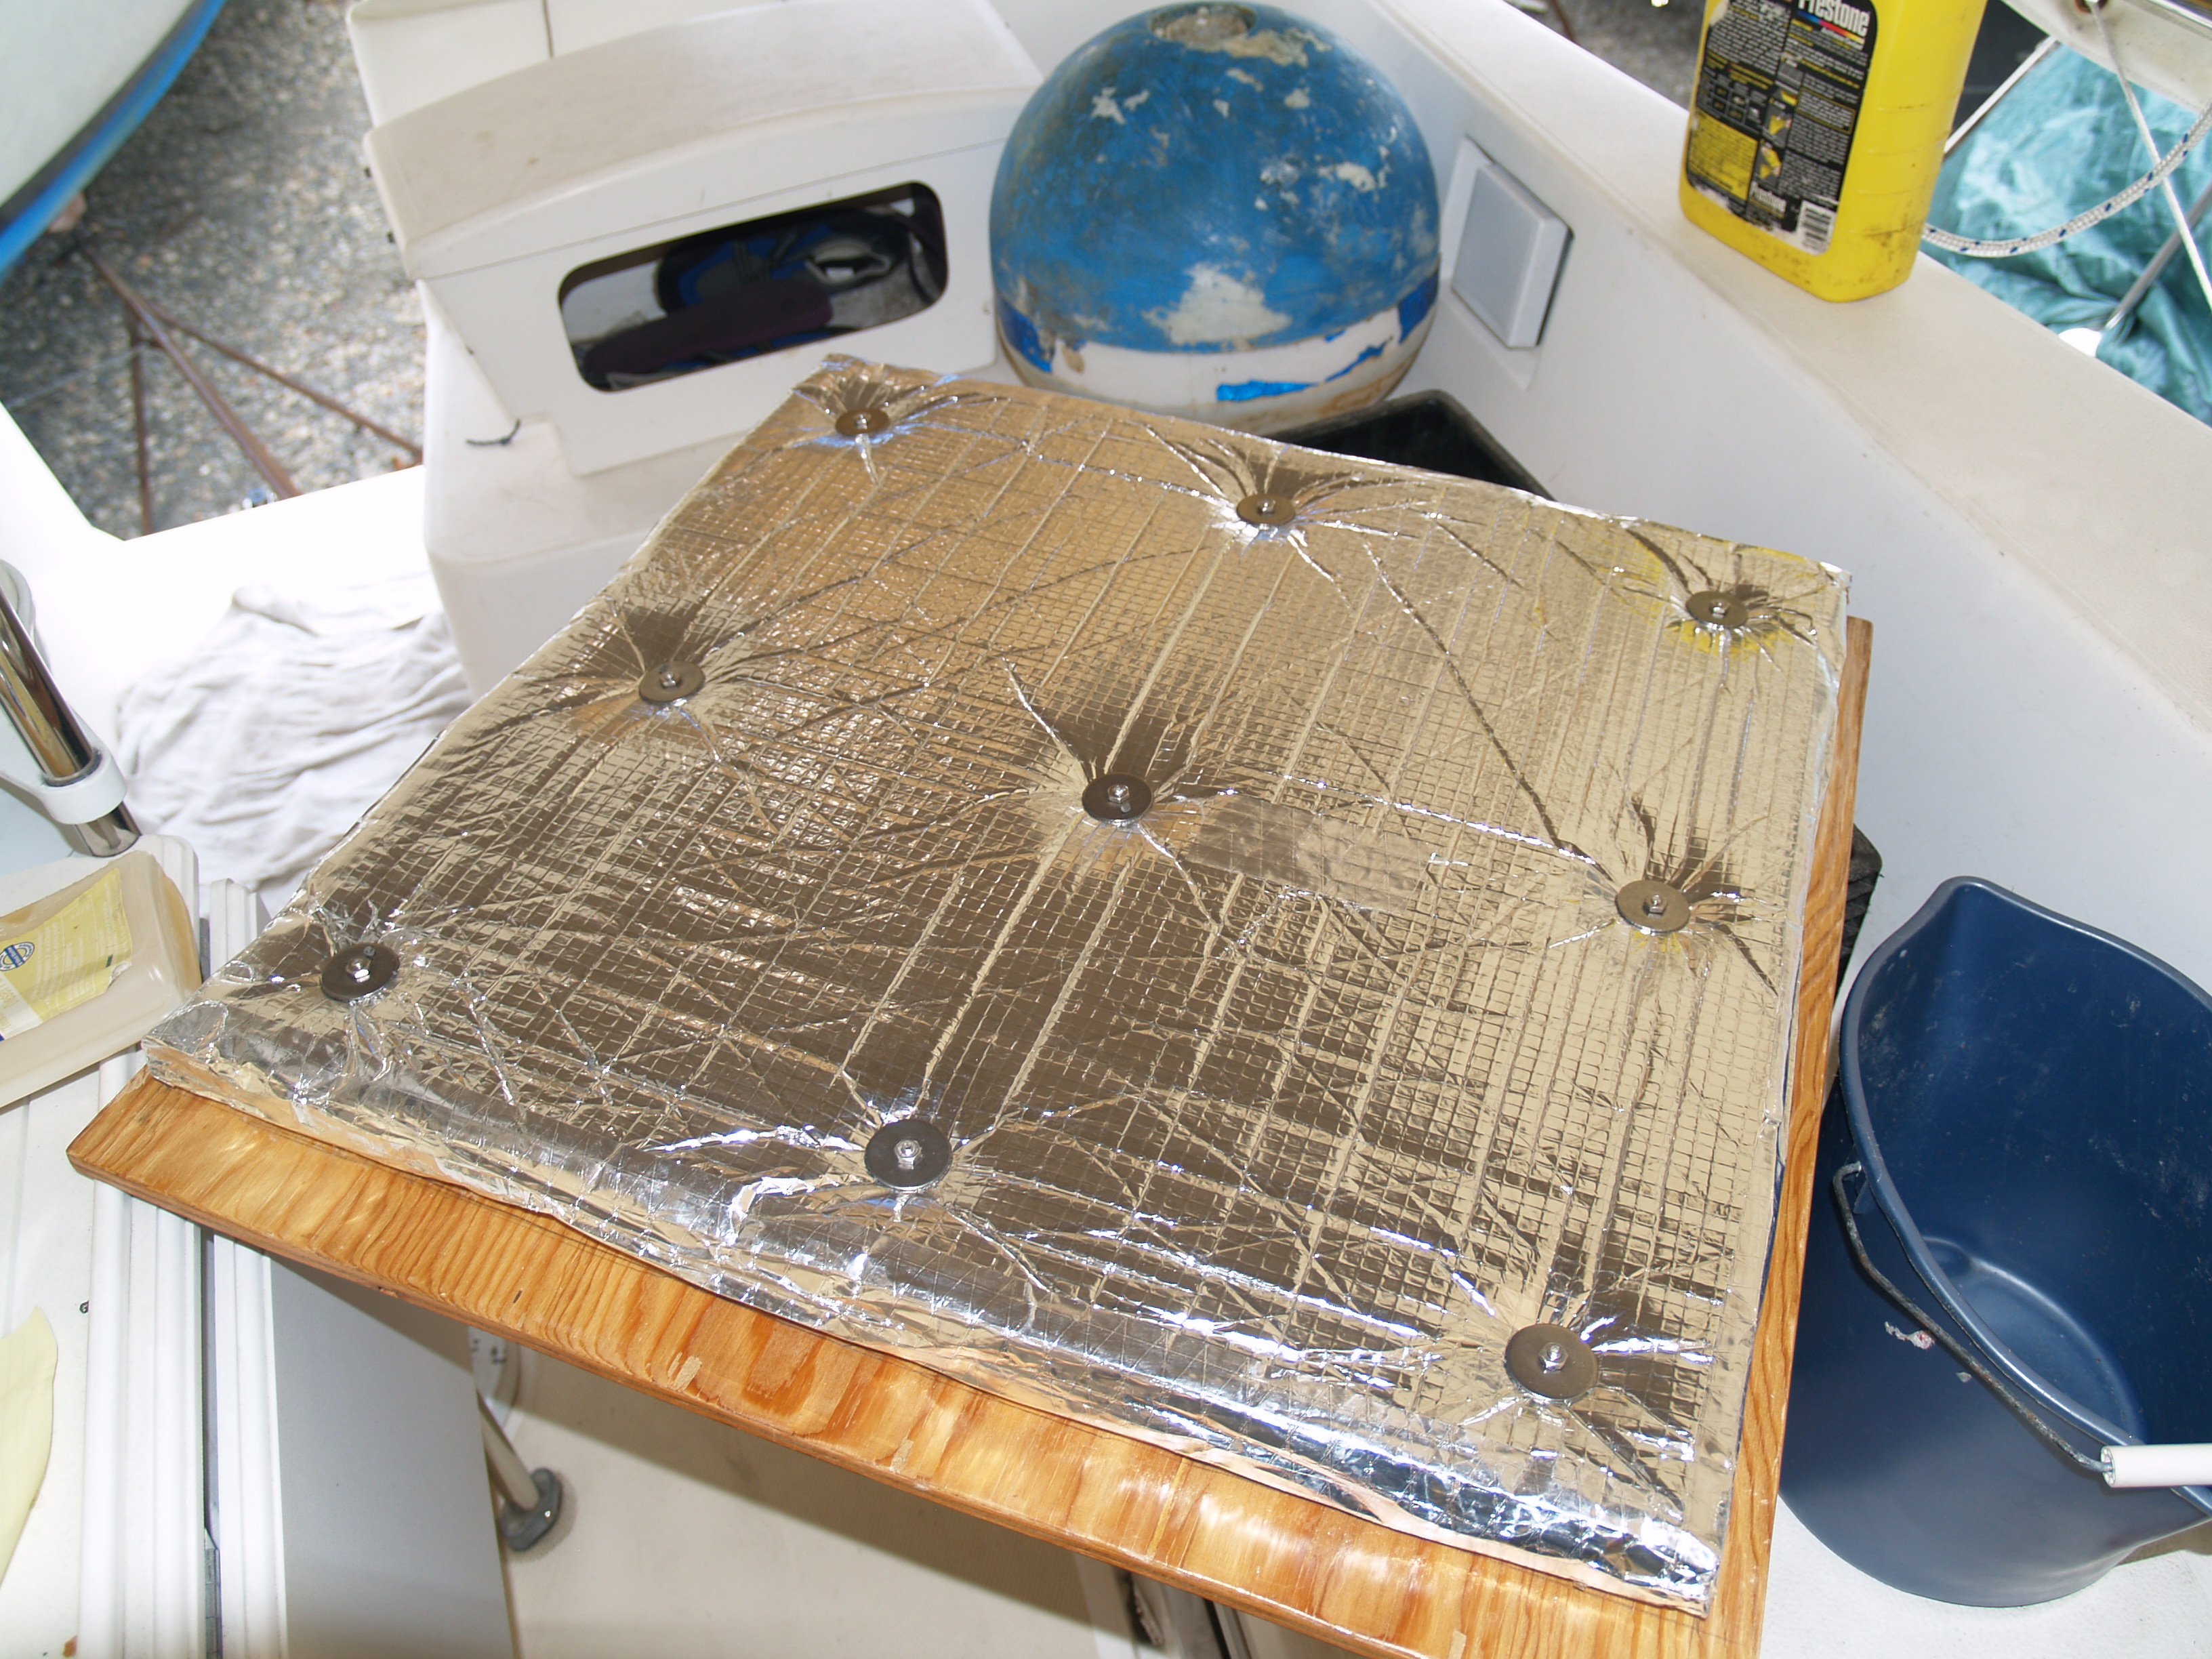
 But wait, there’s more. I also had some old sound insulation hanging around home that was left over from a job on my last boat. Doesn’t everyone have double layered foam with a mylar fiber reinforced scrim and dense plastic sandwiched laminate lying around? I did. As luck would have it, there was just enough to insulate the cover panels to the engine compartment. As alluded to above, the insulation is 1.5″ thick with a reinforced mylar film on the surface as well as a dense plastic layer between two 1″ foam layers. This combination does a great job of cutting down the sound. I attached it to thee engine compartment covers with contact cement and 10/20 machine screws and fender washers. They fit very well and will make a big difference. I have been meaning to do this upgrade for a number of years. Pretty slick.
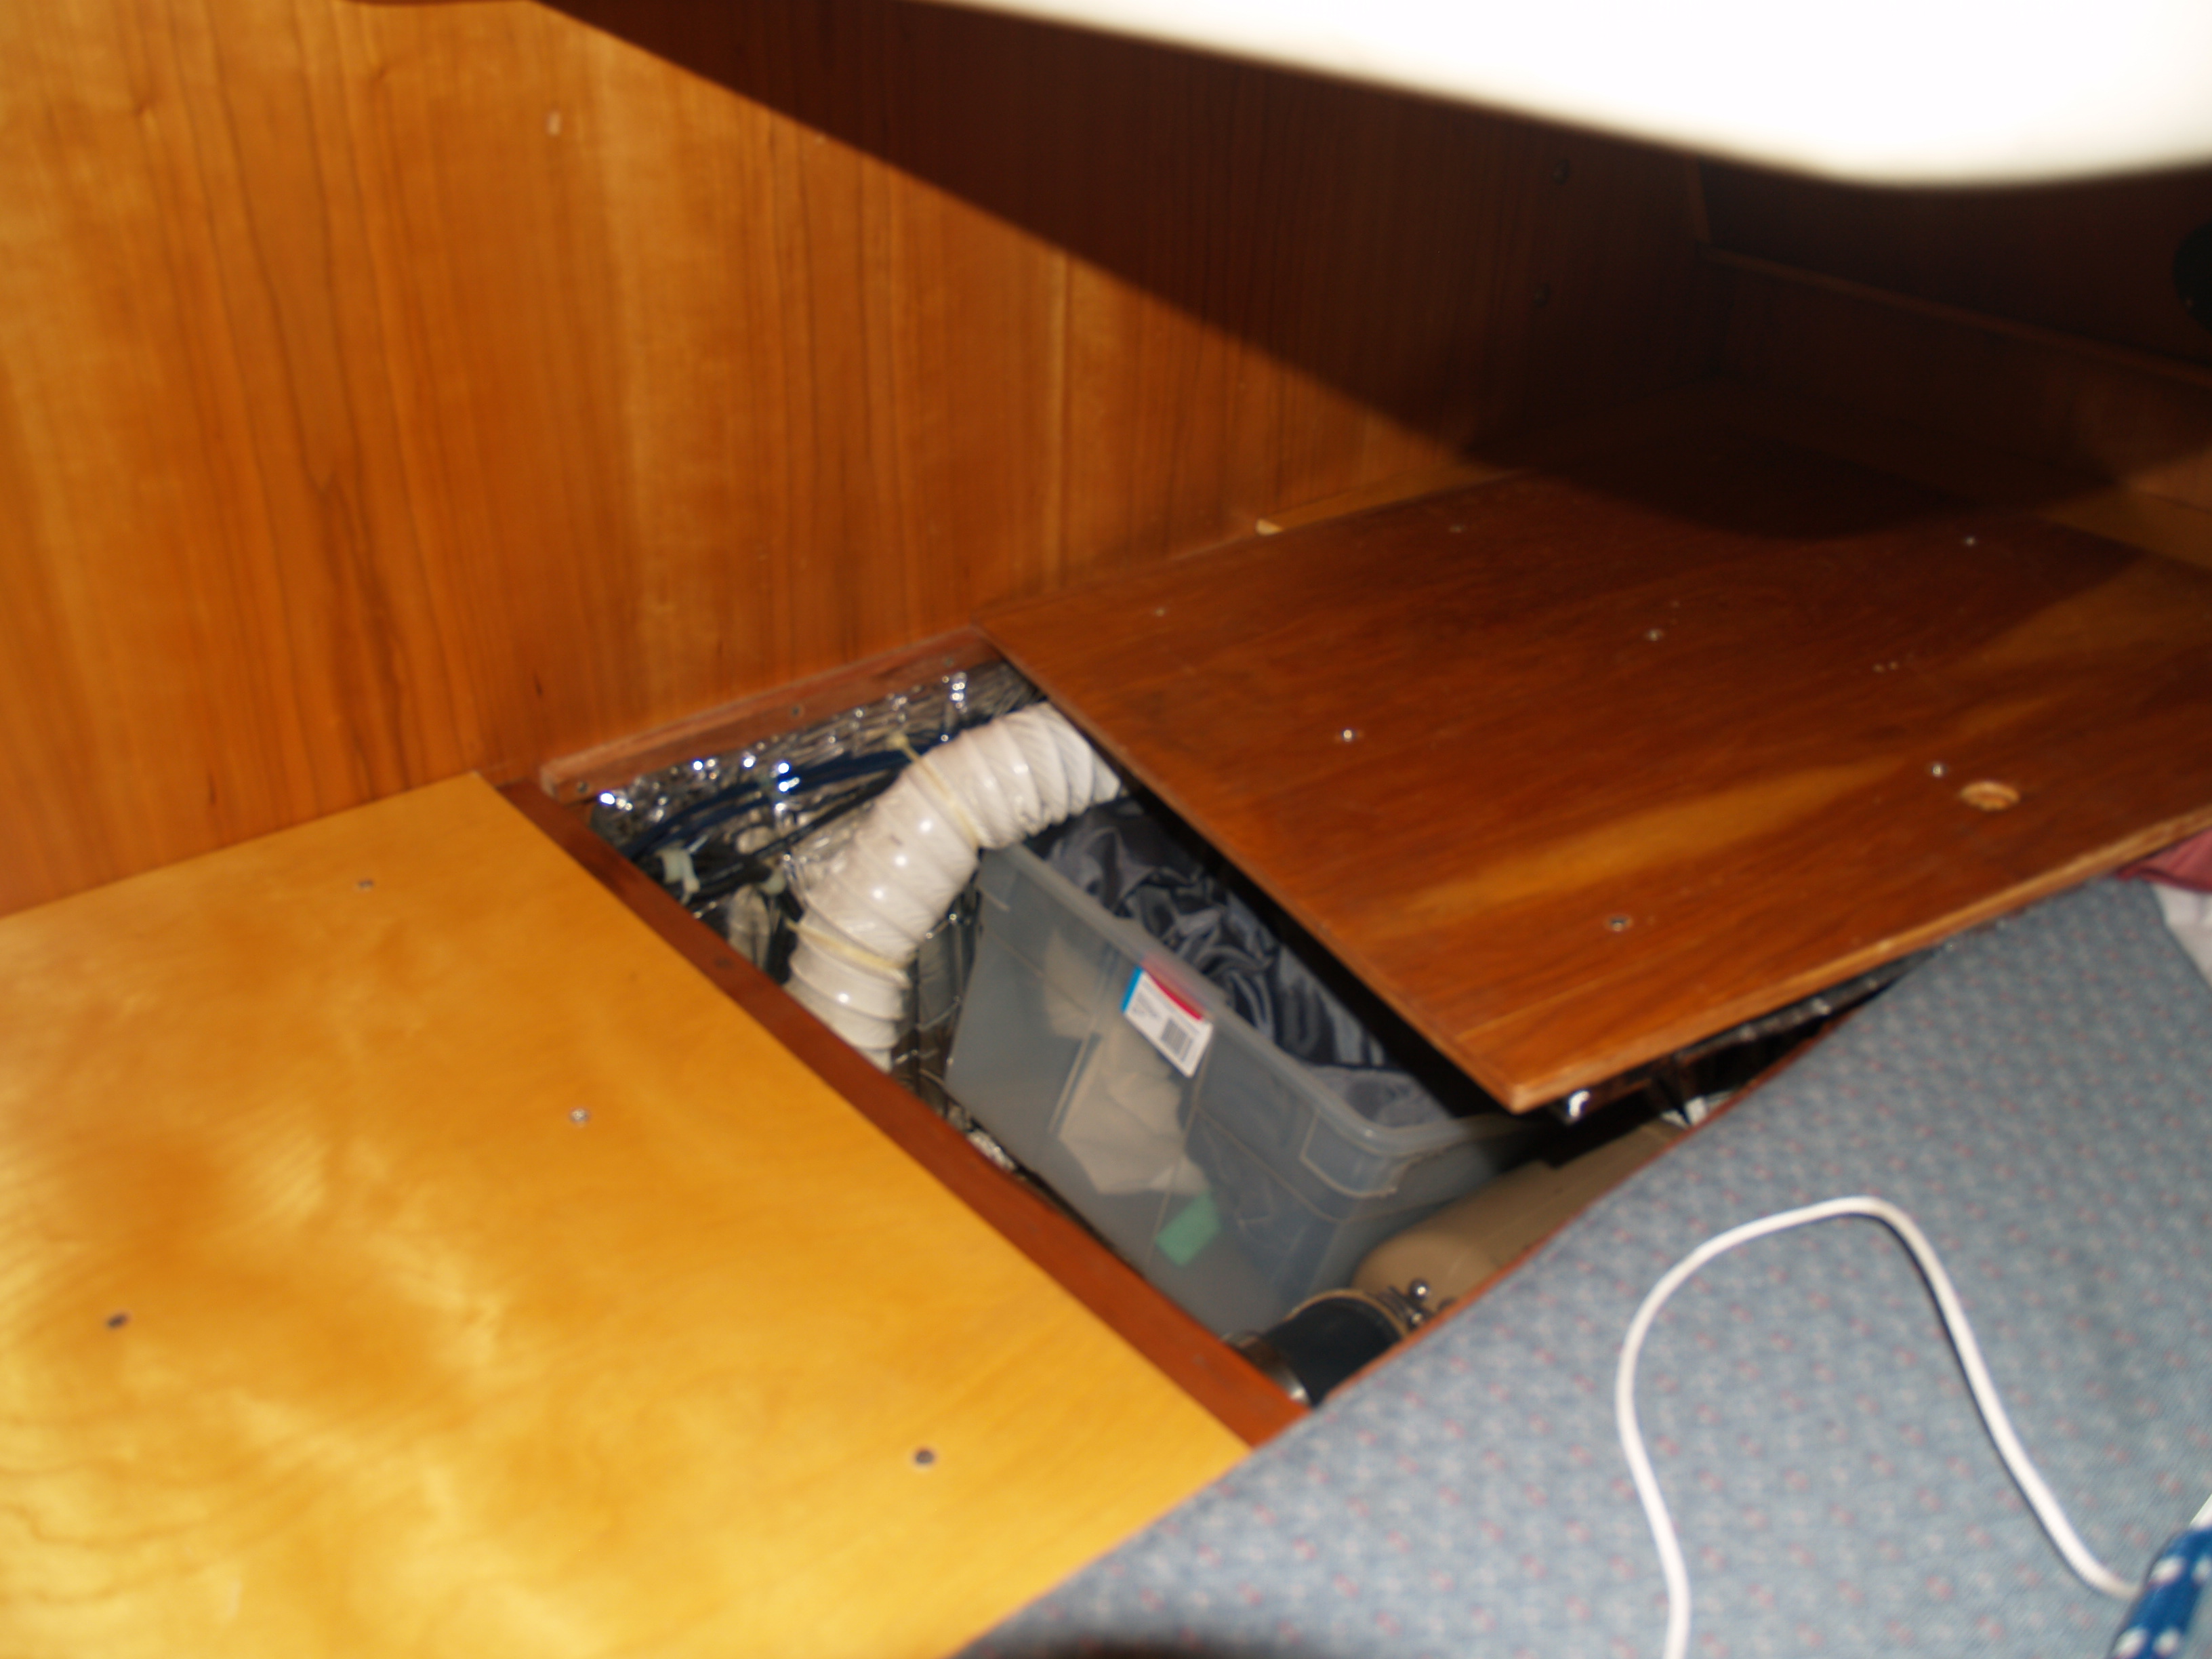
  Here they are in place over the engine in the aft cabin. It will make this sea berth a lot quieter when we are underway and someone is trying to get some sleep.
 I have also been having some trouble with bottom pain flaking off in the last few years which makes for a messy bottom when I try to touch it up and have been debating what to do about the problem. The spots tend to come up when the boat is pressure washed in the fall when she is hauled out for the winter.
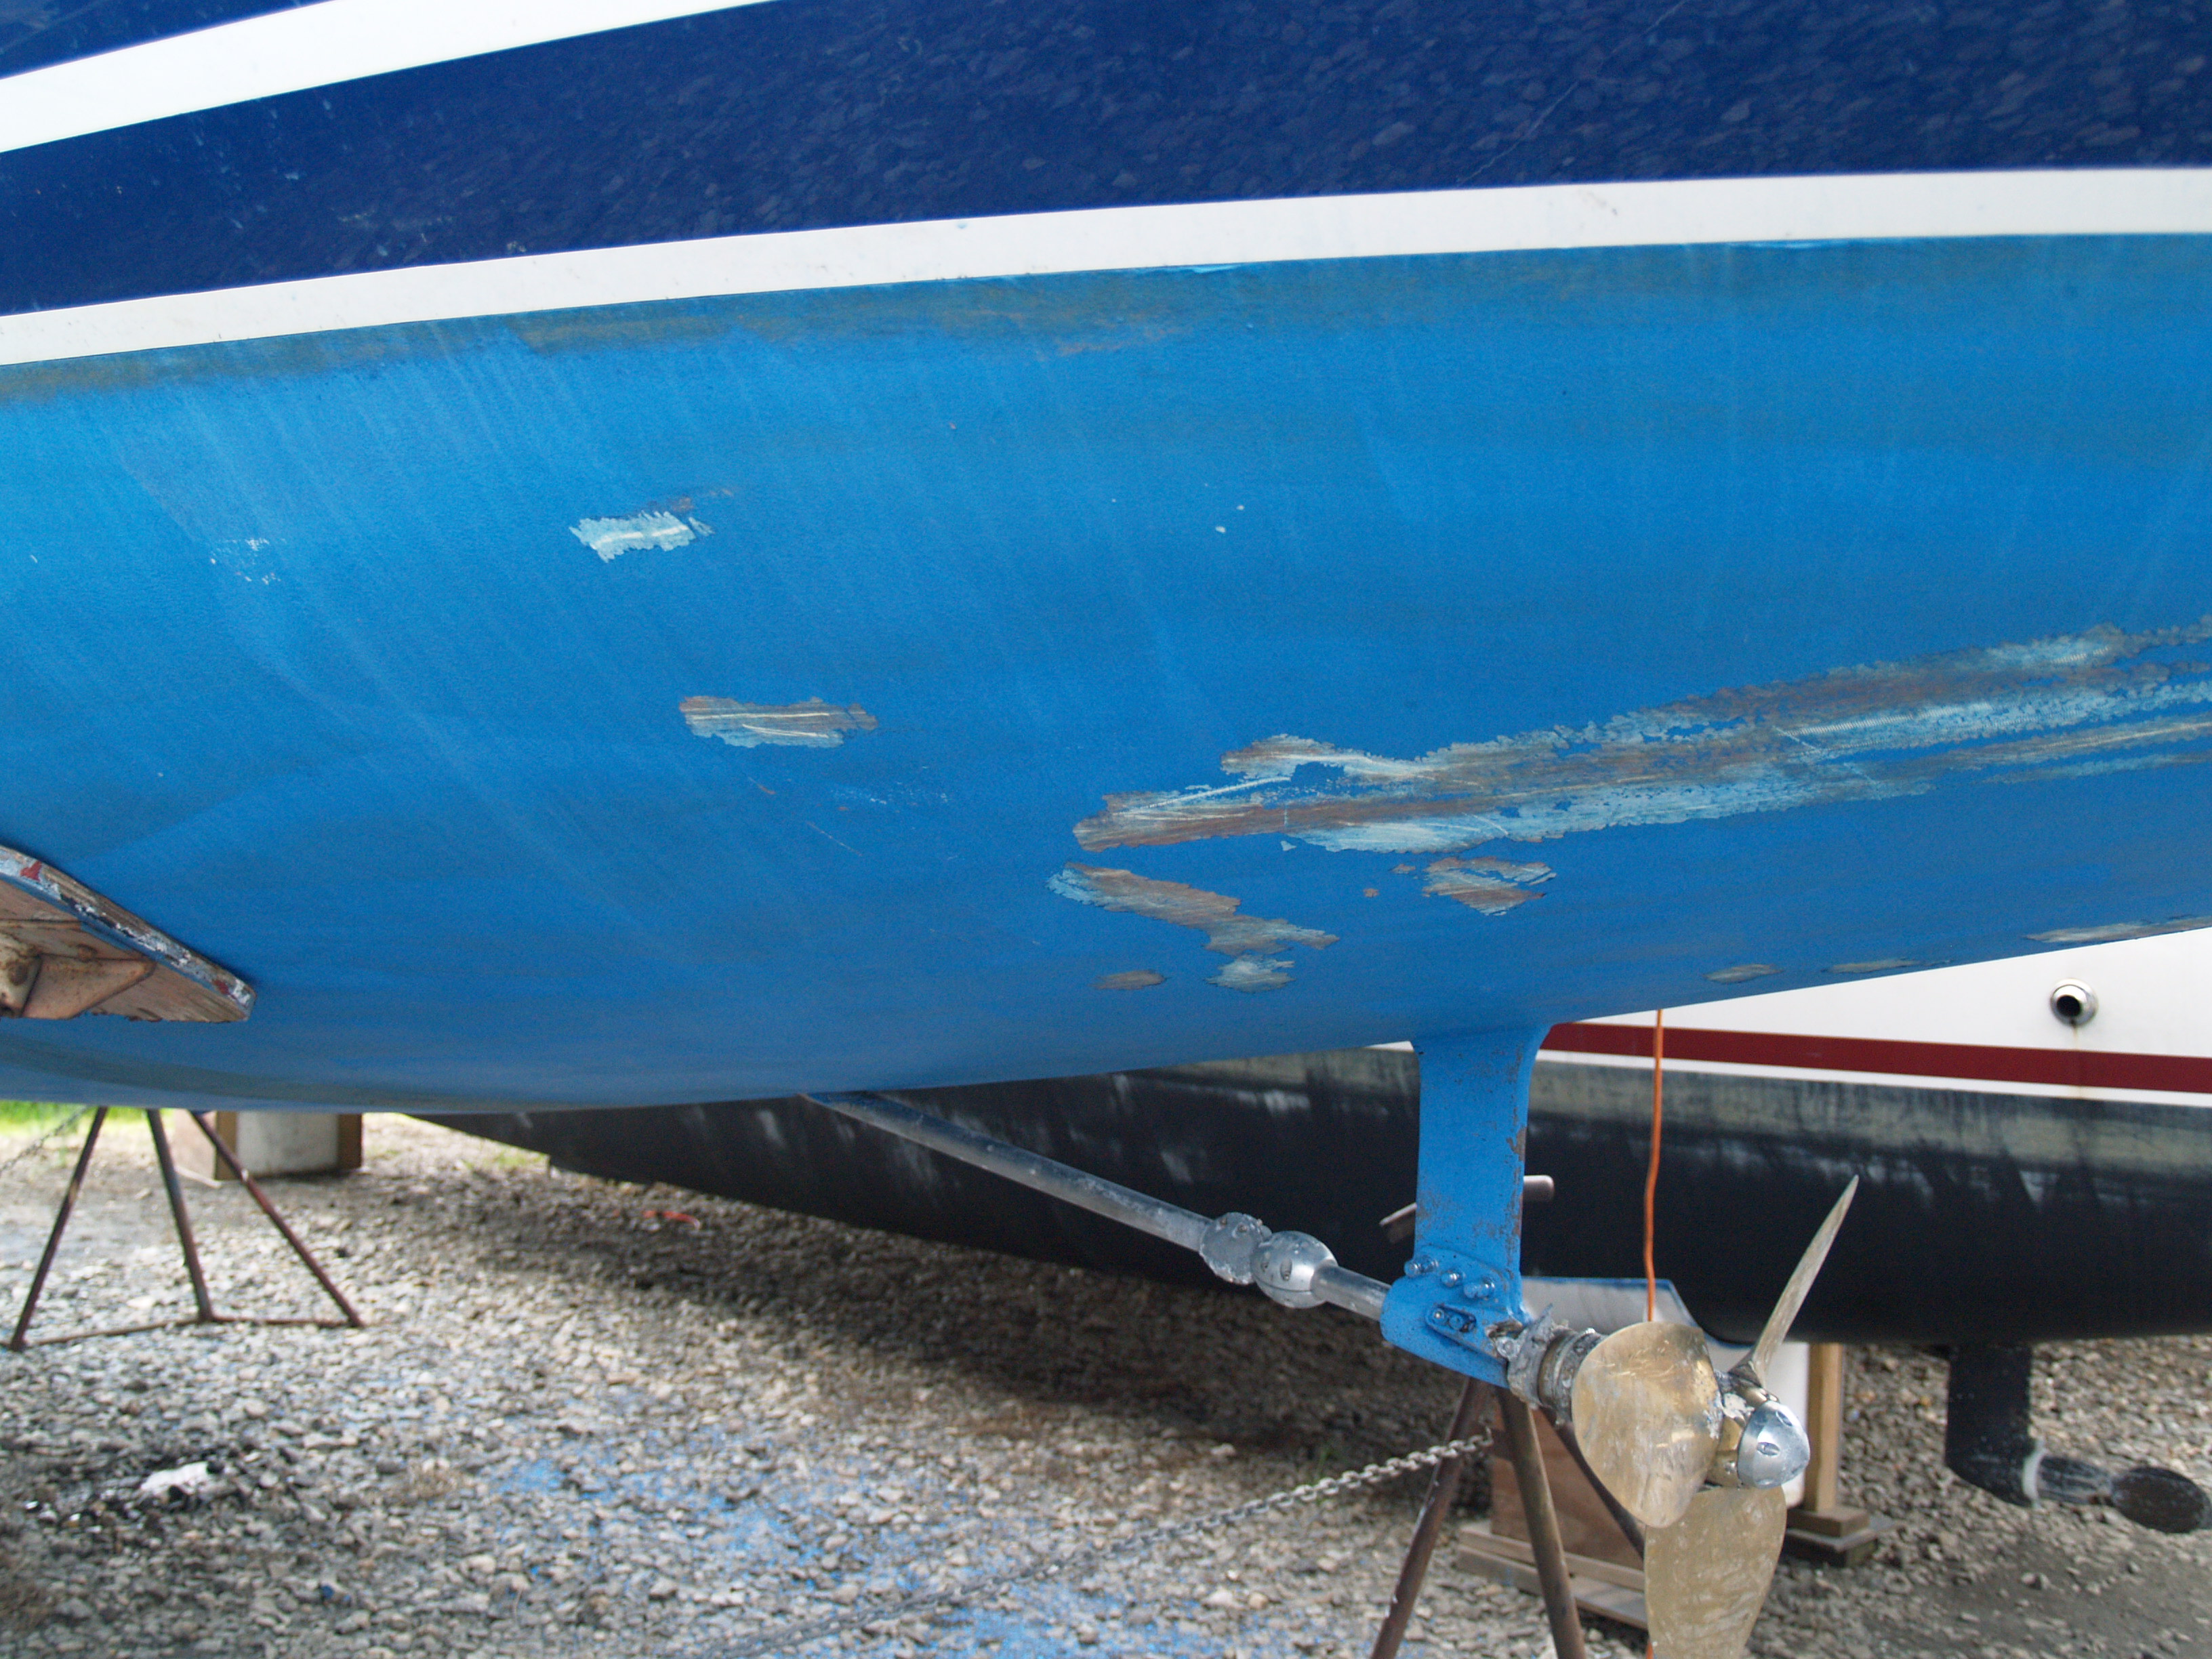 So, I went out and bought the best paint scraper that I could find. It worked quite well. Actually, it was alarming how much of the paint was loose and came off fairly easily. I may have to do the entire bottom now. Great!!! More to paint and at $225/gal the more the merrier.
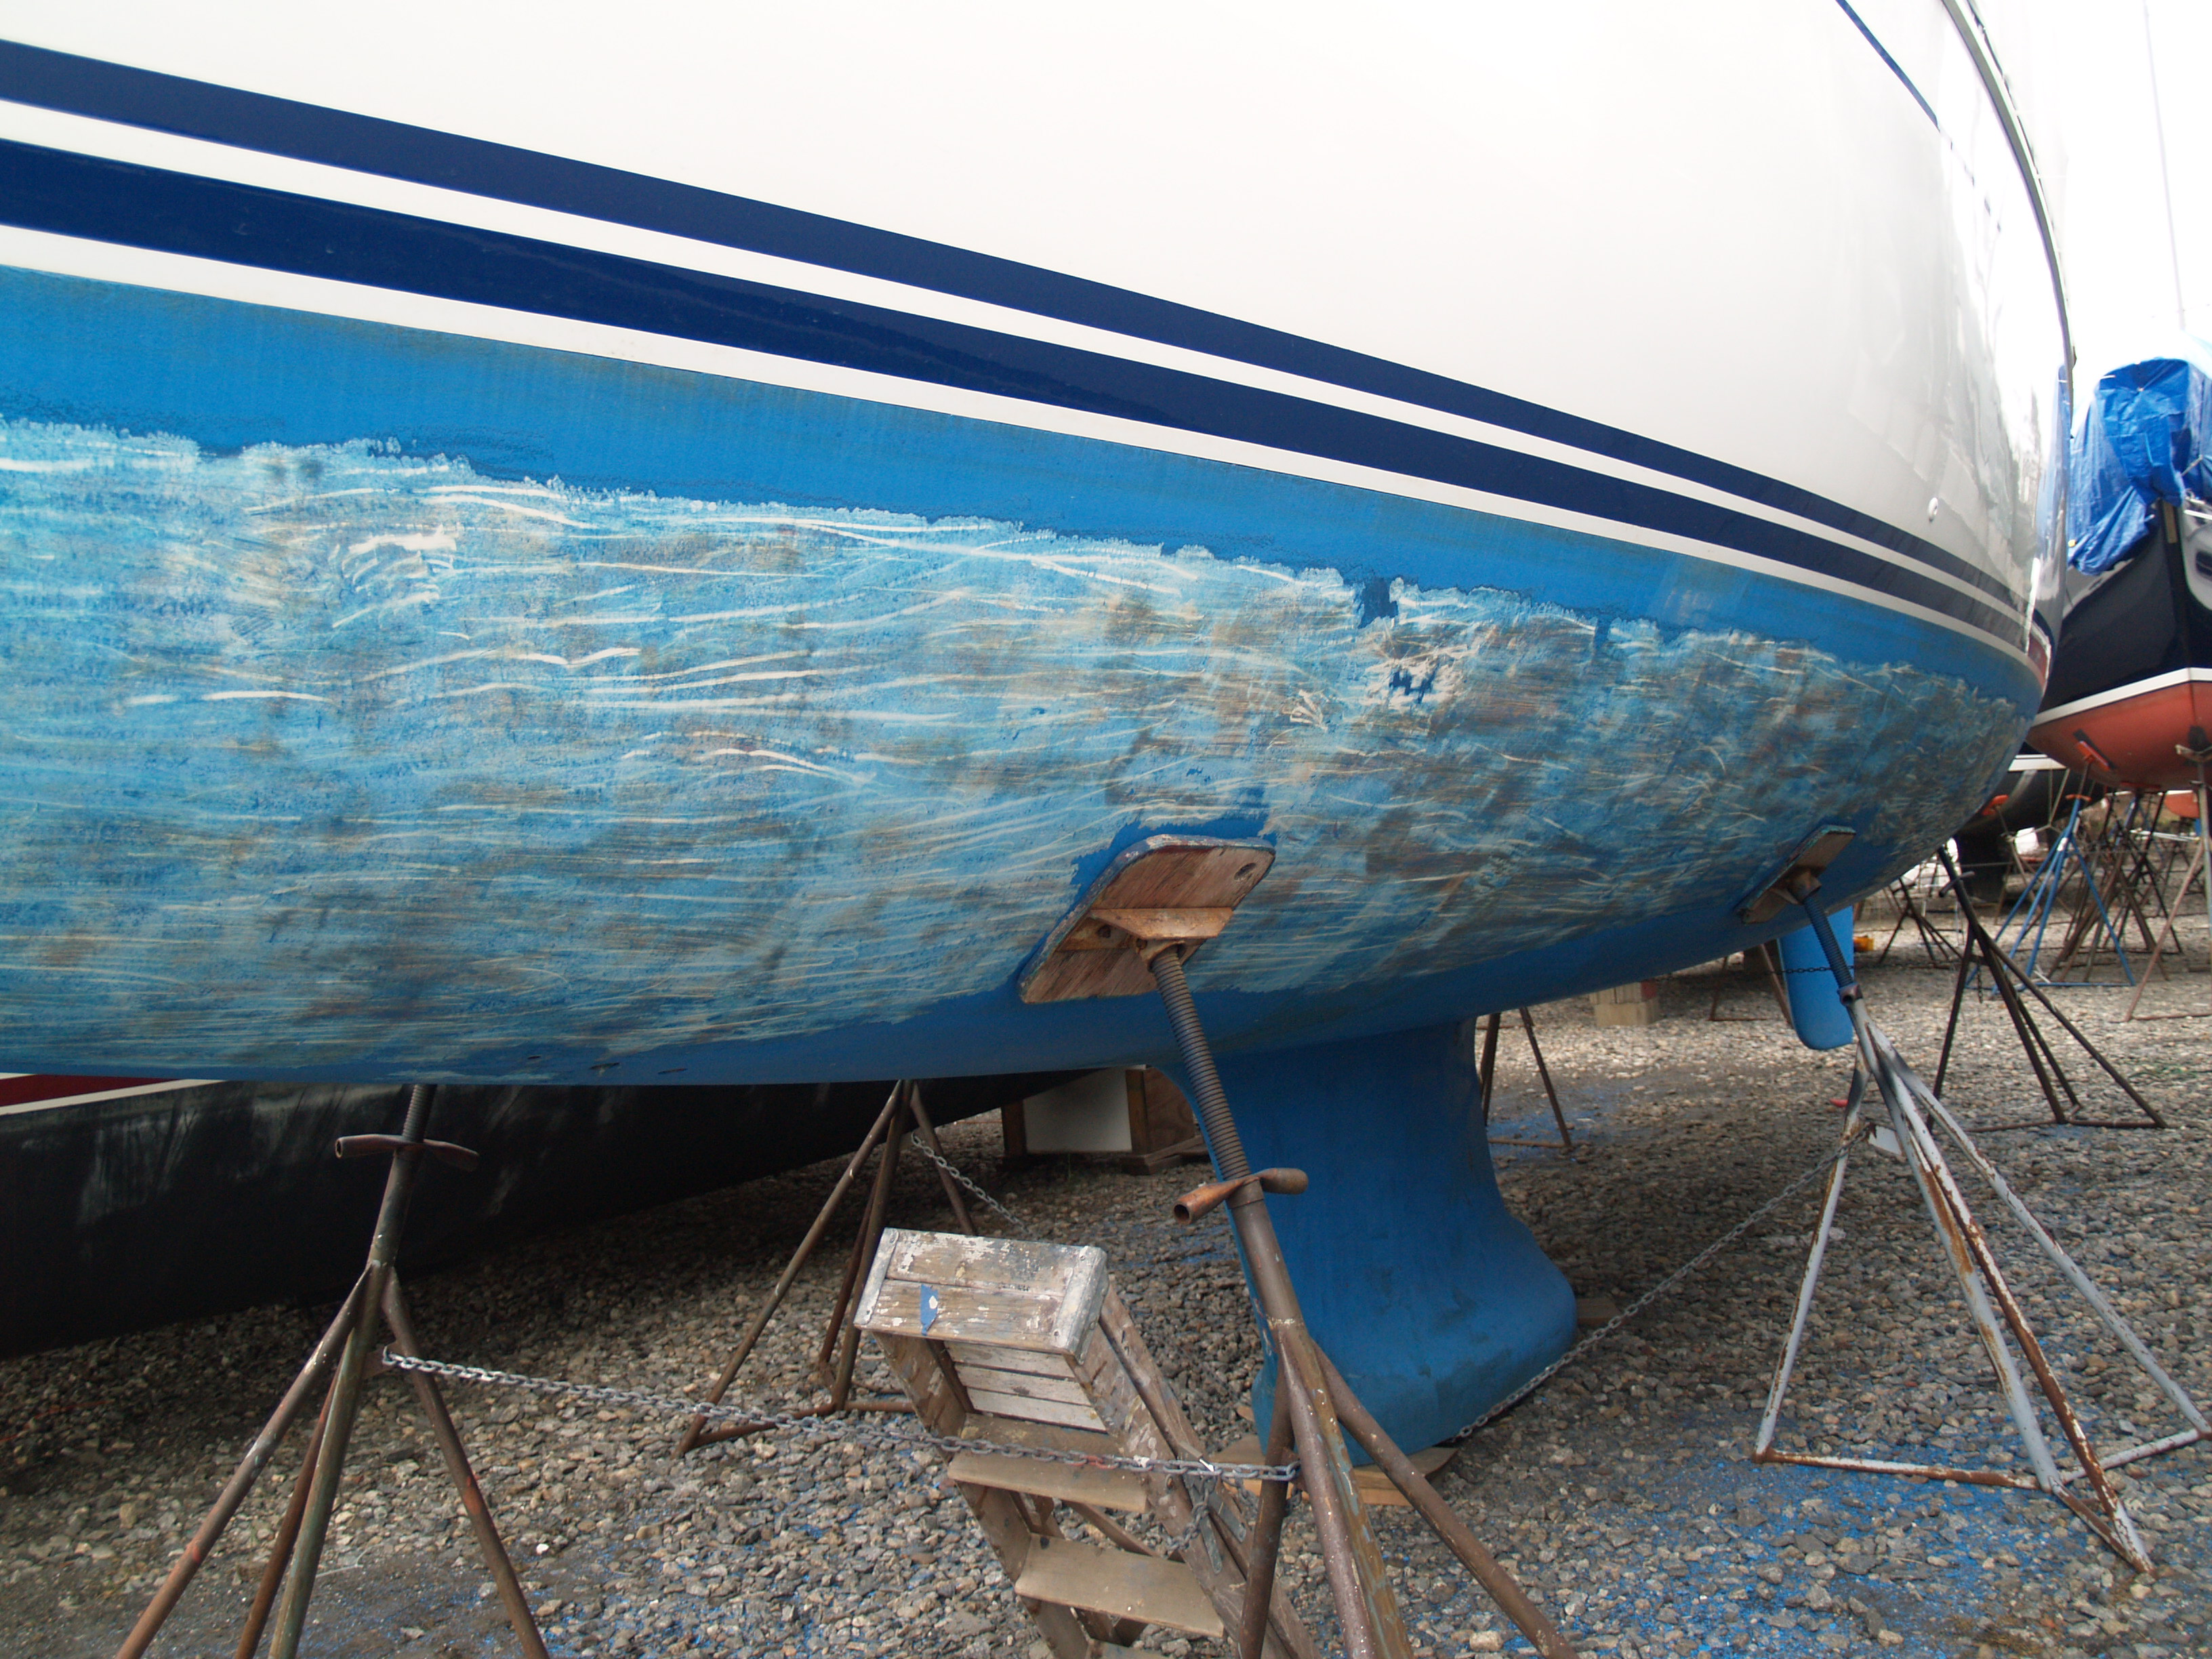 Plenty more to do and then I will sand it all down evenly and apply a new epoxy barrier coat to make the pain stick better and to protect the boat from water seeping into the laminate.
Loads to do but Pandora will launch soon, as soon as we finish packing, move to CT, unpack all of our *&^$# up there. Yes, soon…

